Crochet Bear Duffel Bag Tutorial

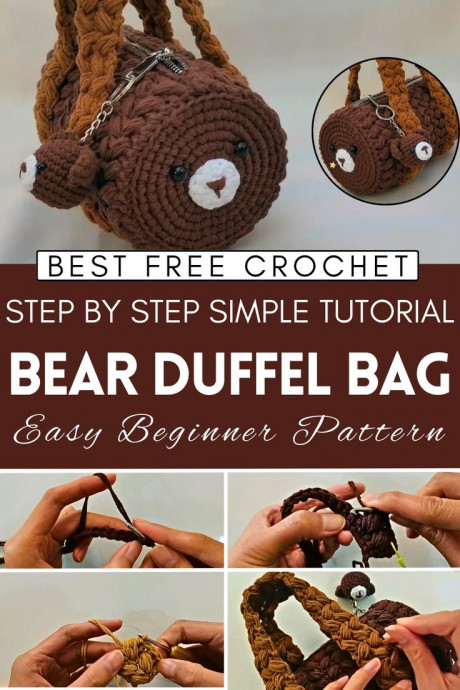
The Crochet Bear Duffel Bag is the perfect blend of adorable and practical. With its charming bear design and spacious interior, it's not just a bag but a stylish companion for your everyday adventures. Whether you're heading to the gym, going on a weekend trip, or simply running errands, this duffel bag is sure to turn heads and bring a smile to your face. Crafted with care and creativity, it's a fun way to add some whimsy to your wardrobe while staying organized on the go. Grab your Crochet Bear Duffel Bag and let's embark on some exciting journeys together!
Materials Needed
- Brown milk cotton yarn
- Crochet hook (suitable for the yarn)
- Marker button
- Zipper
- Thread and needle for sewing
- Grid board (for stiffness)
- Positioning pin (optional)
Body of the Bag
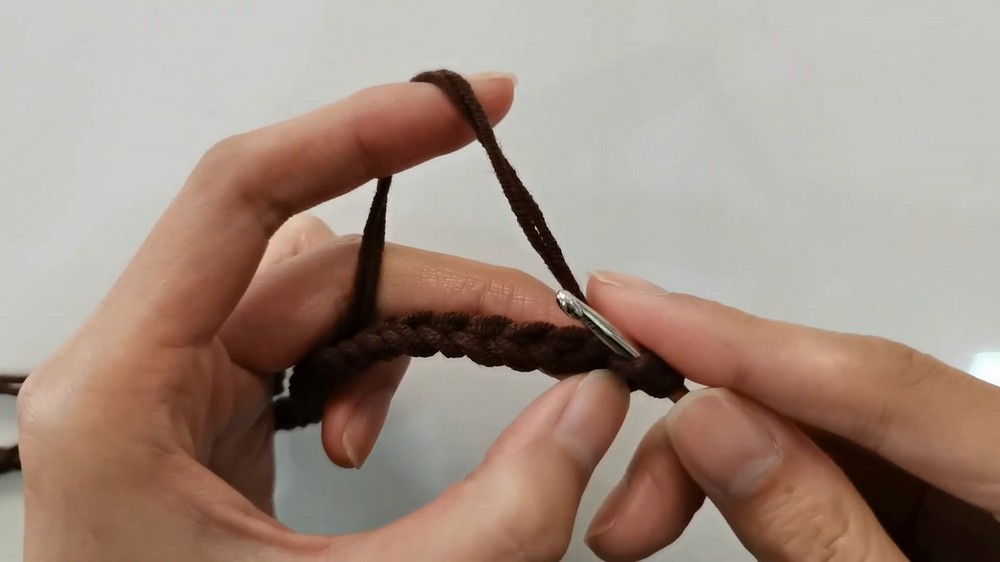
Base Chain
Tie a slip knot on your finger. Chain 48 stitches.
First Row (Single Crochet)
Crochet one chain stitch for turning. Single crochet (sc) in the second chain from the hook. Continue to sc in each chain across (total 48 sc).
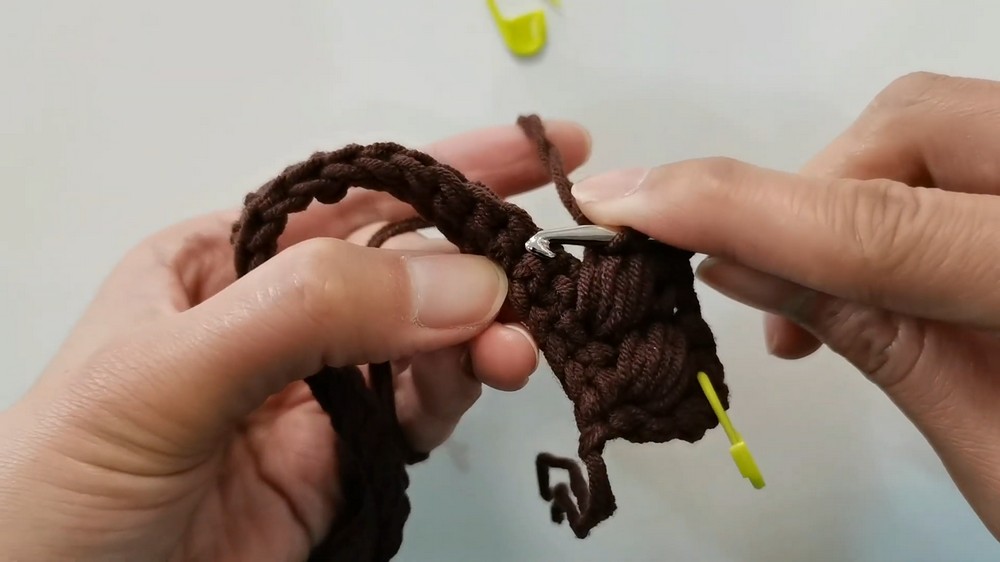
Second Row (Starting the Pattern)
Chain 3 for turning. Turn your work. Double crochet (dc) in the second stitch from the hook. Mark the first stitch with a marker.
Continue this pattern across the row:
- Dc in the next two stitches,
- Finish each group of 3 unfinished dc together by yarning over and pulling through all loops.
Subsequent Rows
Continue following the pattern established in the second row (pattern groups of 3 unfinished dc, pulling through all loops together). Chain 3 at the end of each row to turn your work. Crochet a total of 7 groups of rows (each group contains 2 rows of the pattern).
Edging/Finishing
After Body Completion
Crochet single crochet all around the edges of the piece to flatten it. Add extra single crochets where necessary to keep the edge straight.
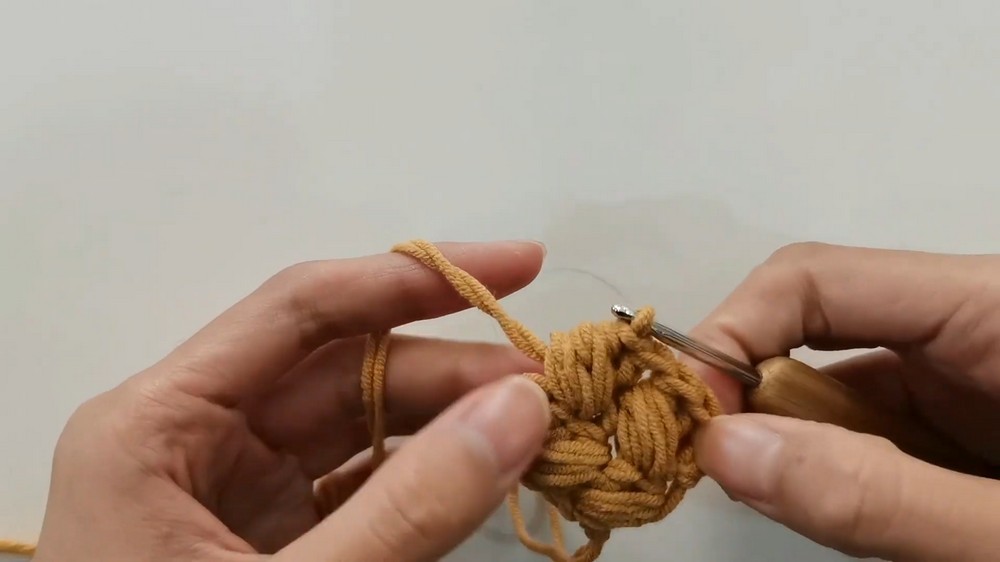
Bear Face Decoration
Start the Face:
Make a magic ring. Crochet 6 sc into the ring. Tighten the loop and join with a slip stitch to the first sc.
Expand the Face:
- Round 2: Chain 1, 2 sc in each stitch around (12 sc).
- Round 3: Chain 1, 1 sc in next stitch, 2 sc in next stitch repeat around (18 sc).
- Continue increasing each round with the following pattern:
- Round 4: 2 sc, 2 sc in next stitch
- Round 5: 3 sc, 2 sc in next stitch,
- Up to Round 8 following the similar pattern.
Nose and Face
Crochet 2 rounds in a similar manner for the nose. Embroider the nose shape with brown thread. Sew or embroider eyes on either side of the nose.
Assembly
Prepare Zippers
Sew zippers on both sides of the bag.
Attach the Face
Ensure the face is centered with respect to the zipper. Attach the face to the body using half-needle stitch (pick up only the back loops on the face, full stitches on the body).
Adding Stiffness (Optional)
Cut a grid board to the size of the bag and sew along the edges to attach it inside for structure.
Handles
Start Handle
Tie a slip knot. Chain 4 stitches.
Handle Pattern
Chain 3 for turning. Turn your work and follow the same pattern as the body (groups of 3 unfinished dc). Continue until desired length (approx. 180 rows or about 90 groups).
Attach Handles
Sew the handles to the top of the bag, ensuring they are evenly spaced. You might want to stitch them securely by reinforcing a few times.
- Funny Pictures
-
 Pics to Get the Excitement Today
-
 Funny Christmas Meme Dump
-
 Funniest Relatable Felines in the Form of Memes
- Recipes
-
 Cappuccino Brownies
-
 Chicken Mushroom Tortellini Bake
-
 Spinach Pie
- Lifehacks
-
 8 Necessary Tips for Baking Bread
-
 Tips & Hacks for Clean Carpets
-
 10 Uses For Old TV Armoires
- Crochet Ideas
-
 Crochet Watermelon Amigurumi
-
 Crochet Shark Applique
-
 Crochet Pineapple Amigurumi
- DIY
-
 Yarn Wrapped Christmas Wreath Ornaments
-
 Egg Carton Snowman Ornament
-
 Stick Peppermint Candy Ornament
- Knitting Ideas
-
 Knitted Star Square Dishcloth
-
 Knitted Free 2025 Year Dishcloth
-
 Knitted Ribbed Adult Hat