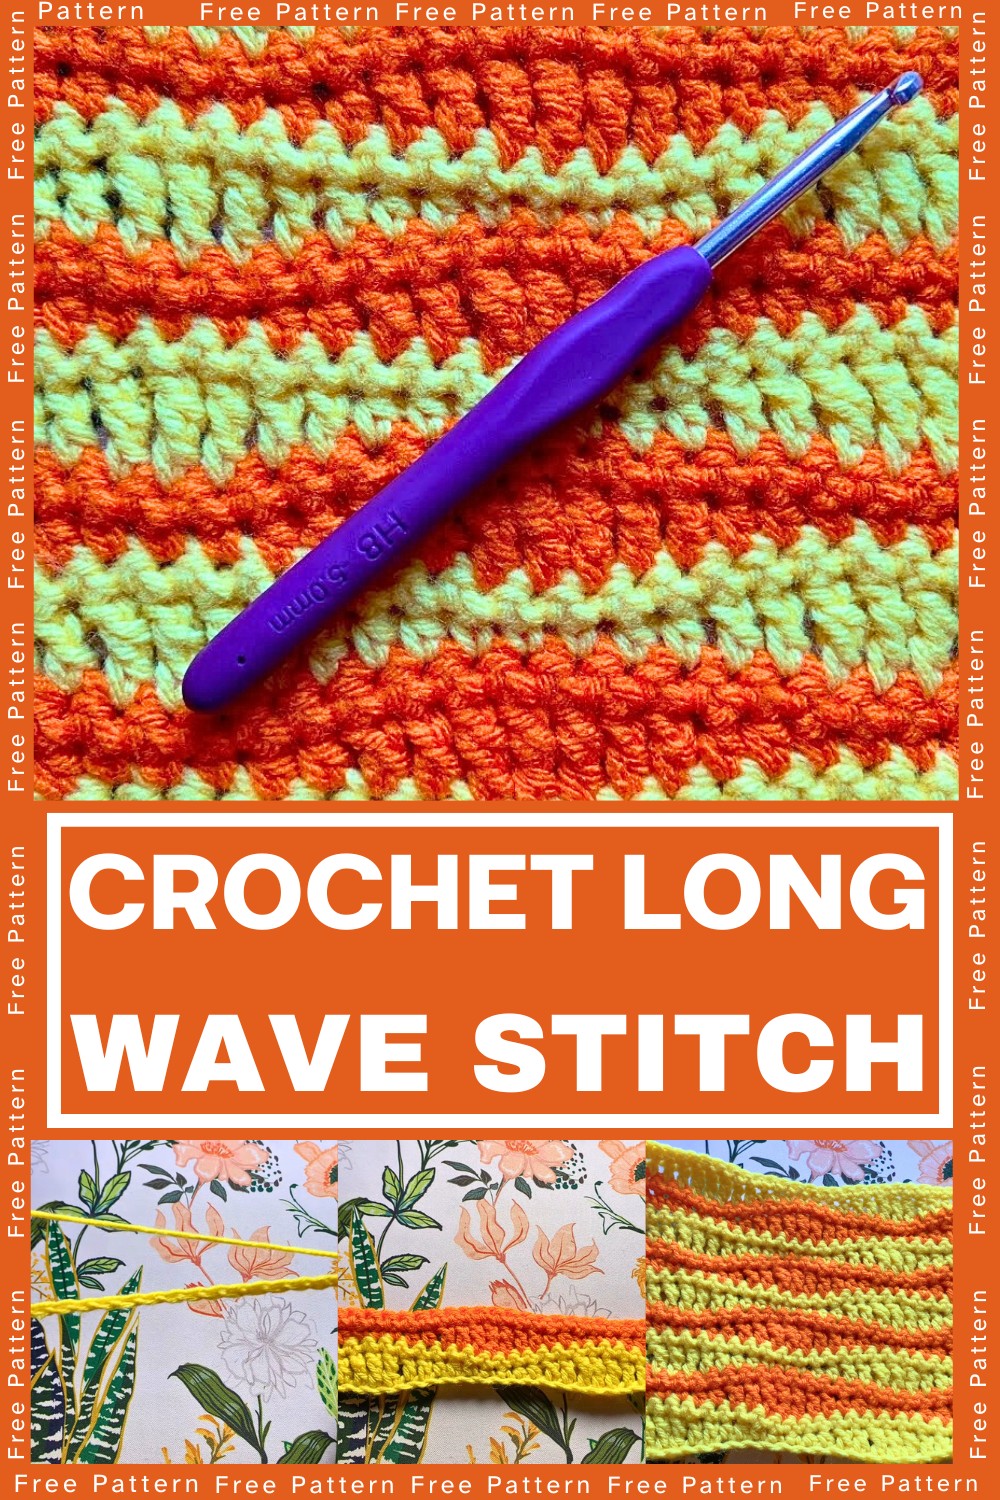
Master the Long Wave Stitch

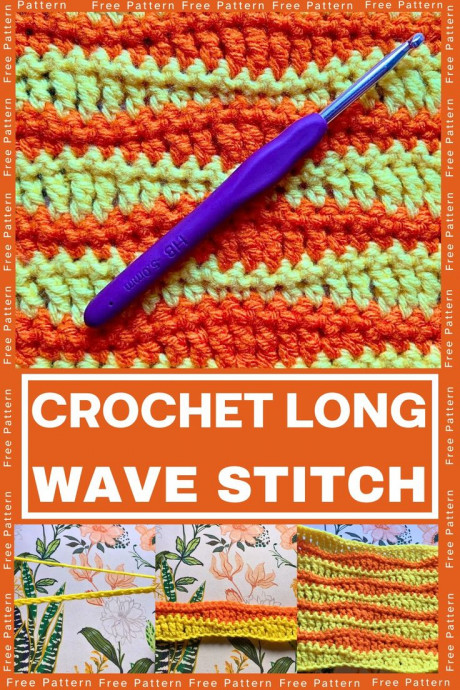
Are you ready to elevate your crochet skills with the Long Wave Stitch? This beautiful and versatile stitch adds a unique texture to your projects, making them stand out in the crowd. With practice and patience, you can become a Crochet Master of the Long Wave Stitch in no time! Whether you're working on a cozy blanket, a trendy scarf, or a stylish bag, this stitch will surely impress. So grab your yarn, hook, and let's embark on this crochet adventure together! Happy crocheting!
Materials and Preparation
To follow this tutorial, you'll need the following materials:
Materials:
Yarn:
- Loops & Threads yarn (color: Orange)
- Big Twist yarn (color: Varsity Yellow)
- You can use other yarns depending on your preference.
Hook: 5 mm crochet hook
Scissors: To cut off your work when finished.
Optional Tools: A yarn needle for weaving in ends.
Yarn Requirements:
This pattern works best with medium-weight yarn. Feel free to experiment with different yarn weights and hook sizes to adjust the texture and look of the finished piece.
Abbreviations and Notes
Crochet Abbreviations:
- CH: Chain
- SC: Single Crochet
- HDC: Half Double Crochet
- DC: Double Crochet
- TR: Treble (or Triple) Crochet
- YO: Yarn Over
- ST: Stitch
Pattern Notes:
This tutorial uses US terminology.
The foundation chain must be made in multiples of 14. Add 2 extra chains to complete the base.
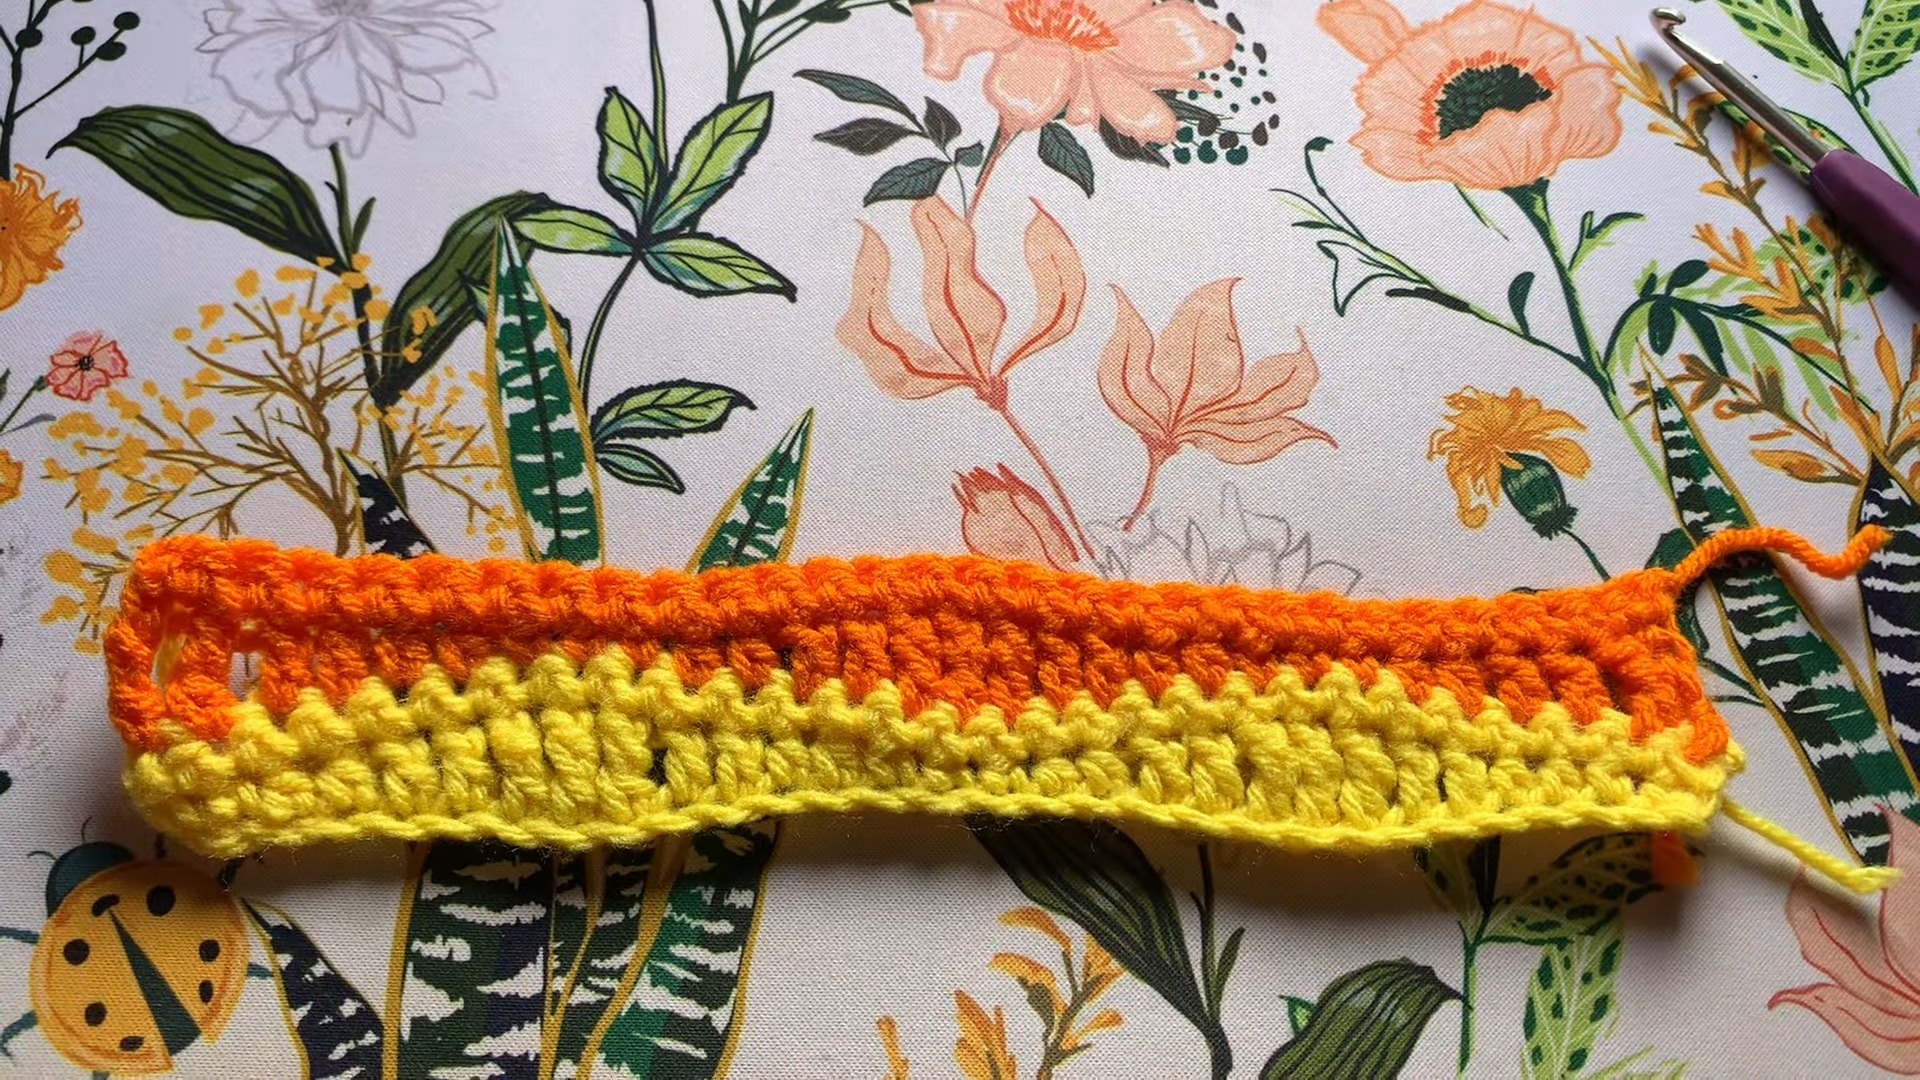
You’ll alternate rows of wave patterns with rows of single crochet stitches.
Switching colors gives a striking striped effect; however, you can keep the entire project in a single color.
Gauge, Approximate Size, and Pattern Notes
Gauge Recommendation:
For best results, create a small swatch of the pattern (e.g., 28 CH foundation) and measure to determine your tension, especially if you're planning a specific-sized project.
Finished Dimensions:
Dimensions will depend on the number of CH in your foundation and the total rows worked. You can customize the length/width of your project by adjusting the starting CH and continuing to repeat rows 1-4.
Pattern Notes:
Technique: Incorporates shaping through varying stitch heights (SC, HDC, DC, and TR).
Colors: Alternate colors every two rows for best visual effect.
Optional Tip:
Crochet over loose ends when changing colors to minimize weaving in later.
Step-by-Step Pattern
Foundation/Base:
Create a slip knot: Make a slip knot using the method that is easiest for you.
CH in multiples of 14: Chain until reaching the desired length for your project while ensuring you work in multiples of 14. For example, CH 28 for a small swatch.
Add 2 extra CH: Once your multiple is complete, add 2 additional CH at the end.
Row 1: Creating the First Wave Pattern
Start with SC stitches:
Find the second CH from the hook and insert your hook.
Work a SC (insert, YO, pull through, pull through 2 loops).
Work another SC in the next CH.
Move to HDC stitches:
Work a HDC in the next two CH (YO, insert, pull up loop, pull through all 3 loops).
Work DC stitches:
Move to the next DC stitches, working one DC into each of the following two CH.
Create the peak with TR stitches:
Yarn over twice (YO 2x) and insert hook into next CH.
Pull up a loop, yarn over and pull through two loops three times to complete the TR stitch.
Work three TR stitches—one in each of the next three CH.
Repeat smaller stitches (down the wave):
Work two DC stitches, two HDC stitches, and three SC stitches—one stitch per chain—mirroring the first half of the wave pattern.
Continue the wave pattern:
Repeat the stepping-up and stepping-down stitch pattern until the end of the row.
Finish with two SC stitches in the last two CH.
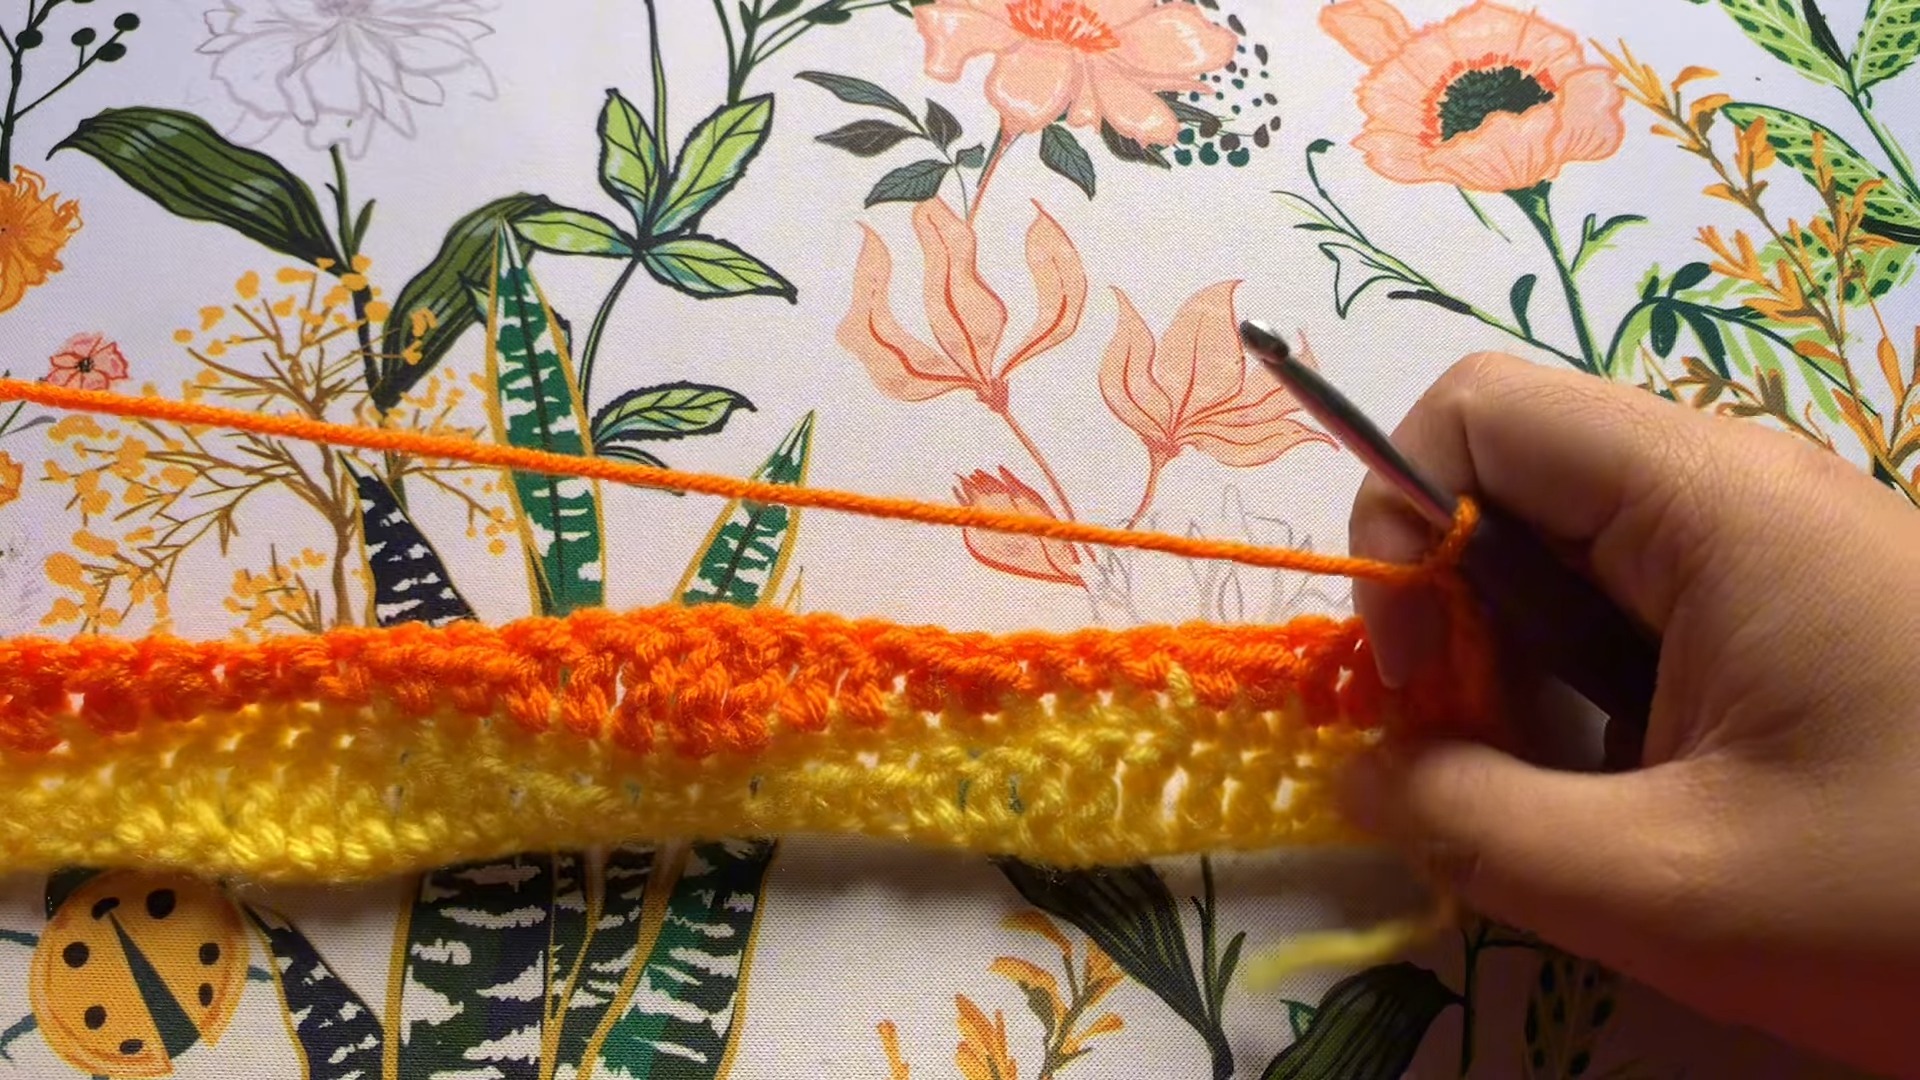
Row 2: Single Crochet Row
Chain 1 and turn your work.
Work SC stitches in each ST across the row.
Chain 1 at the end to turn your work, prepping for the next row.
Row 3: Starting with TR Stitches (In Contrast Color)
Switch colors if desired:
Cut off the first color.
Tie a slip knot with the second color and insert it through the first ST of the row.
Work into peaks first:
CH 3 (acting as the first TR).
Work two TR stitches in the next two ST.
Step down the wave:
Work two DC stitches, two HDC stitches, and three SC stitches in the following ST, creating the descending part of the wave.
Step back up the wave:
Work two HDC stitches, two DC stitches, and three TR stitches to form the ascending side of the wave.
Repeat pattern:
Continue alternating stitches (step-down then step-up) across the row.
Finish with two TR stitches in the last two ST.
Row 4: Single Crochet in Each Stitch
CH 1 and turn your work.
Work SC stitches across the row (one SC in each ST).
Cut off the yarn at the end and switch back to the first color (or a new color).
Repeat Rows:
Continue repeating Rows 1-4 in alternating colors until the desired length is achieved.
Finishing Touches:
End on Row 4 (SC row) for a neat finish.
Cut yarn and secure ends:
Pull tight and knot if needed.
Weave in ends:
Use a yarn needle to weave in any loose ends, or crochet over them during the process as described in the tutorial.
Helpful Tips for Success:
- Switching colors frequently creates a lovely striped pattern.
- Crochet over loose ends while attaching a new color to save time during finishing.
- Always count your stitches to ensure symmetry in the waves.
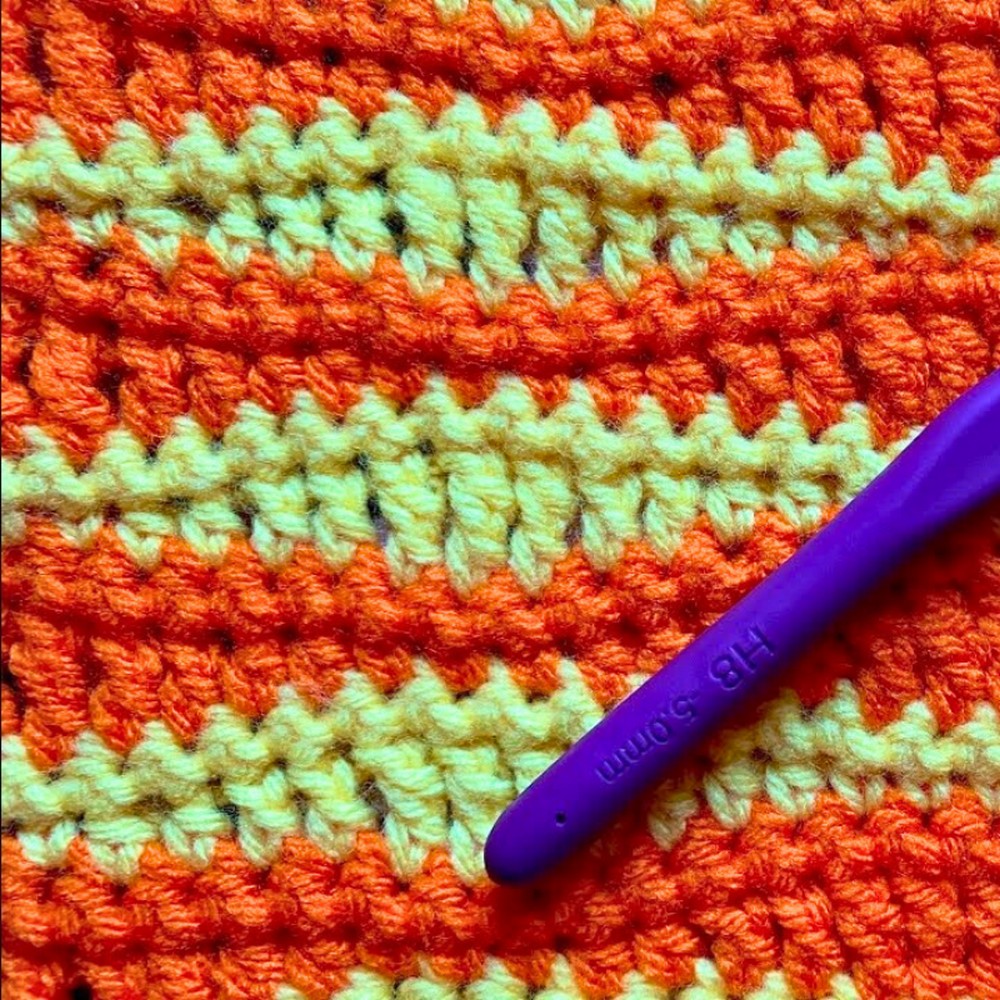
This completed project showcases the elegant curves of the long wave stitch and is perfect for scarves, throws, or any decorative piece. Enjoy experimenting with colors and textures!
- Funny Pictures
-
 Pics to Get the Excitement Today
-
 Funny Christmas Meme Dump
-
 Funniest Relatable Felines in the Form of Memes
- Recipes
-
 Cappuccino Brownies
-
 Chicken Mushroom Tortellini Bake
-
 Spinach Pie
- Lifehacks
-
 8 Necessary Tips for Baking Bread
-
 Tips & Hacks for Clean Carpets
-
 10 Uses For Old TV Armoires
- Crochet Ideas
-
 Crochet Watermelon Amigurumi
-
 Crochet Shark Applique
-
 Crochet Pineapple Amigurumi
- DIY
-
 Yarn Wrapped Christmas Wreath Ornaments
-
 Egg Carton Snowman Ornament
-
 Stick Peppermint Candy Ornament
- Knitting Ideas
-
 Knitted Star Square Dishcloth
-
 Knitted Free 2025 Year Dishcloth
-
 Knitted Ribbed Adult Hat