Adorable Crochet Ribbon Bows: Step-by-Step Guide

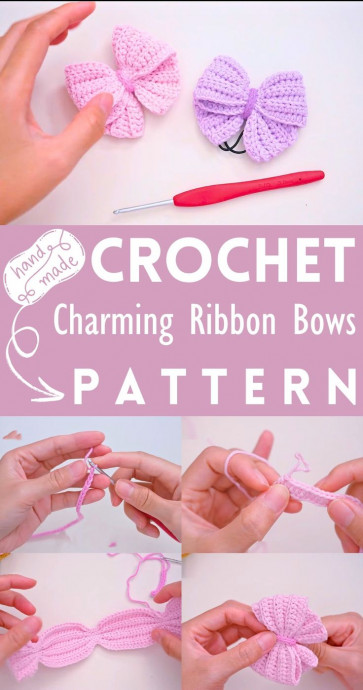
Crochet ribbon bows are a delightful addition to any project, whether you're embellishing a gift, adding flair to a handmade card, or decorating a cozy blanket. With their charming appeal and endless color possibilities, crochet ribbon bows are a fun way to personalize your creations. They bring a touch of whimsy and sweetness that can brighten up any day. So grab your crochet hook, pick out your favorite yarn, and get ready to create some adorable crochet ribbon bows that are sure to bring smiles wherever they go!
Materials Needed
- 4 ply cotton yarn in the color of your choice
- 3mm crochet hook
- Scissors
Crochet Pattern
Ribbon Part
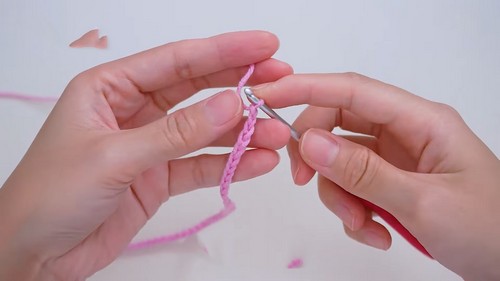
Crochet 62 chains.
Row 1
Do a single crochet in the first chain.
Insert the hook into the single crochet, pull out the yarn, and do another single crochet.
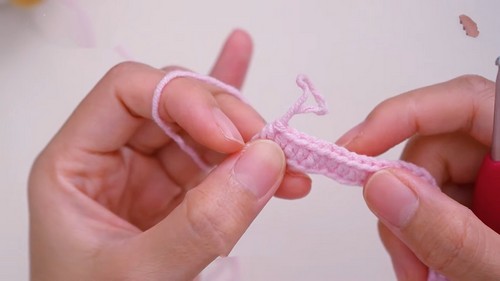
Without starting with two chains, do a half-double crochet or double crochet in the very first stitch.
Continue with 5 half-double crochet stitches.
Do 6 slip stitches.
Continue with 16 half-double crochet stitches.
Do 6 slip stitches.
Continue with 16 half-double crochet stitches.
Again, do 6 slip stitches.
Crochet half-double crochet in each of the last 6 stitches.
Rows 2 to 7
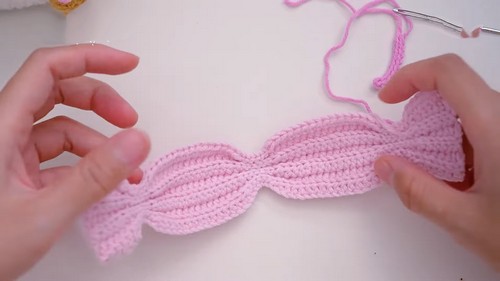
Start each row with a chain.
Repeat the same pattern as Row 1, but crochet in the back loop only.
Middle Part (Tie for the Ribbon Bow)
Start with 10 chains.
Row 1
Make 1 chain and do 10 slip stitches.
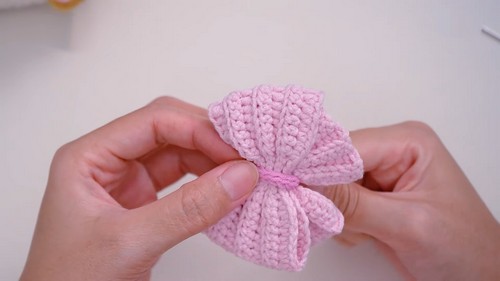
Assembling the Ribbon Bow
Hide the leftover yarn from the ribbon part. Alternatively, use the remaining yarn to sew the middle part to the ribbon.
Roll the ribbon part tightly to form the shape of the bow.
Secure the shape with the yarn.
Sew on the long strip (middle part) around the center of the rolled ribbon to complete the bow.
Finishing
- Trim any excess yarn after securely weaving in the ends.
- Fluff and adjust your bow to give it the final shape.
Additional Tips
- Make sure to keep your tension consistent for a neat finish.
- Use a contrasting color for the middle part for an interesting look.
This bow can be used as a hair tie by attaching it to an elastic band, or it can be sewn onto headbands, clothing, or used in jewelry.
- Funny Pictures
-
 Cute Cat Memes That Will Make Your Day Brighter
-
 Spot-on and Funny Memes About Introverts Struggles
-
 Top Wonderful Cat Memes on Their Way to Better Your Day
- Recipes
-
 Creamy Old Fashioned Rice Pudding
-
 Russian Tea Cakes (Snowball Cookies)
-
 Rigatoni with Sausage, Tomatoes, and Zucchini
- Lifehacks
-
 How to Crochet a Harlequin Stitch
-
 Removing The Toughest Stains
-
 Crochet Basics: Crumpled Griddle Stitch
- Crochet Ideas
-
 Crochet Christmas Tree
-
 Crochet Goblet of Fire
-
 Crochet Adorable Ammonite
- DIY
-
 DIY Snowman Wreath
-
 Mini Santa Sleigh Ornament
-
 Crochet Gingerbread House Blanket
- Knitting Ideas
-
 Knitted Easter Bunny
-
 Knitted Mobile Phone/Glasses Case
-
 Knitted Cabled Wallet