Crochet No-Tie Ribbon Tutorial

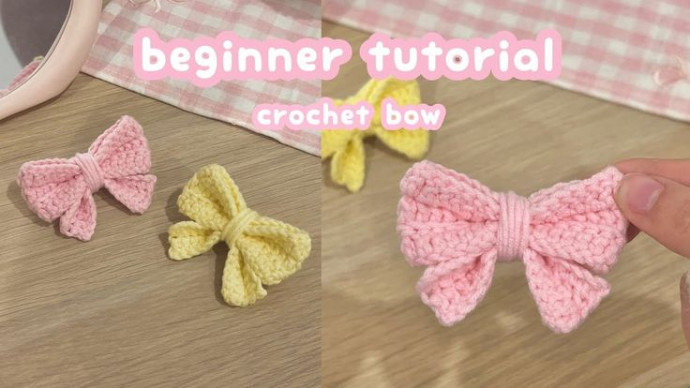
The Crochet No-Tie Ribbon is an innovative and charming addition to any project, simplifying the finishing touch with ease. This unique ribbon beautifully combines functionality with style, making it a must-have for all crochet enthusiasts. Whether you're crafting a gift or working on a personal project, this ribbon will effortlessly enhance the overall look with its convenient no-tie design. Say goodbye to struggling with knots and hello to a delightful ribbon that adds a touch of elegance to your creations.
Materials You’ll Need
- 5 ply milk cotton yarn (pink or your favorite color!)
- 3 mm crochet hook
- Darning needle
- Scissors
Let’s Get Started!
Making the Bow
Step 1: The Slip Knot and Foundation Chain
Begin with a slip knot. Then, create a foundation chain. We’ll need 32 chains for the bow (the extra two chains give height to your double crochet).
Remember: each chain creates a “V”. Count those Vs to make sure you have the correct number!
Step 2: Row 1: Double Crochet Magic
Skip the first two chains. In the third chain from your hook, work your first double crochet. Continue double crocheting across, making 30 double crochets in total. Remember to carefully insert your hook under both loops of each chain.
Step 3: Row 2 and 3: Back Loop Only!
Chain 2 to start. In this row, and the next, work your double crochets only through the back loop of each stitch. This creates texture and a beautiful shape for your bow.
Step 4: Finishing the Bow
Fasten off. Sew the two long sides together. Weave in your ends. Flip inside out to neaten the seams.
Making the Tail
Step 5: Foundation Chain for the Tail
Create a slip knot and a foundation chain of 17 stitches (including two extra stitches for the height of the double crochet).
Step 6: Rows of Double Crochet for the Tail
Work double crochets for the first row. Then Chain 2, turn and work double crochets into the back loop for the second row. Fasten off and weave in your ends.
Step 7: Assembling the Bow
Tie the bow and tail together using the tails created at the end of both pieces. Wrap the yarn around the center of your bow to secure and tie a knot. Weave in any loose ends.
- Funny Pictures
-
 Cute Cat Memes That Will Make Your Day Brighter
-
 Spot-on and Funny Memes About Introverts Struggles
-
 Top Wonderful Cat Memes on Their Way to Better Your Day
- Recipes
-
 Creamy Old Fashioned Rice Pudding
-
 Russian Tea Cakes (Snowball Cookies)
-
 Rigatoni with Sausage, Tomatoes, and Zucchini
- Lifehacks
-
 How to Crochet a Harlequin Stitch
-
 Removing The Toughest Stains
-
 Crochet Basics: Crumpled Griddle Stitch
- Crochet Ideas
-
 Crochet Christmas Tree
-
 Crochet Goblet of Fire
-
 Crochet Adorable Ammonite
- DIY
-
 DIY Snowman Wreath
-
 Mini Santa Sleigh Ornament
-
 Crochet Gingerbread House Blanket
- Knitting Ideas
-
 Knitted Easter Bunny
-
 Knitted Mobile Phone/Glasses Case
-
 Knitted Cabled Wallet