How to Crochet an Adorable Pig: A Fun and Creative Project

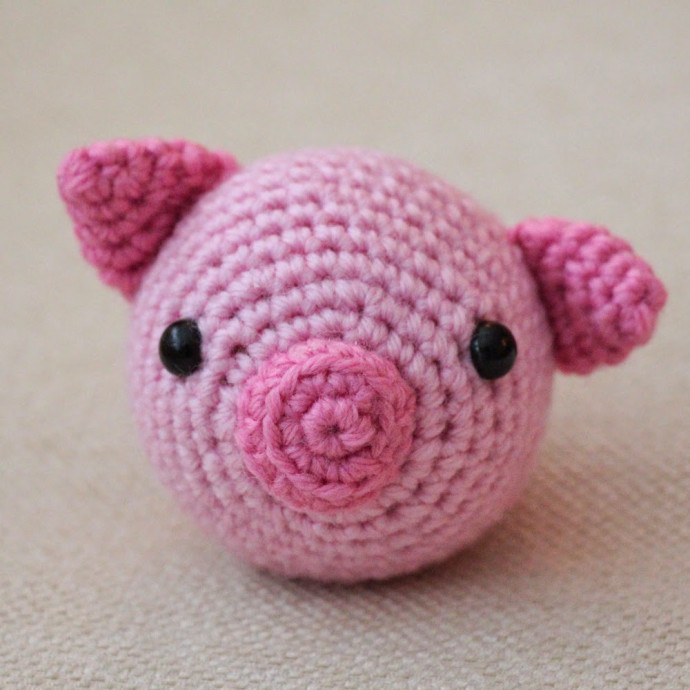
Crocheting an adorable pig is not only a fun and creative way to spend your time but also a delightful project that will bring a smile to your face. With just a hook and some cozy yarn, you can create a cute little piggy that will steal your heart. The intricate details of the crochet stitches come together to form the charming features of the pig, from its round snout to its curly tail. Whether you're a seasoned crocheter or new to the craft, this project is sure to spark joy and add a touch of whimsy to your day. So grab your supplies, follow the pattern, and get ready to crochet your way to a snuggly little pig companion!
You Will Need:
- Light pink yarn in worsted weight
- Dark pink yarn in worsted weight
- Stuffing (polyfill or wool)
- Safety eyes
- Crochet hook (size A recommended but any hook up to size G will work)
- Tapestry needle
Key:
- Ch = chain
- INC = 2 sc into one stitch
- #INC = do # increases in a row
- DEC = invisible decrease turns the next 2 sts into one st
- # or sc# = separate sc stitches (no increasing or decreasing)
Begin Here:
RND 1: With light pink yarn, magic circle with 6 stitches into the loop.
RND 2: INC around. (12)
RND 3: (1, INC) around (18)
RND 4: 1, INC, 2, INC, 3, INC, 2, INC, 3, INC, 2 (23)
RND 5: INC, 4, INC, 3, INC, 4, INC, 3, INC, 4 (28)
RND 6: 3, INC, 6, INC, 6, INC, 6, INC, 3 (32)
RND 7: 5, INC, 9, INC, 9, INC, 6 (35)
RND 8: 3, INC, 10, INC, 11, INC, 8 (38)
RND 9: 12, INC, 25 (39)
RND 10: INC, 38 (40)
RND 11: sc around (INSERT EYES NOW BETWEEN RND 6-7, nine sts apart)
RND 12: 38, DEC (39)
RND 13: 25, DEC, 12 (38)
RND 14: 8, DEC, 11, DEC, 10, DEC, 3 (35)
RND 15: 6, DEC, 9, DEC, 9, DEC, 5 (32)
RND 16: 3, DEC, 6, DEC, 6, DEC, 6, DEC, 3 (28) (FILL WITH STUFFING)
RND 17: 4, DEC, 3, DEC, 4, DEC, 3, DEC, 4, DEC (23)
RND 18: 2, DEC, 3, DEC, 2, DEC, 3, DEC, 2, DEC, 1 (18)
RND 19: (DEC, 1) repeat around (12)
RND 20: (DEC, 1) repeat around. Fasten off. Weave loose end through each stitch in the opening. Fill completely with stuffing. Pull tightly to close. Sew in your end.
Nose (Use Dark Pink):
RND 1: Magic Circle with 6 stitches in the loop (6)
RND 2: INC around (12)
RND 3: Sc in the backloops around. Bind off. Leave tail for sewing. Sew onto your first few rounds of the head/body.
Ears (Make 2 in Dark Pink):
RND 1: Magic Circle with 4 sts in the loop
RND 2: (1, INC) around (6)
RND 3: (2, INC) around (8)
RND 4: (3, INC) around (10)
RND 5: (4, INC) around (12). Bind off leaving a tail to sew on the top of the head. Squish flat. Sew shut. Make another one and attach to the head.
Tail (Light Pink):
Chain 10 leaving a tail at the beginning. INC in every ch back across your tail. Finish off leaving a 6” tail. Tie this tail and the beginning tail to the piggy’s bum (where you finished off your sphere) and sew in the ends.
- Funny Pictures
-
 Feline Memes to Feel Better
-
 Best Funny Pics of the Day Especially for You
-
 Pictures That Have No Right to be This Funny
- Recipes
-
 Strawberry Banana Bread
-
 Kraut-Tots
-
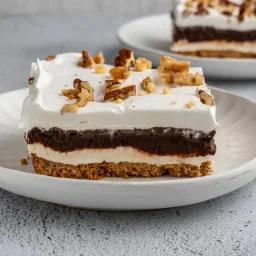 Chocolate Delight Dessert
- Lifehacks
-
 7 Crochet Tips & Tricks
-
 Raspberry Crochet Stitch
-
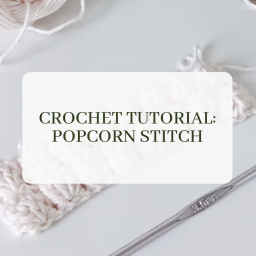 Crochet Tutorial: Popcorn Stitch + Printed PDF
- Crochet Ideas
-
 Crochet Snorlax Plushie Doll
-
 Crochet Cat in 1 Row
-
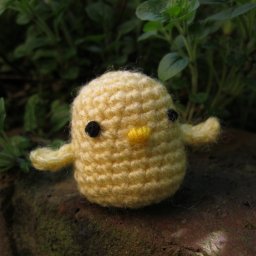 Crochet Tiny Chick Amigurumi
- DIY
-
 Popsicle Stick and Jingle Bell Christmas Tree Ornament
-
 Upcycled Mason Jar Chicken Vase
-
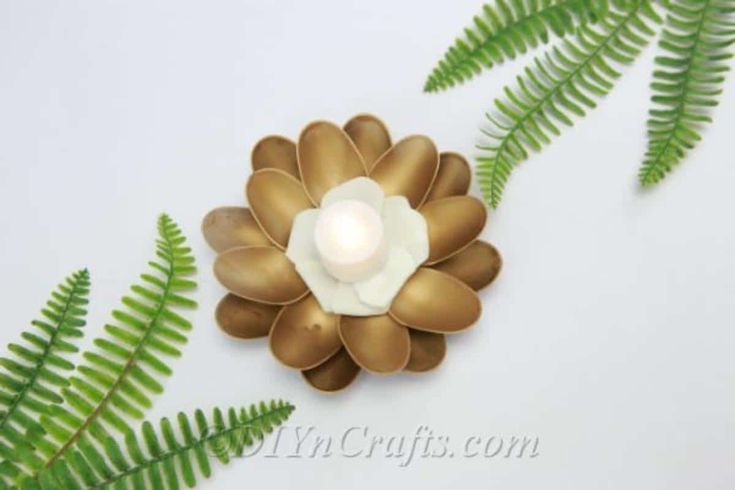 Make A Candle Holder From Plastic Spoons
- Knitting Ideas
-
 Knitted Newborn Striped Beanie
-
 Knitted Chunky Newborn Pixie Hat
-
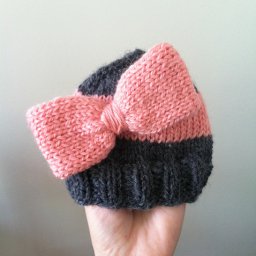 Knitted Big Bow Hat