How to Create a Crochet Little Airplane


Creating a Crochet Little Airplane can be a delightful and rewarding experience! As you work on this charming project, you'll find yourself navigating through loops and stitches to bring to life a cute miniature aircraft. With each stitch, you'll see the airplane taking shape, ready to embark on imaginative adventures. The rhythmic motion of crochet can be quite soothing, making it a calming and enjoyable activity. Plus, the end result will be a unique and handmade toy that can bring joy to both children and adults alike. So, grab your yarn and crochet hook, and let's soar into a world of creativity and fun with this adorable Crochet Little Airplane!
Materials
1 medium/4 worsted yarn – blue (Caron Simply Soft)
2.75mm crochet hook
Polyester fiberfill for stuffing
Stitch marker
Yarn needle
Felt, red and black
Glue gun, or fabric glue
Abbreviations
ch = chain
rnd = round
st = stitch
sc = single crochet
inc = increase
dec = decrease
rnd = round
Note
This ornament is crocheted in continuous spirals without joining the rounds. The size is approx. 4 inches long.
Body of Plane
(starts at tail)
With blue yarn, make a ch. of 4 st.
Rnd 1: 2 sc, inc, turn to the other side of the chain, 1 sc, inc (7)
Rnd 2: inc, 1 sc, inc 2 times, 3 sc (10)
Rnd 3: inc, 3 sc, inc 3 times, 2 sc, inc (15)
Rnd 4 to 5: sc in each st around (15)
Rnd 6: dec 2 times, 11 sc (13)
Rnd 7: dec 2 times, 7 sc, dec (10)
Rnd 8: dec, 6 sc, dec (8)
Rnd 9: [1 sc, inc] 4 times (12)
Rnd 10: [2 sc, inc] 4 times (16)
Rnd 11: inc 4 times, 12 sc (20)
Start stuffing, and continue along the way.
Rnd 12 to 23: sc in each st around (20)
Rnd 24: [2 sc, dec] 5 times (15)
Rnd 25: [1 sc, dec] 5 times (10)
Rnd 26: dec 5 times (5)
Fasten off. Embroider the thread in the stitches of the last row to close the hole.
Wings
(Make 2)
With blue yarn, start with a magic ring.
Rnd 1: 5 sc in center of the ring (5)
Rnd 2: 2 sc in each st around (10)
Rnd 3: [1 sc, inc] 5 times (15)
Rnd 4 to 9: sc in each st around (15)
Fasten off, and leave a long tail for sewing. Stuff them but not too much; you want the wings to remain flat, and not round.
Sewing the Wings
Position the wings on each side of the plane and pin them with needles. Sew around using the stitches of the wing and plane to attach them together. Weave in loose ends.
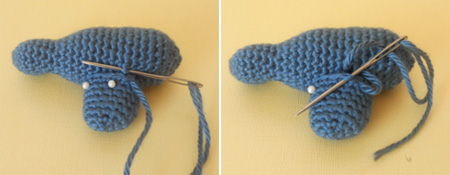
Insert the needle in one of the stitches of the plane, then in one of the stitches of the wings. Continue all the way around. Make sure that both wings are leveled.
Propellers
Cut two pieces of red felt in the shape of propellers, about 1 inch long. Cut a circle in black felt. Glue the propellers first to the front of the plane, then the circle on top of them.
Conclusion
Voila! Your little airplane is ready to take off.
- Funny Pictures
-
 Cool Memes to Take a Rest
-
 Memes That Describe Parenting the Best
-
 Hilarious and Cute Animals to Upper Your Mood
- Recipes
-
 Lemon Cheesecake Cookies (Soft-Baked)
-
 Instant Pot Cabbage Soup
-
 Eggnog White Chocolate Streusel Cake
- Lifehacks
-
 8 Necessary Tips for Baking Bread
-
 10 Uses For Old TV Armoires
-
 11 Organization Hacks for Clutter Control
- Crochet Ideas
-
 Crochet Flower Hat for your Pet
-
 Crochet Sophia and Bennet Love Birds
-
 Crochet Reversible Ghost
- DIY
-
 DIY Beaded Christmas Tree
-
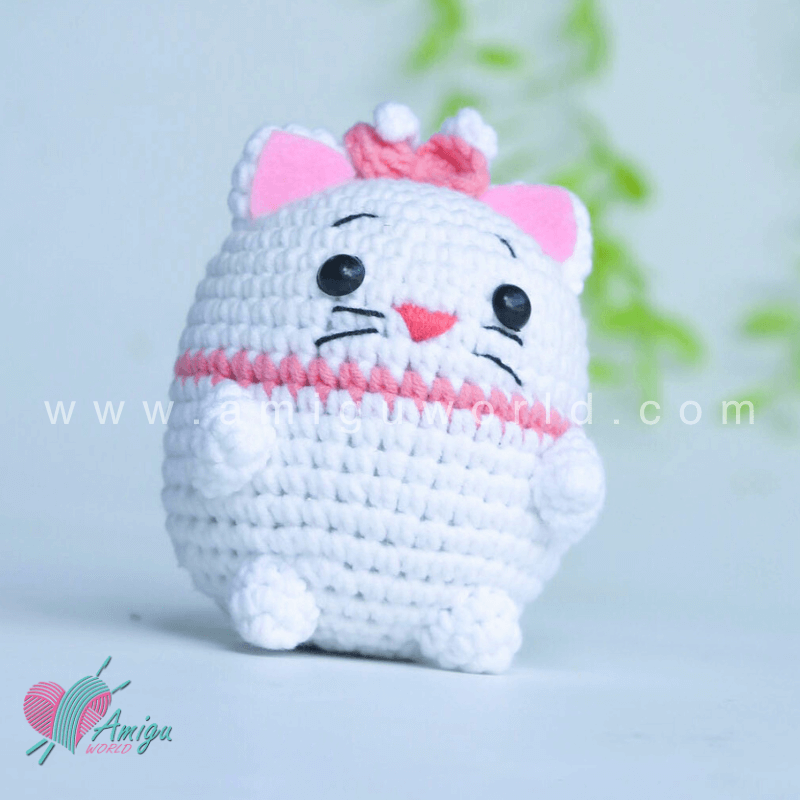 Crochet Chibi Marie Cat Amigurumi
-
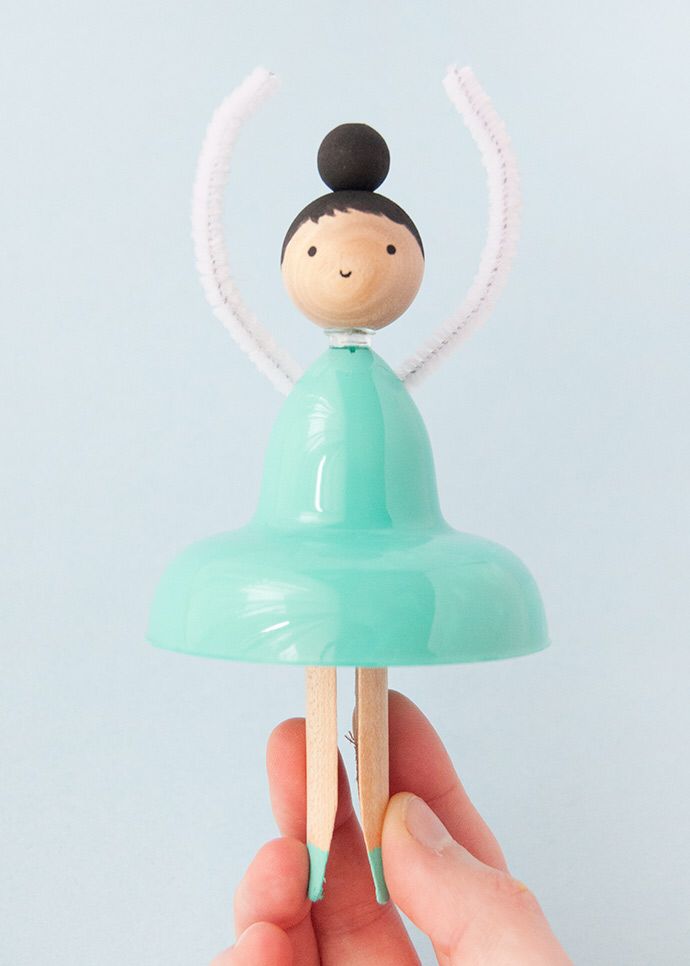 Dolls from Party Cups
- Knitting Ideas
-
 Knitted Star Square Dishcloth
-
 Knitted Free 2025 Year Dishcloth
-
 Knitted Ribbed Adult Hat