Crochet Circle Granny Square: A Modern Twist on a Classic Pattern

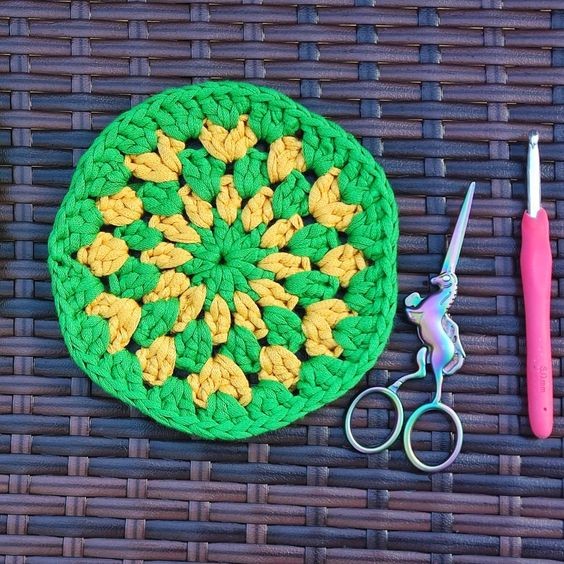
Create a beautiful crochet design by combining the classic granny square with a modern twist - the crochet circle. By incorporating both shapes into your project, you can achieve a unique and eye-catching look that will surely impress. Start by crocheting a traditional granny square using your favorite colors and yarn weights. Then, add a crochet circle in the center or on the corners to create a striking contrast. Experiment with different sizes and placements to find the perfect balance between the two shapes. Whether you're making a blanket, a pillow, or a garment, the crochet circle granny square is a versatile technique that can be adapted to suit any project. Whether you're a beginner or an experienced crocheter, the crochet circle granny square is a technique that is sure to inspire your creativity and take your projects to the next level. So grab your yarn and hook, and start crocheting your own crochet circle granny square masterpiece today!
Materials Needed to Make This Circle Granny Square
Hobbii Ribbon, Chunky (#7, 100% Cotton, 250 g/8.8 oz, 125 m/137 yds /250g Ball)
Estimated Yardage:
- Green – 50
- Yellow – 150
Hook:
- 6 mm Hook
Other Materials:
- Darning Needle
Gauge:
8 stitches, 5 rows to 10 cm/4″ before blocking.
Adjust hook size if necessary to obtain gauge.
Pattern Notes
- Please kindly read through the pattern before starting.
- Any yarn weight with a corresponding crochet hook can be substituted for this project.
- Ch 3 at the beginning of the round counts as the first stitch throughout the pattern.
Skill Level – Easy
Terms – US terms
Stitch Abbreviations
Chain(s) – ch(s)
Slip stitches (slip knot) – sl st
Stitch(es) – st(s)
Single Crochet – sc
Half Double Crochet – hdc
Double Crochet – dc
Repeat – Rep
Special Stitches
- Granny Cluster (gcl) = 3 dc in the space between two stitches.
- Cluster Increase (cl-inc) = 4 dc in ch space.
- Space – sp = Space between the stitches.
- Magic Circle or Magic Ring.
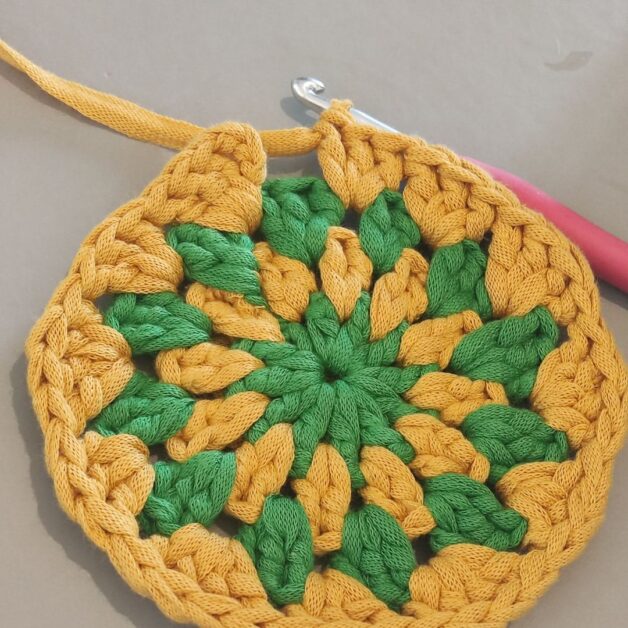
How to Make the Granny Circle Pattern
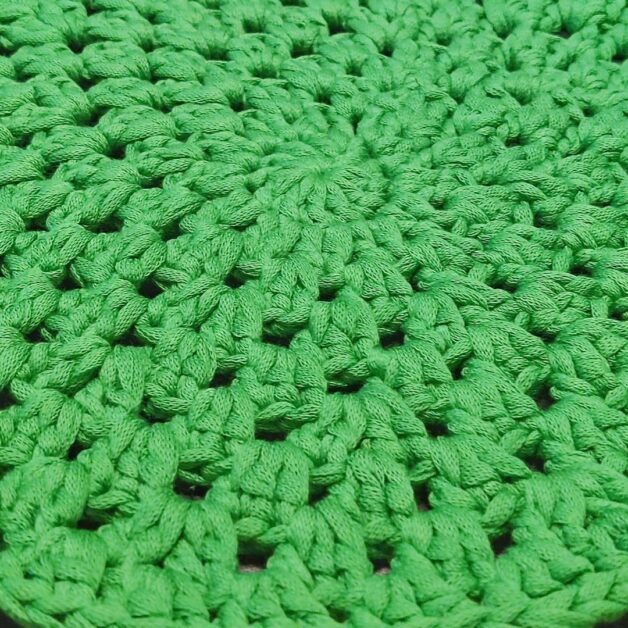
The granny stitch is made in rounds, skipping and working into the next corner, as done with the classic granny squares, made using double crochet stitches.
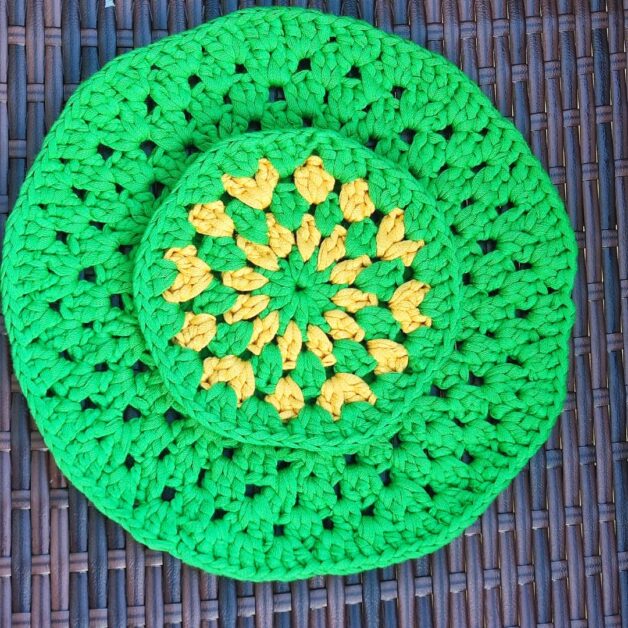
This crochet project can be made using single or multiple yarn color(s). You can even make this project using different colors; just fasten off one color and join a new color after each round.
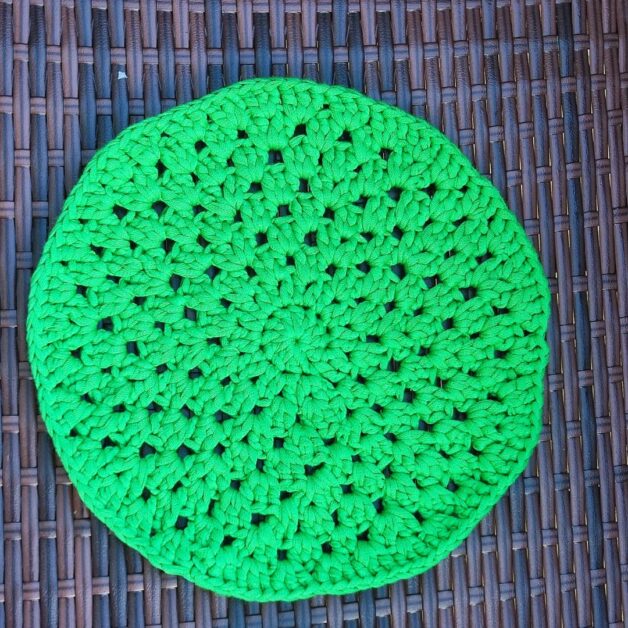
When making the round granny instead of a regular granny square pattern, you crochet from the circle center.
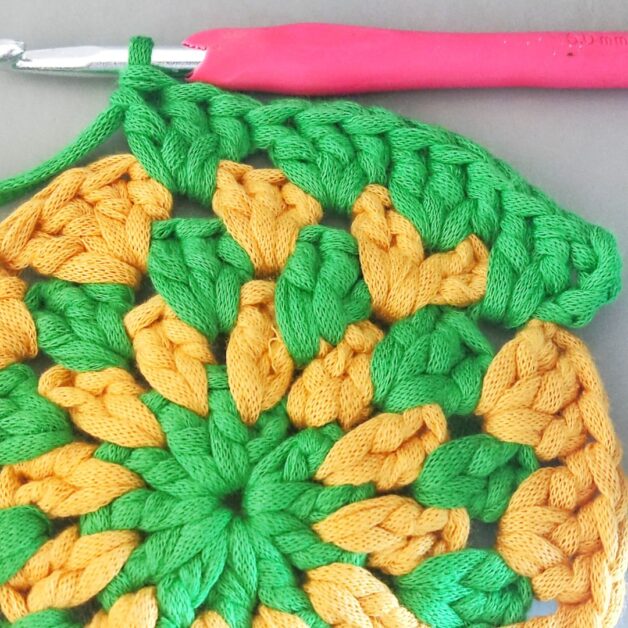
Step-by-Step Photo Tutorial
With Color A, make a magic ring, or alternatively, chain 4, then 11 dc in the first ch.
Round 1: Ch 3 (counts as dc here and throughout the pattern), 11 dc into the ring, join with sl st to top of ch 3. 12 dc
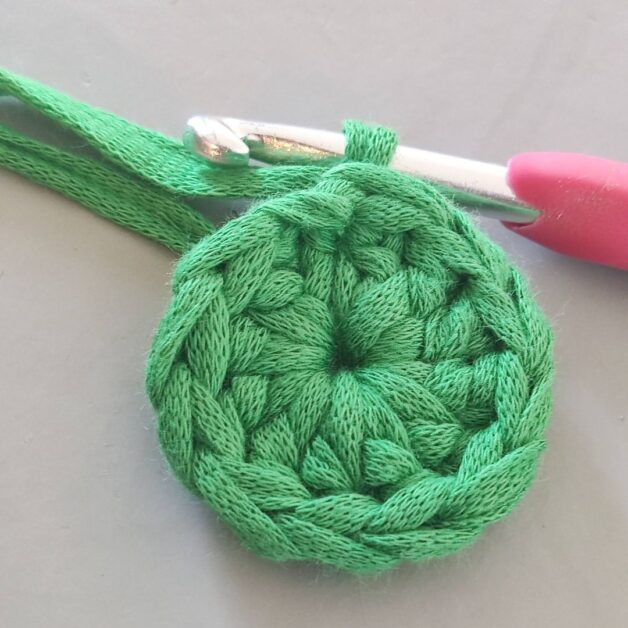
Fasten color A off, and join color B to any space between the stitches.
Round 2: Ch 3, dc in the same sp, *2 dc in each of the sps around, join with sl st to top ch 3. 24 dc
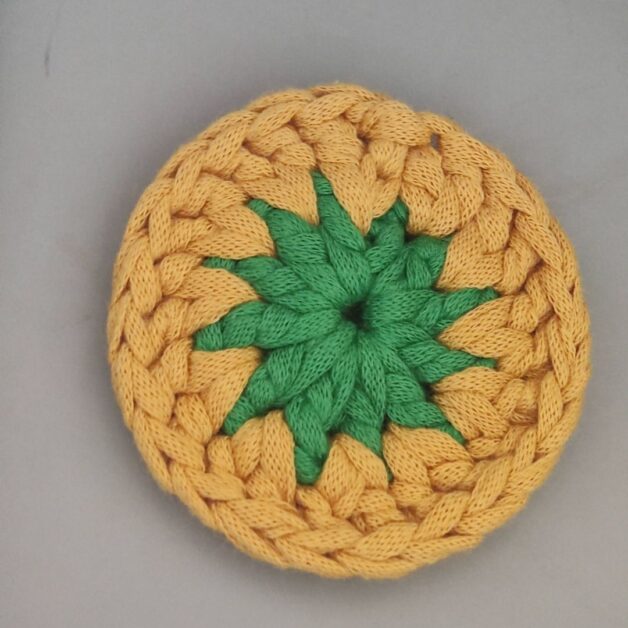
Fasten color B off, and join color A to any space between the stitches.
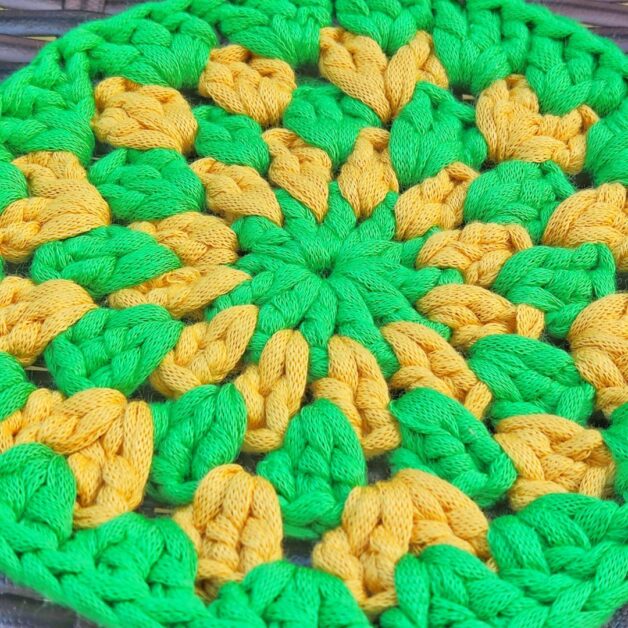
Round 3: Ch 3, 2 dc in the same sp, *skip the next st, gcl in the next sp, rep from * around, join with sl st to top ch 3. 12 gcl
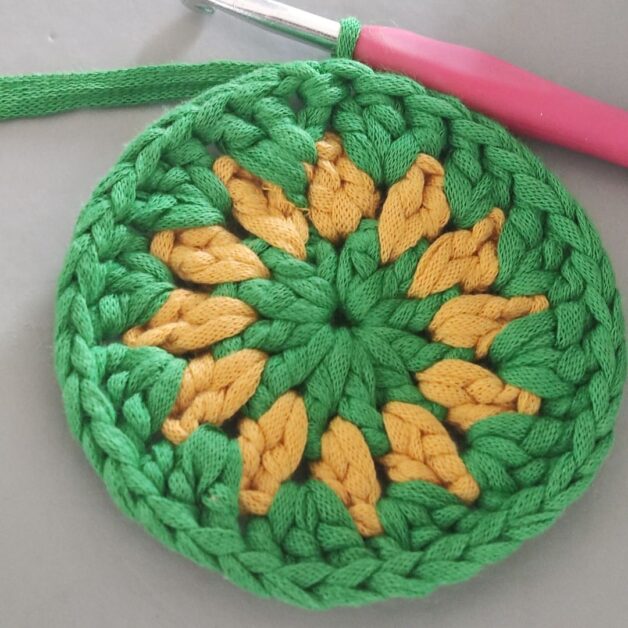
Fasten color A off, and join color B to any space between the stitches.
This next step is crucial to avoid curling.
Round 4: Ch 3, 3 dc in the same sp, [gcl in next sp, cl-inc in next sp] repeat around ending with gcl in the last sp, join with sl st to top ch 3. 6 gcl, 6 cl-inc
Fasten color B off, and join color A to any space between the stitches.
Round 5: Ch 3, 2 dc in the same sp, *gcl in sp in the middle of cl-inc, gcl in next 2 sps* repeat from * around ending with gcl in sp in the middle of cl-inc, gcl in the last sp, join with sl st to top ch 3. 18 gcl
Round 6: Repeat round 4. 9 gcl, 9 cl-inc
Round 7: Repeat round 5. 27 gcl
Round 8: Ch 3, 3 dc in the same sp, [gcl in next 2 sps, cl-inc in next sp] repeat around ending with gcl in the last stitch sp, join with sl st to top ch 3. 18 gcl, 9 cl-inc
Round 9: Ch 3, 2 dc in the same sp, gcl in every sp and gcl in every sp in the middle of cl-inc.
Continue to repeat Rounds 8 & 9 until you have your desired circumference.
Note that the number of spaces in Round 8 must be increased by 1 each time.
Round 10: Repeat Round 8. This would look like this: Ch 3, 3 dc in the same sp, [gcl in next 3 sps, cl-inc in next sp] repeat around ending with gcl in the last sp, join with sl st to top ch 3.
- Funny Pictures
-
 These are the Pics That Simply Describe Your Life
-
 Hilariously Accurate Parenting Memes That Show the Other Side of Parenthood
-
 Great Pics That Just Depict Our Lives
- Recipes
-
 Crispy Baked Avocado Fries
-
 Baked Beans and Hot Dogs with Biscuit Topping
-
 Roasted Rosemary Lemon Chicken Breasts
- Lifehacks
-
 Crochet Basics: Twisted Fringe
-
 7 Crochet Tips And Tricks
-
 How To Work Crochet Into Denim
- Crochet Ideas
-
 Crochet Snorlax Plushie Doll
-
 Crochet Cat in 1 Row
-
 Crochet Beautiful Penguin Toy
- DIY
-
 Popsicle Stick and Jingle Bell Christmas Tree Ornament
-
 Upcycled Mason Jar Chicken Vase
-
 Crochet Namaste Stephanie Doll
- Knitting Ideas
-
 Knitted Keepsake Bag
-
 Knitted Textured Heart Dishcloth
-
 Knitted Snowfall Dishcloth