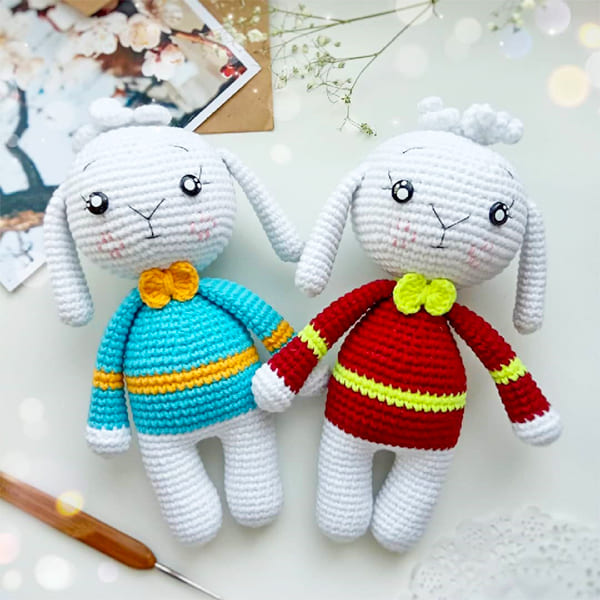
How to Create Your Own Amigurumi Crochet Bunny

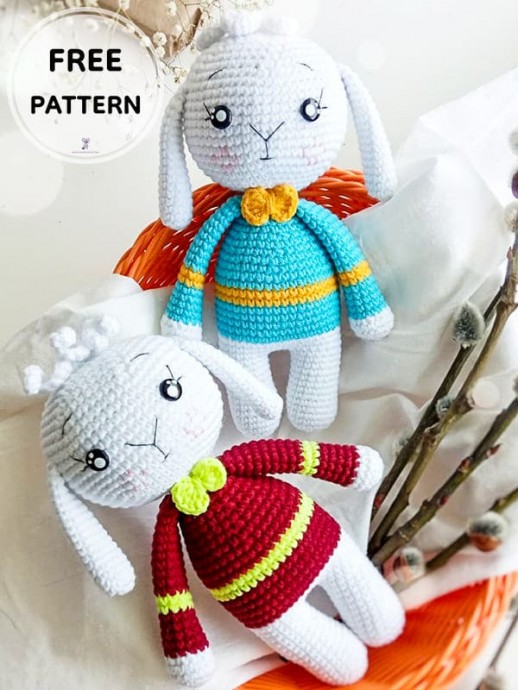
This Amigurumi Crochet Bunny is a charming handmade toy that is perfect for children and adults alike. The intricate crochet work creates a soft and cuddly bunny that is sure to bring joy to anyone who receives it. The attention to detail in Kiara's design is evident in the carefully stitched features and the quality of the materials used. This unique amigurumi bunny is not only a toy but also a work of art that showcases the skill and creativity of the maker. Whether displayed on a shelf or given as a gift, this Amigurumi Bunny is a special creation that embodies the love and care put into each stitch. Handcrafted with precision and passion, this crochet bunny is a testament to the beauty of handmade artistry.
Necessary Materials
- Yarn
- Hook 2-2.5 (use the one that suits your knitting density)
- Filler/ holofiber
- Scissors
- Needle with a wide eye (for sewing on parts and embroidery)
- Floss threads (for decoration of the muzzle)
- Screw eyes No. 8-10
The height of the crochet bunny toy is approximately 16 cm.
Abbreviations
MR - Magic ring
Sc - Single crochet
Inc - Increase
Dec - Decrease
Dc - Double crochet
Sl st - Slip stitch
Ch - Chain
The toy is knitted as a whole, starting with legs, then crochet goes into the body and head. In the process, arms are tied. Ears and the tail is sewn during assembly. Toy 16cm high (depending on selected yarn, hook number and crochet density). Crochet goes in a spiral, without loops lift.
Crafting Instructions
Arms
Starting in white.
Rnd 1. 6sc in MR
Rnd 2. 6 inc (12)
Rnd 3. (1sc,inc) * 6 (18)
Rnd 4. 18 sc (18)
Rnd 5. (1sc,dec) * 6 (12)
Change the color of the yarn (in my case to blue)
Rnd 6. 12 sc (5 rows)
Change the color of the yarn (in my case to yellow)
Rnd 7. 12 sc (2 rows)
We put the filler only in the bottom part of the arms.
We change the color of the yarn (in my case on blue).
Rnd 8. 12 sc (10 rows)
Fold the edges, crochet 5 sc for both walls.
Cut the thread. Pin. Crochet 2nd piece description.
Ears
In white.
Rnd 1. 6 sc in MR
Rnd 2. 6 inc (12)
Rnd 3. 12 sc (15 rows)
We do not fill. Fold the edges, crochet for both walls 5 sc.
Cut the thread, leaving a long end for sewing. Pin. Also tie the 2nd part.
Tail
In white.
Rnd 1. 6 sc in MR
Tighten the ring, cut the thread, leaving a long end for sewing. Pin
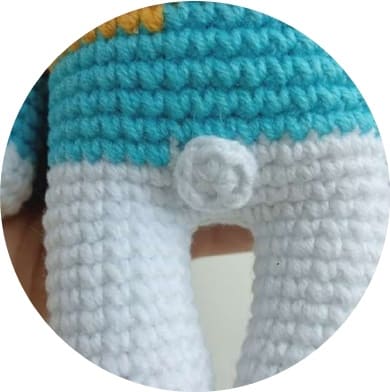
Legs & Body
White color.
Rnd 1. 6 sc in MR
Rnd 2. 6 inc (12)
Rnd 3. (1sc,inc) * 6 (18)
Rnd 4. 18 sc (11 rows)
On this, cut the thread on one leg.
Similarly, we crochet the second; leave the thread we continue to crochet further.
We collect 3 more ch and attach to the first leg - should it will turn out 42 sc.
Rnd 5. 42 sc (3 rows)
Change the color of the yarn (in my case to blue).
Don’t forget to fill as you go.
Rnd 6. 42 sc (5 rows)
Change the color of the yarn (in my case to yellow)
Rnd 7. 42 sc (2 rows)
Change the color of the yarn (in my case to blue)
Rnd 8. 42 sc (2 rows)
Rnd 9. (5sc,dec) * 6 (36)
Rnd 10. 36 sc (36)
Rnd 11. (4sc,dec) * 6 (30)
Rnd 12. 30 sc (30)
Rnd 13. (3sc,dec) * 6 (24)
Rnd 14. 24 sc (2 rows)
Rnd 15. (2sc,dec) * 6 (18)
In the next row we will knit arms.
Arrange them symmetrically to each other and knit capturing both sc (body and arms).
Rnd 16. 18 sc (18)
Change the color of the yarn (in my case to White)
Rnd 17. (1sc,dec) * 6 (12)
Head
In white.
Without cutting the threads, we continue to crochet.
Rnd 18. 12 inc (24)
Rnd 19. (3sc,inc) * 6 (30)
Rnd 20. (4sc,inc) * 6 (36)
Rnd 21. (5sc,inc) * 6 (42)
Rnd 22. (6sc,inc) * 6 (48)
Rnd 23. (7sc,inc) * 6 (54)
Rnd 24. (8sc,inc) * 6 (60)
Rnd 25. 60 sc (9 rows)
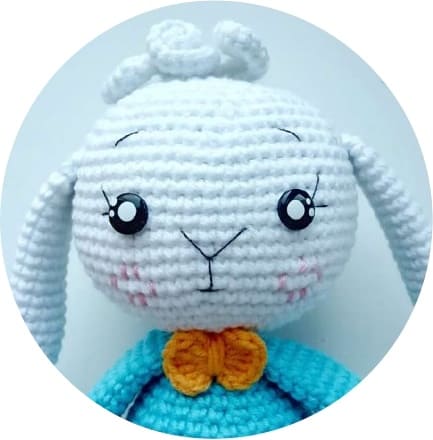
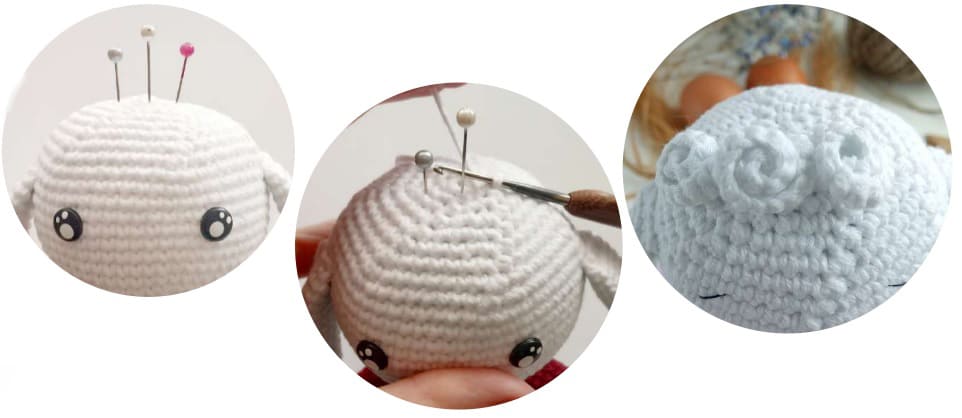
We insert eyes between 5 and 6 rows (rows without additions). Distance between eyes 8 sc.
Rnd 26. (8sc,dec) * 6 (54)
Rnd 27. (7sc,dec) * 6 (48)
Rnd 28. (6sc,dec) * 6 (42)
Rnd 29. (5sc,dec) * 6 (36)
Rnd 30. (4sc,dec) * 6 (30)
Rnd 31. (3sc,dec) * 6 (24)
Rnd 32. (2sc,dec) * 6 (18)
Rnd 33. (1sc,dec) * 6 (12)
Rnd 34. 6 dec
Tighten the loops, close the hole.
Cut the thread, fasten, hide the end in body.
Assembly and Decoration
- Fix the ponytail behind, just below the rows blouses, sew on.
- Position the ears just above the eye line on the sides. Sew on.
- Using thread floss to arrange muzzle.
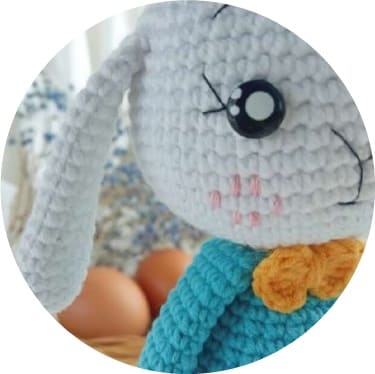
Bow Tie
In yellow.
In MR
2 ch, 5 dc, 2 ch, sl st, 2 ch, 5 dc, 2 ch, sl st, tighten the hole.
Wrap the thread from the ball a couple of times in the middle for a more precise shape.
A thread cut, leaving a long end.
Withdraw to wrong side. Pin.
Sew on or tie on the body.
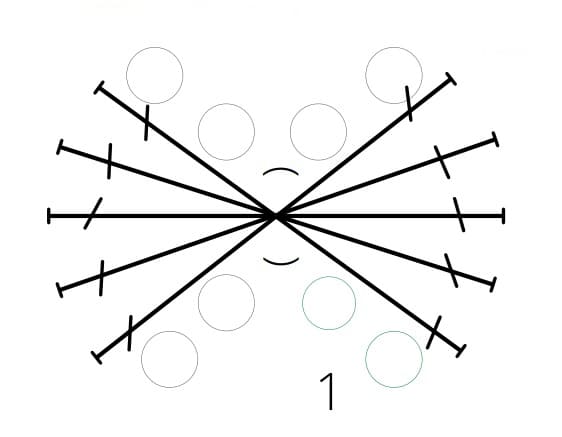
Hairstyle
White color.
On the top of the head, parallel to the line of the eyes, mark 3 points (as on the picture). Attach the thread, capturing the loops on head, crocheting will go from right to left.
16 ch, from 2 loops from the hook, knit 15sc along the chain of ch, 2 sl-st;
16 ch, from 2 loops from the hook 15sc along the chain from ch, 2sl-st;
16 ch, from 2 loops from the hook 15sc along the chain from ch, sl-st.
Cut the thread. Pin. Hide the ends in the body of the toy.
Bunny is ready!
- Funny Pictures
-
 Cat Memes to Make You Smile
-
 Funny Cat Pictures Because Caturday is Almost Here
-
 Funny Work Memes to Take Your Mind off of Emails and Deadlines for Just a Moment
- Recipes
-
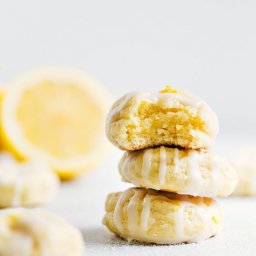 Lemon Cheesecake Cookies (Soft-Baked)
-
 Instant Pot Cabbage Soup
-
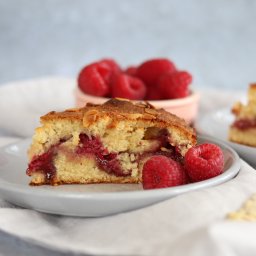 Raspberry Bakewell Cake
- Lifehacks
-
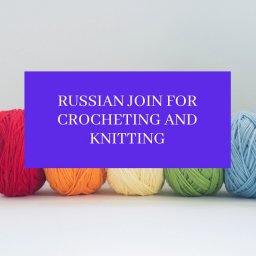 Russian Join for Crocheting and Knitting
-
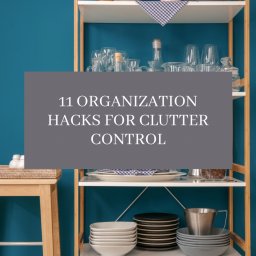 11 Organization Hacks for Clutter Control
-
 Tips for Washing Yellowed Pillows
- Crochet Ideas
-
 Crochet Sophia and Bennet Love Birds
-
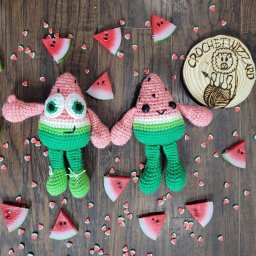 Crochet Watermelon Buddies Toys
-
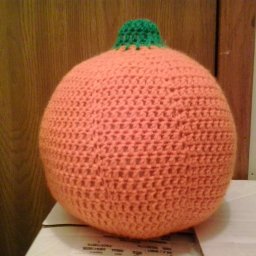 Crochet Large Pumpkin
- DIY
-
 DIY Beaded Christmas Tree
-
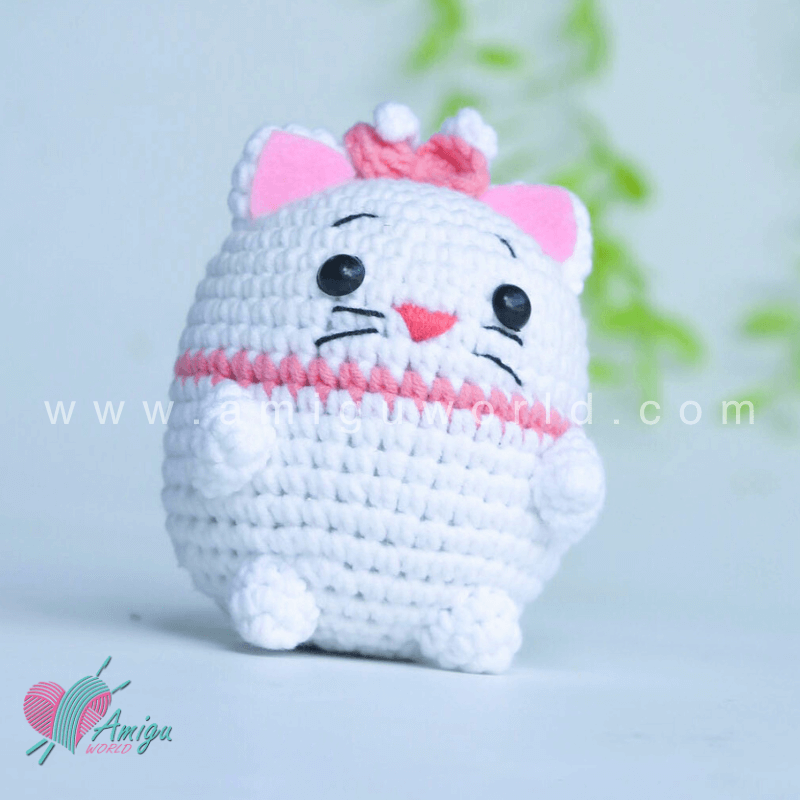 Crochet Chibi Marie Cat Amigurumi
-
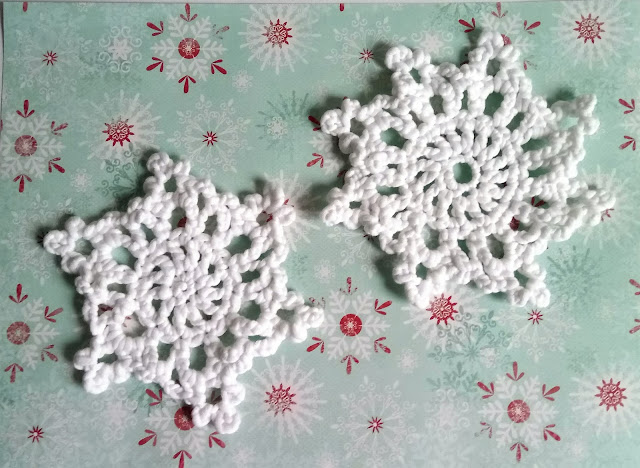 Crochet Beautiful Snowflakes
- Knitting Ideas
-
 Knitted Ribbed Adult Hat
-
 Knitted Checkers Blanket
-
 Knitted Oak Tree Leaf Square Washcloth