Crochet Ragdoll Bunny Amigurumi: A Delightful Handmade Toy

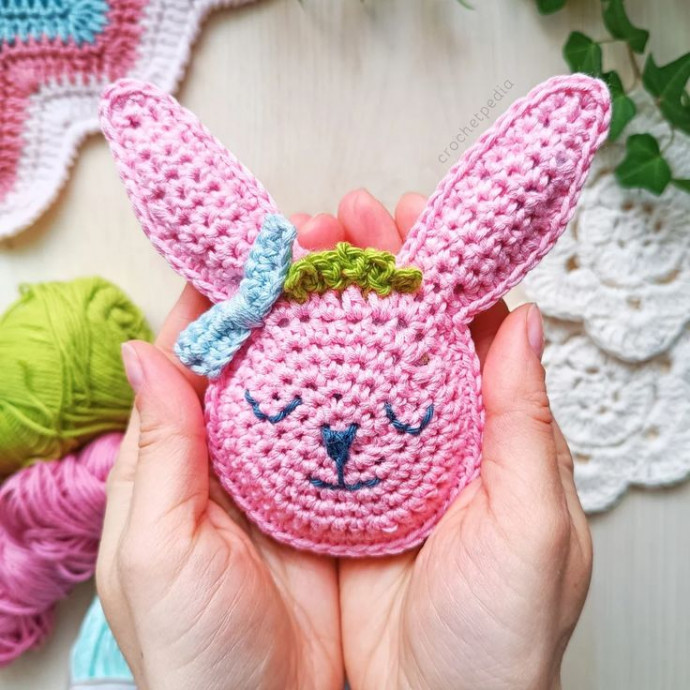
Crochet Ragdoll Bunny Amigurumi is an adorable and delightful handmade toy that brings joy and sweetness to both adults and children alike. This cute and cuddly bunny is perfect for snuggling and makes a charming addition to any toy collection or home decor. Its soft yarn and intricate design give it a unique and lovable personality that is sure to brighten anyone's day. Crochet Ragdoll Bunny Amigurumi is a wonderful gift that is guaranteed to bring smiles and warmth wherever it goes.
Materials and Tools
- Alison & Mae Cotton Bamboo, one skein of each color you want to use. You can use any worsted-weight yarn with a corresponding hook.
- 3.5 mm crochet hook
- Polyfill
- Stitch markers, scissors, yarn needle, embroidery thread (optional)
REMEMBER! If you choose a different yarn weight, remember to use a corresponding hook size, and be prepared for the final product to have different measurements.
Measurements
~13 cm tall (~5.12 inches)
Stitches and Abbreviations
- Magic ring
- ch – Chain stitch
- sl st – Slip stitch
- sc – Single crochet
- hdc – Half double crochet
- dc – Double crochet
- st – Stitch
- inc – Increase = 2 single crochets in one stitch
- dec – Decrease = sc2tog – Decrease using single crochet
- 2 hdc in one st – Increase using half double crochet
Ragdoll Bunny Free Crochet Pattern
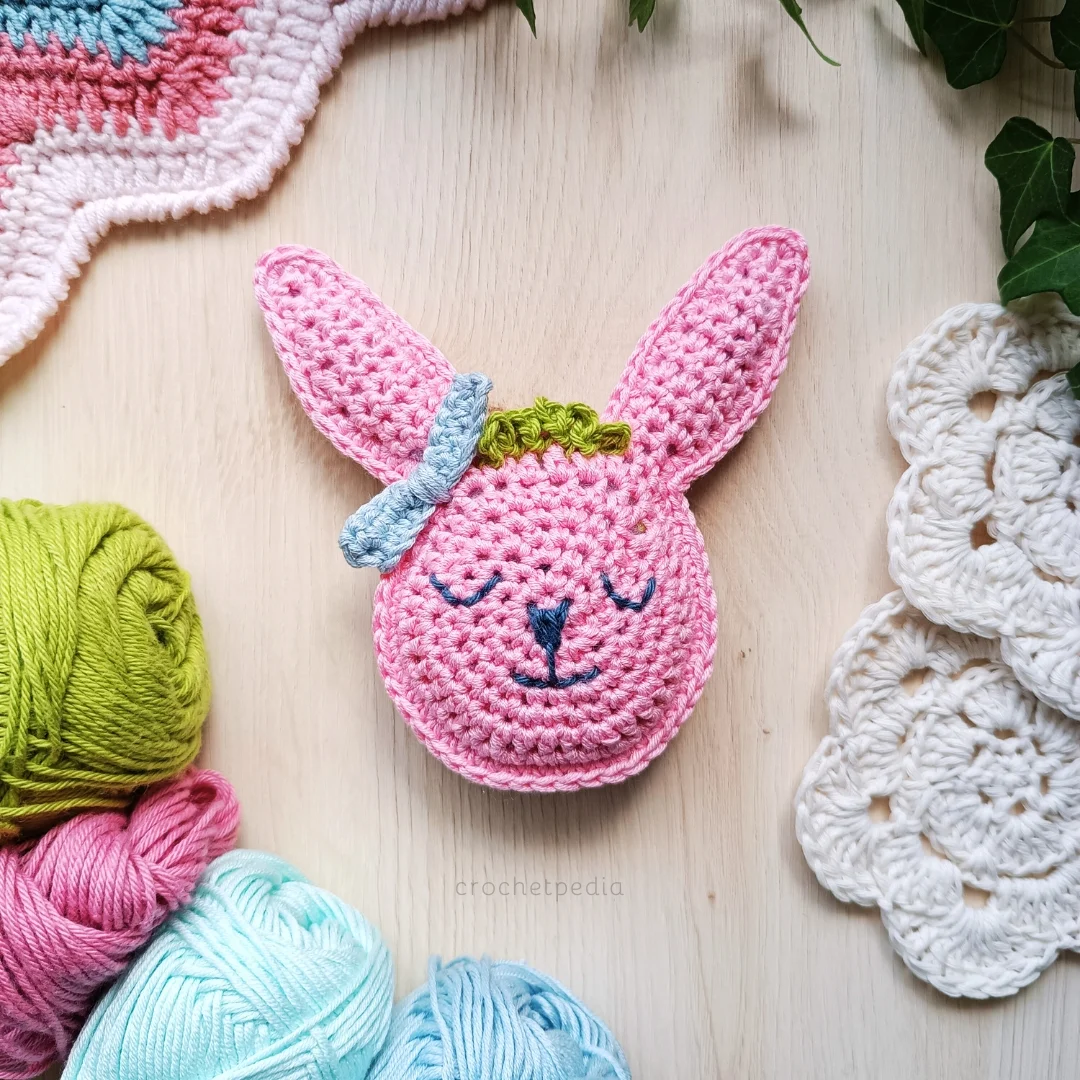
First, we crochet two flat bunny heads: a flat egg-shaped circle with two ears worked in back-and-forth rows. Then, we join the two parts using sc stitches and we fill the toy with polyfill as we go. Lastly, we add embroidery, fringe, and a bow.
Notes
- The numbers in brackets (#) signify the overall stitch count for a given row or round.
- 1 ch and 2 ch at the beginning of the round (turning chains) don’t count as a stitch and aren’t included in the overall stitch count.
The Bunny Face
Make the Circle:
Start: magic ring
Round 1: 6 sc into the loop, close with a slip stitch
Round 2: 1 ch, (inc = 2 sc in one st) x6, sl st (12)
Round 3: 1 ch, (inc, 1 sc) x6, sl st (18)
Round 4: 1 ch, (1 sc, inc, 1 sc) x6, sl st (24)
Round 5: 1 ch, (2 sc, inc, 1 sc) x6, sl st (30)
Round 6: 2 ch, (2 hdc in one st, 4 hdc) x6, sl st (36)
Shape the top:
1 ch, 1 sc, 2 hdc in one st, 2 dc in one st, 1 dc, 1 dc, 2 dc in one st, 2 hdc in one st, 1 sc.
Continue around:
Place the stitch marker on the first single crochet.
(5 sc, inc) x2, 4 sc, inc, 5 sc, inc, 5 sc.
You now have 44 stitches all around.
Ear One
Turn after every row.
Row 1 / RS: 1 sl st, 1 ch, 3 sc, turn. (3)
Row 2 / WS: 1 ch, 3 sc. (3)
Row 3 / RS: 1 ch, inc, 1 sc, inc (5)
Rows 4-7: 1 ch, 5 sc (5)
Row 8 / WS: 1 ch, 3 sc, dec (4)
Row 9 / RS: 1 ch, 4 sc (4)
Row 10 / WS: 1 ch, 2 sc, dec (3)
Row 11 / RS: 1 ch, 3 sc (3)
Row 12 / WS: 1 ch, 1 sc, dec (2)
Row 13 / RS: 1 ch, dec (1)
Cut the yarn and secure the last stitch.
Ear Two
Turn the work wrong side up and attach the yarn to the stitch marked with the marker. You start on the other side, but the instructions remain the same.
Turn after every row.
Row 1 / WS: 1 sl st, 1 ch, 3 sc, turn. (3)
Row 2 / RS: 1 ch, 3 sc. (3)
Row 3 / WS: 1 ch, inc, 1 sc, inc (5)
Rows 4-7: 1 ch, 5 sc (5)
Row 8 / RS: 1 ch, 3 sc, dec (4)
Row 9 / WS: 1 ch, 4 sc (4)
Row 10 / RS: 1 ch, 2 sc, dec (3)
Row 11 / WS: 1 ch, 3 sc (3)
Row 12 / RS: 1 ch, 1 sc, dec (2)
Row 13 / WS: 1 ch, dec (1)
Cut the yarn and secure the last stitch.
Make two of these bunny faces.
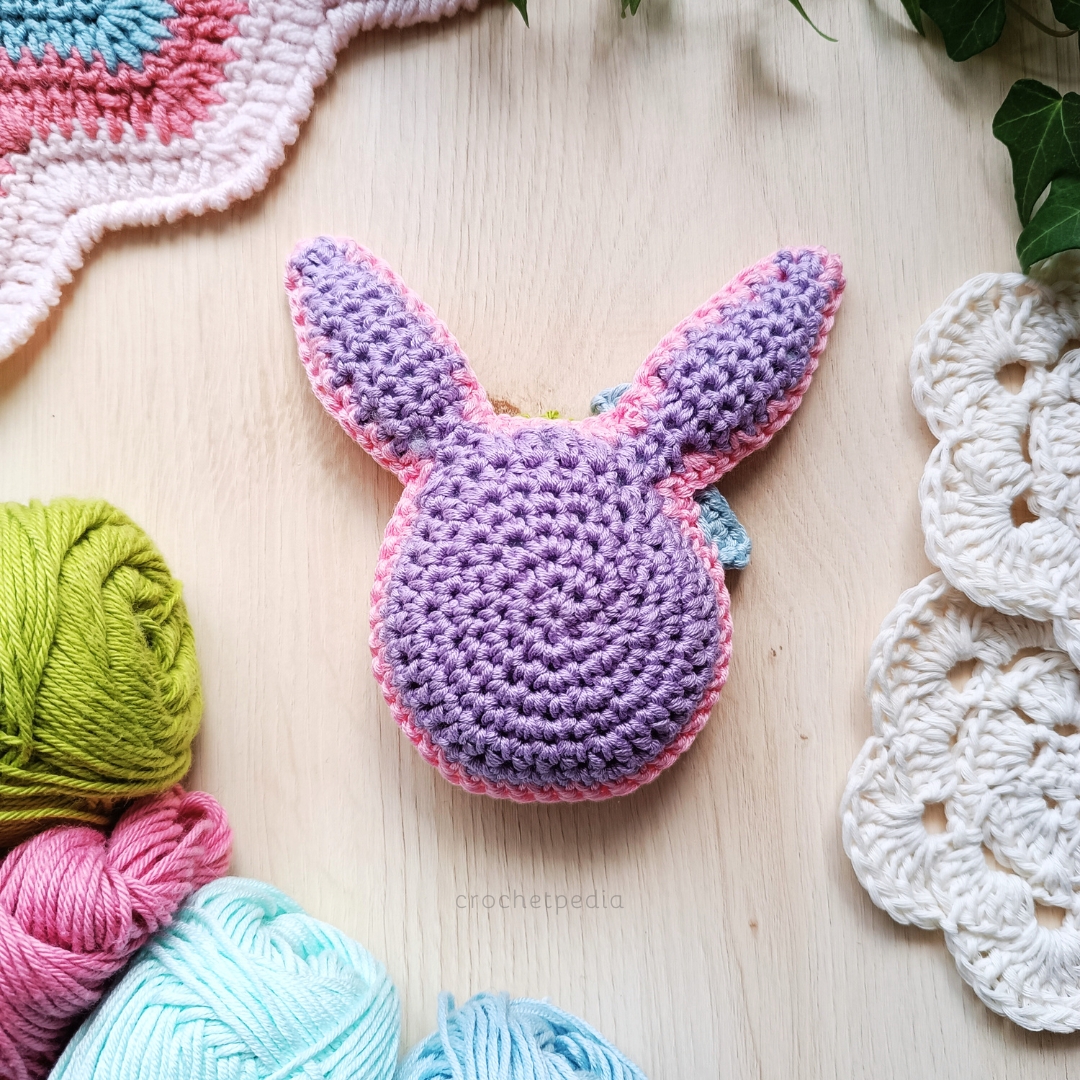
Joining Two Parts
Put one piece on the other wrong side inside.
Fill the Bunny Face.
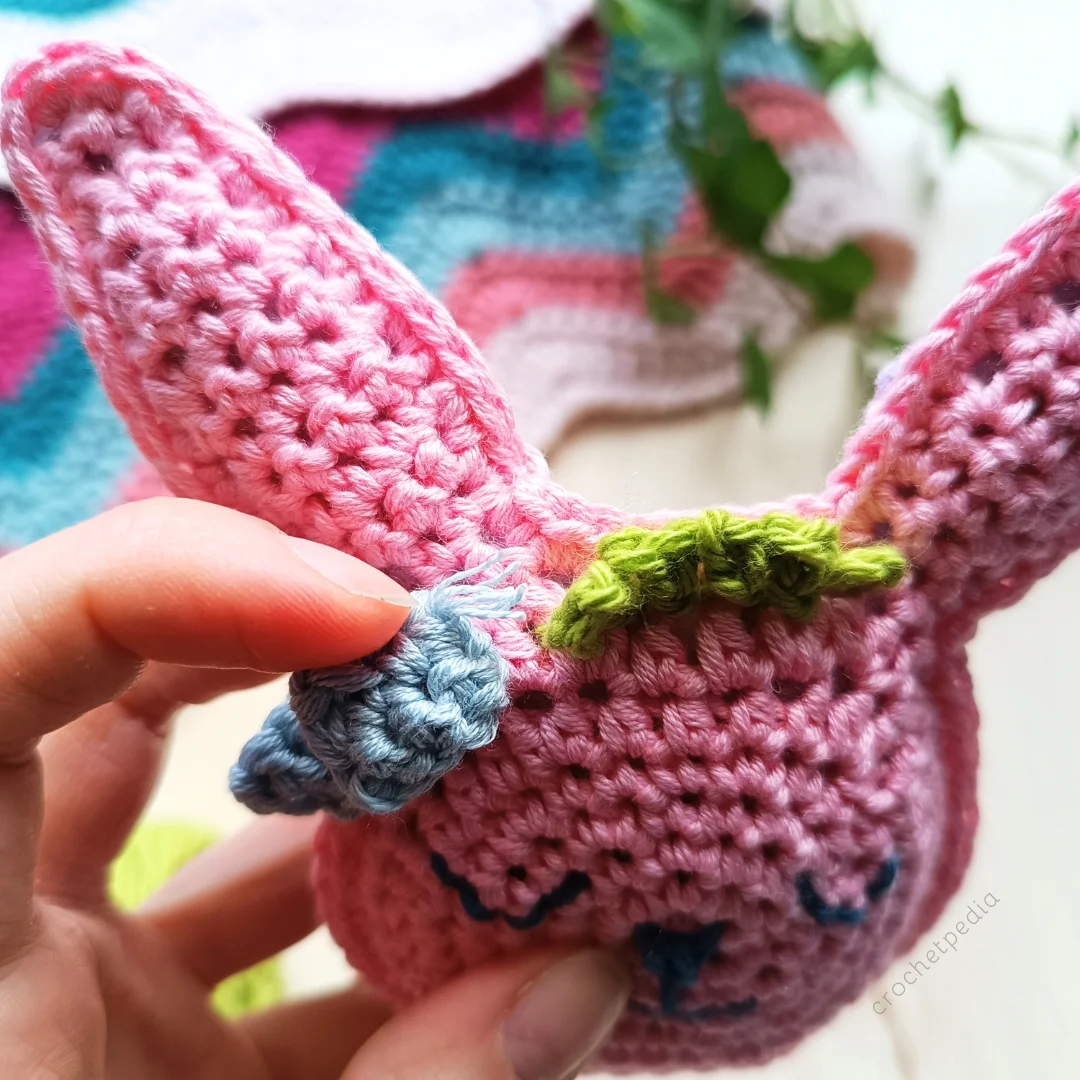
Embroidery
Fringe
Bow
- Funny Pictures
-
 Cute Cat Memes That Will Make Your Day Brighter
-
 Spot-on and Funny Memes About Introverts Struggles
-
 Top Wonderful Cat Memes on Their Way to Better Your Day
- Recipes
-
 Creamy Old Fashioned Rice Pudding
-
 Russian Tea Cakes (Snowball Cookies)
-
 Rigatoni with Sausage, Tomatoes, and Zucchini
- Lifehacks
-
 How to Crochet a Harlequin Stitch
-
 Removing The Toughest Stains
-
 Crochet Basics: Crumpled Griddle Stitch
- Crochet Ideas
-
 Crochet Christmas Tree
-
 Crochet Goblet of Fire
-
 Crochet Adorable Ammonite
- DIY
-
 DIY Snowman Wreath
-
 Mini Santa Sleigh Ornament
-
 Crochet Gingerbread House Blanket
- Knitting Ideas
-
 Knitted Easter Bunny
-
 Knitted Mobile Phone/Glasses Case
-
 Knitted Cabled Wallet