Marin Beanie Crochet Pattern

Discover the Marin Beanie
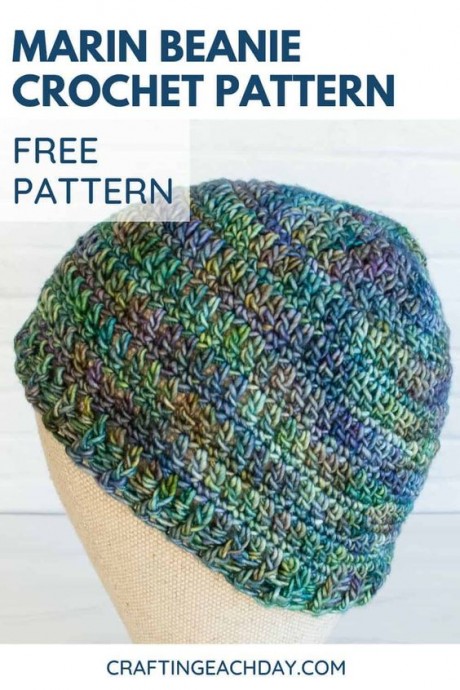
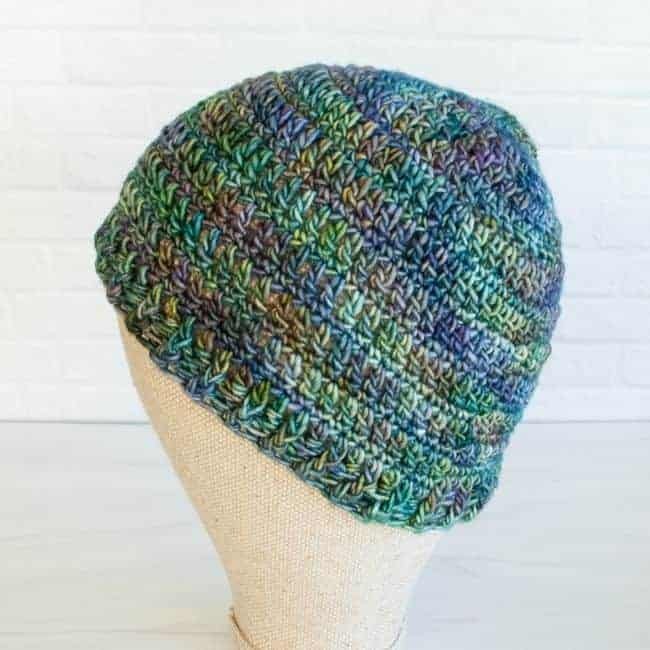
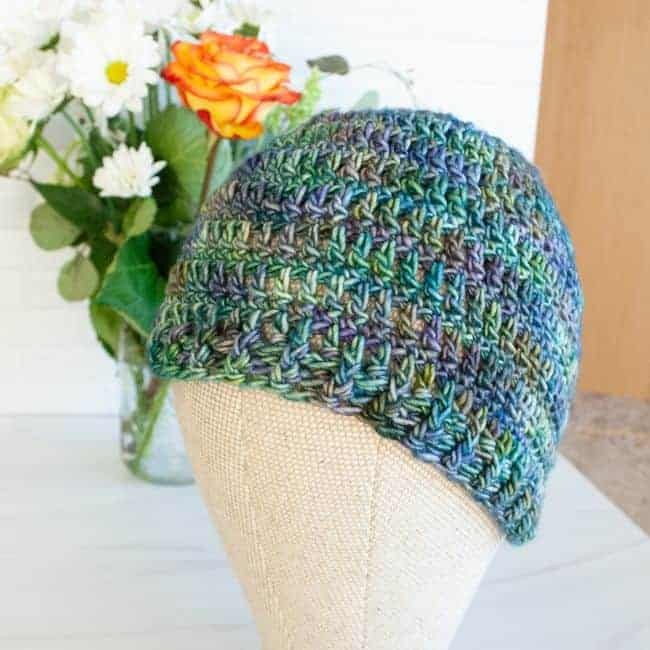
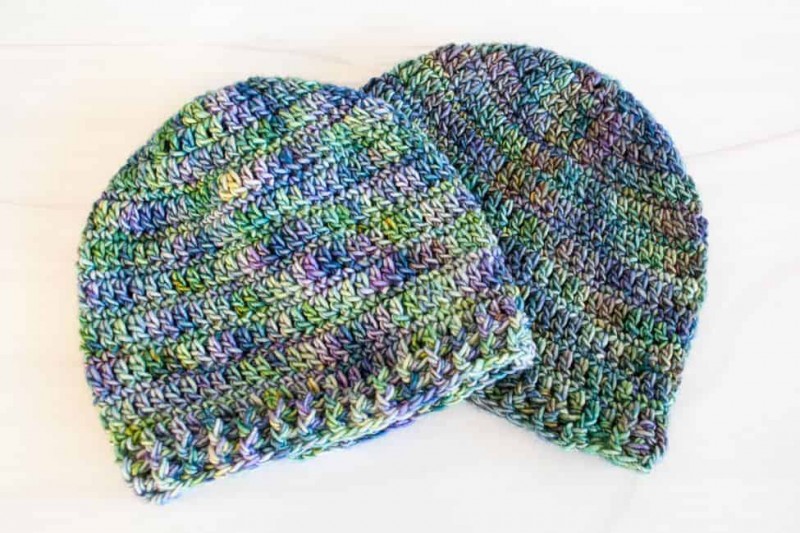
Discover the exquisite artistry of the Marin Beanie, a crochet masterpiece that will add a touch of elegance to your winter wardrobe. This beanie is meticulously handcrafted using the age-old technique of crochet, where a single hook and yarn are skillfully woven together to create intricate patterns and textures. The Marin Beanie showcases a unique blend of stitches, resulting in a stunning design that is both visually captivating and cozy. The intricate patterns and delicate stitches come together to form a beautiful and functional accessory that will keep you warm during the chilly winter months. Whether you're strolling through a snowy landscape or sipping hot cocoa by the fireplace, the Marin Beanie will be your stylish companion, adding a touch of sophistication to any outfit. Embrace the art of crochet and indulge in the timeless beauty of the Marin Beanie.
Marin Beanie Pattern
Crochet Supplies
Yarn: Worsted Weight (#4 Medium) approximately 150, 200 yards.
Shown: Adult S in Malabrigo Washted (100% superwash merino wool), 210yd[192m]/2.5oz[100g]: #416 Indiecita, approximately 2/3 skein.
Hook: Size J/10 (6.0mm) or size needed to obtain gauge. (these are my favorite crochet hooks).
Notions: Tapestry needle, 1 stitch marker, tape measure
Sizing and Gauge
Sizes: Adult S and M.
Finished Measurements: 19 (20.5)” in circumference at brim, 8 (9)” from top of hat to edge of brim.
Gauge: Rounds 1-3 = 3.5″ diameter.
Pattern Notes
- Hat is worked from the top down and in continuous rounds. When working in continuous rounds, do not use a slip stitch to join before going to the next round.
- It is recommended to use the stitch marker to mark the first st of each rnd and move the marker up as you go along. This will aid in keeping track of where each new round is to begin.
- Adjust the hat’s height by subtracting or adding to the number of rounds in the repeat section.
- It is more important to get the height you desire than to meet the round counts. Feel free to subtract or add to the number of rounds in the repeat section to adjust the height. For the Adult Small size, the adjustments can be made in rounds 10 – 19. For the Adult Medium size, the adjustments can be made in rounds 11 – 20.
Standard Stitch Abbreviations (U.S. Crochet Terminology)
bpdc: back post double crochet
ch(s): chain(s)
dc: double crochet
fpdc: front post double crochet
hdc: half double crochet
rep: repeat
rnd: round
sc: single crochet
st(s): stitch(es)
Marin Beanie Crochet Pattern
Adult Small
Begin with magic loop.
Rnd 1: Ch 1 (does not count as st), work 1 hdc and 11 dc in magic loop. Tighten magic loop. (1 hdc, 11 dc)
Rnd 2: Work 2 dc in each stitch of previous rnd. (24 dc)
Rnd 3: *2 dc next st, dc in next st; rep from * around. (36 dc)
Check gauge. Circle should now be 3.5” in diameter.
Rnd 4: Dc in each st around. (36 dc)
Rnd 5: *2 dc in next st, dc in each of the next 2 sts; rep from * around. (48 dc)
Rnd 6: Sc in each st around. (48 sc)
Rnd 7: *2 dc in next st, dc in each of next 3 sts; rep from * around. (60 dc)
Rnd 8: Sc in each st around. (60 sc)
Rnd 9: Dc in each st around. (60 dc)
Rnds 10 – 19: Rep rnds 8 and 9.
Note: For a longer or shorter hat, adjust the number of times you repeat rnds 8 and 9.
Rnd 20: *Fpdc, bpdc; rep from * around. (30 fpdc, 30 bpdc)
Rnd 21: Rep rnd 20, continue to finishing.
Finishing: Fasten off using invisible join method. Weave in ends.
Adult Medium
Begin with magic loop.
Rnd 1: Ch 1 (does not count as st), work 1 hdc and 11 dc in magic loop. Tighten magic loop. (1 hdc, 11 dc)
Rnd 2: Work 2 dc in each stitch of previous rnd. (24 dc)
Rnd 3: *2 dc next st, dc in next st; rep from * around. (36 dc)
Check gauge. Circle should now be 3.5” in diameter.
Rnd 4: Dc in each st around. (36 dc)
Rnd 5: *2 dc in next st, dc in each of the next 2 sts; rep from * around. (48 dc)
Rnd 6: *2 dc in next st, dc in each of next 3 sts; rep from * around. (60 dc)
Rnd 7: Sc in each st around. (60 sc)
Rnd 8: *2 dc in next st, dc in each of next 4 sts; rep from * around. (72 dc)
Rnd 9: Sc in each st around. (72 sc)
Rnd 10: Dc in each st around. (72 dc)
Rnds 11 – 20: Rep rnds 9 and 10.
Note: For a longer or shorter hat, adjust the number of times you repeat rnds 9 and 10.
Rnd 21: *Fpdc, bpdc; rep from * around. (36 fpdc and bpdc)
Rnd 22: Rep rnd 21, continue to finishing.
Finishing: Fasten off using invisible join method. Weave in ends.
- Crochet Ideas
-
 Crochet Sophia and Bennet Love Birds
-
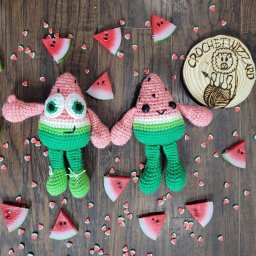 Crochet Watermelon Buddies Toys
-
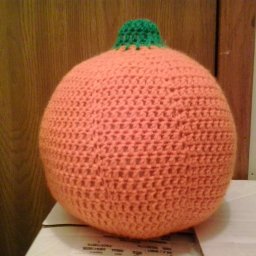 Crochet Large Pumpkin
- Lifehacks
-
 Russian Join for Crocheting and Knitting
-
 11 Organization Hacks for Clutter Control
-
 Tips for Washing Yellowed Pillows
- DIY
-
 DIY Beaded Christmas Tree
-
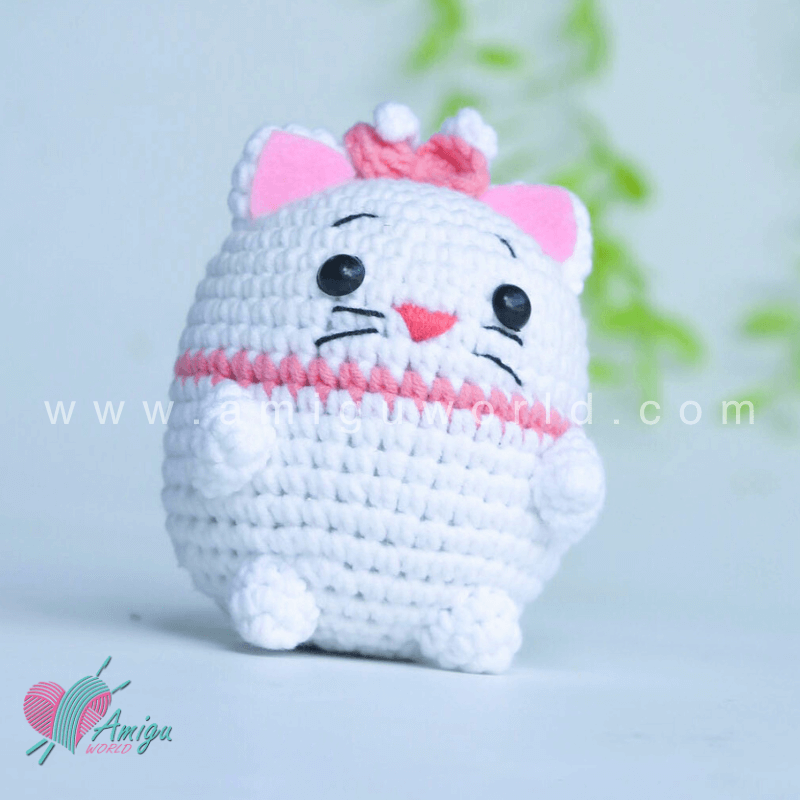 Crochet Chibi Marie Cat Amigurumi
-
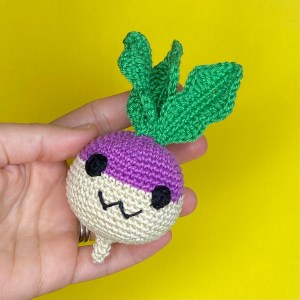 Crochet Terry the Halloween Turnip
- Recipes
-
 Lemon Cheesecake Cookies (Soft-Baked)
-
 Instant Pot Cabbage Soup
-
 Raspberry Bakewell Cake
- Knitting Ideas
-
 Knitted Ribbed Adult Hat
-
 Knitted Checkers Blanket
-
 Knitted Oak Tree Leaf Square Washcloth
- Funny Pictures
-
 Cat Memes to Make You Smile
-
 Funny Cat Pictures Because Caturday is Almost Here
-
 Funny Work Memes to Take Your Mind off of Emails and Deadlines for Just a Moment