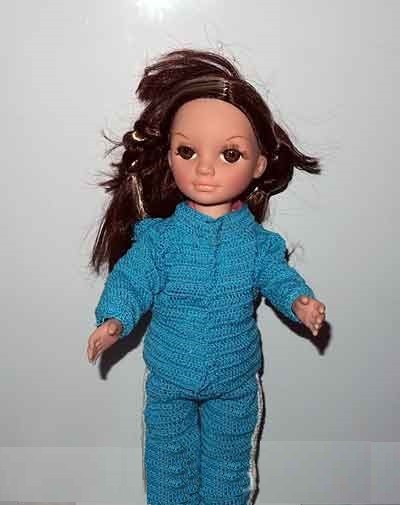
How to Crochet a Doll Hoodie: Easy Step-by-Step Instructions


You’ll Need:
Yarn with at least 50% Merino wool;
Crochet hook 1.5 mm;
Scissors.
Instructions
At first, take measurements of the doll – length of sleeve, back and front, and width of armpit.
Start your work from the bottom part. Create a chain based on the measurements.
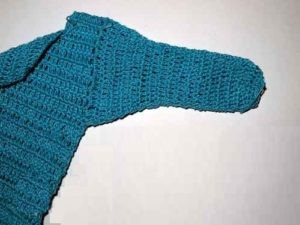
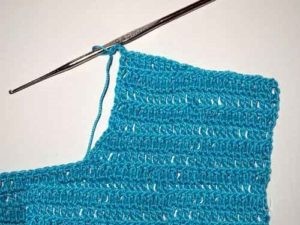
Crochet to the armpit line. Then, divide your work into three parts – back and two halves of the front. Crochet to the neck-hole line and form it using half-crochets, single crochets, and half double crochets.
After you’ve finished the neck-hole, make shoulder seams and align with the pattern design. If everything looks good, proceed to making sleeves. Fasten the arm-holes with double crochets and begin decreases from the center of the sleeves starting from the first stitch of the row. Finally, remember to make cuffs using the same scheme as for the sleeves but start decreasing from the first circle. The width of the cuff should be about 4-9 mm.
If you wish to decorate your hoodie with a collar, it’s sufficient to create it from three double crochets. Additionally, if desired, you can make a hood by forming a chain in the first row of the collar that matches the length of your desired hood.
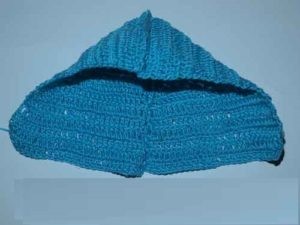
Hood
Divide the chain into two parts and start crocheting each part separately towards the center. Then, perform decreases at the beginning of each row and increases at the end.
Once you’ve completed the two parts of the hood, connect them with double crochets and sew the hood to the main part of the hoodie.
- Funny Pictures
-
 Hilarious Memes for Those Bored to Tears
-
 Weekly Treat of Funniest Parenting Memes for Good Laugh out Loud Right Now
-
 Really Funny Pics to End These Weekend Perfectly
- Recipes
-
 Crispy Baked Avocado Fries
-
 Scrambled Chickpea and Spinach Pitas
-
 Cinnamon Pancakes
- Lifehacks
-
 Crochet Basics: Aligned Cobble Stitch
-
 Brick Stitch Crochet Tutorial
-
 Crochet Basics: Wattle Stitch
- Crochet Ideas
-
 Crochet Snorlax Plushie Doll
-
 Crochet Beautiful Penguin Toy
-
 Crochet Tiny Snowman
- DIY
-
 DIY Santa Craft For Kids
-
 Paper Plate Angel Craft
-
 Upcycled Mason Jar Chicken Vase
- Knitting Ideas
-
 Knitted Bridger Cowl
-
 Knitted Keepsake Bag
-
 Knitted Cutie Cupcake Dolls