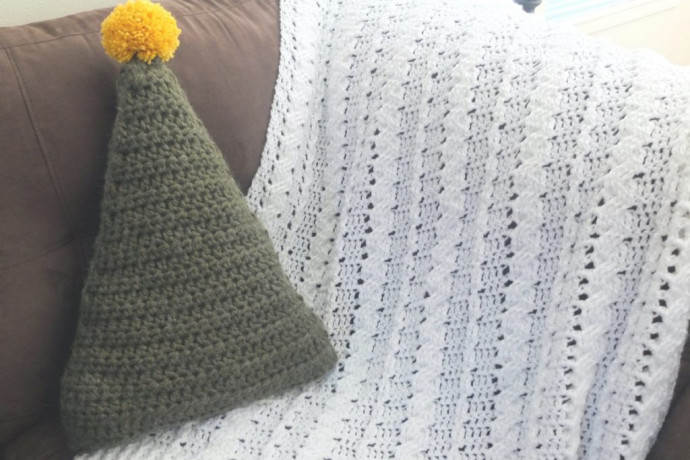
How to Crochet a Cozy Pillow with Buttercream Alpaca Yarn

You’ll Need:
2 skeins of Buttercream Alpaca Yarn in Green;
Crochet hook 9 mm;
Scissors;
Large Eyed Tapestry Needle;
Polyfil Stuffing;
Clover Pom Pom Maker (optional).
Instructions
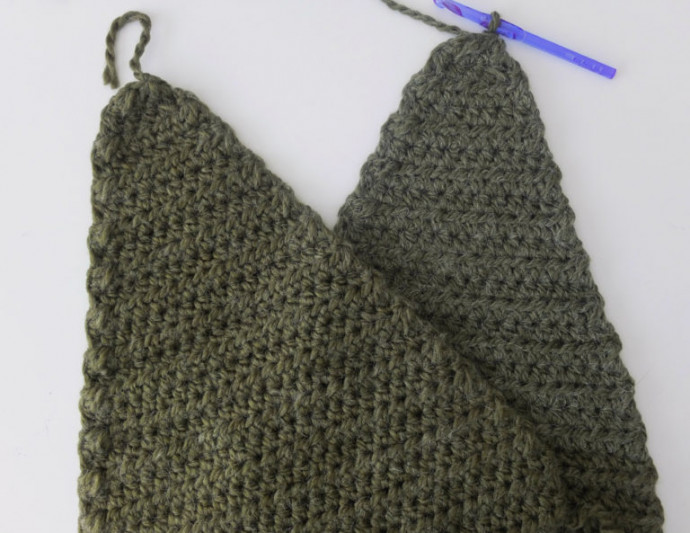
Make 2 separate panels.
Ch 31
Row Instructions
Row 1: Hdc in the 2nd ch from your hook and in each ch down the row. Turn work. (30)
Row 2: Ch 1, hdc in the first st and in each st down row. Turn work. (30)
Row 3: Repeat Row 2.
Row 4: Repeat Row 2.
Row 5: Ch 1, hdc2tog in first two st, 1 hdc in each of the next 26 st, hdc2tog in last two st. Turn work. (28)
Row 6: Ch 1, hdc in each st. Turn work. (28)
Row 7: Ch 1, hdc2tog in first two st, 1 hdc in each of the next 24 st, hdc2tog in last two st. Turn work. (26)
Row 8: Ch 1, hdc in each st. Turn work. (26)
Row 9: Ch 1, hdc2tog in first two st, 1 hdc in each of the next 22 st, hdc2tog in last two st. Turn work. (24)
Row 10: Ch 1, hdc in each st. Turn work. (24)
Row 11: Ch 1, hdc2tog in first two st, 1 hdc in each of the next 20 st, hdc2tog in last two st. Turn work. (22)
Row 12: Ch 1, hdc in each st. Turn work. (22)
Row 13: Ch 1, hdc2tog in first two st, 1 hdc in each of the next 18 st, hdc2tog in last two st. Turn work. (20)
Row 14: Ch 1, hdc in each st. Turn work. (20)
Row 15: Ch 1, hdc2tog in first two st, 1 hdc in each of the next 16 st, hdc2tog in last two st. Turn work. (18)
Row 16: Ch 1, hdc in each st. Turn work. (18)
Row 17: Ch 1, hdc2tog in first two st, 1 hdc in each of the next 14 st, hdc2tog in last two st. Turn work. (16)
Row 18: Ch 1, hdc in each st. Turn work. (16)
Row 19: Ch 1, hdc2tog in first two st, 1 hdc in each of the next 12 st, hdc2tog in last two st. Turn work. (14)
Row 20: Ch 1, hdc in each st. Turn work. (14)
Row 21: Ch 1, hdc2tog in first two st, 1 hdc in each of the next 10 st, hdc2tog in last two st. Turn work. (12)
Row 22: Ch 1, hdc in each st. Turn work. (12)
Row 23: Ch 1, hdc2tog in first two st, 1 hdc in each of the next 8 st, hdc2tog in last two st. Turn work. (10)
Row 24: Ch 1, hdc in each st. Turn work. (10)
Row 25: Ch 1, hdc2tog in first two st, 1 hdc in each of the next 6 st, hdc2tog in last two st. Turn work. (8)
Row 26: Ch 1, hdc in each st. Turn work. (8)
Row 27: Ch 1, hdc2tog in first two st, 1 hdc in each of the next 4 st, hdc2tog in last two st. Turn work. (6)
Row 28: Ch 1, hdc2tog in first two st, 1 hdc in each of the next 2 st, hdc2tog in last two st. Turn work. (4)
Row 29: Ch 1, hdc2tog twice. (2)
Tie off
Assembly
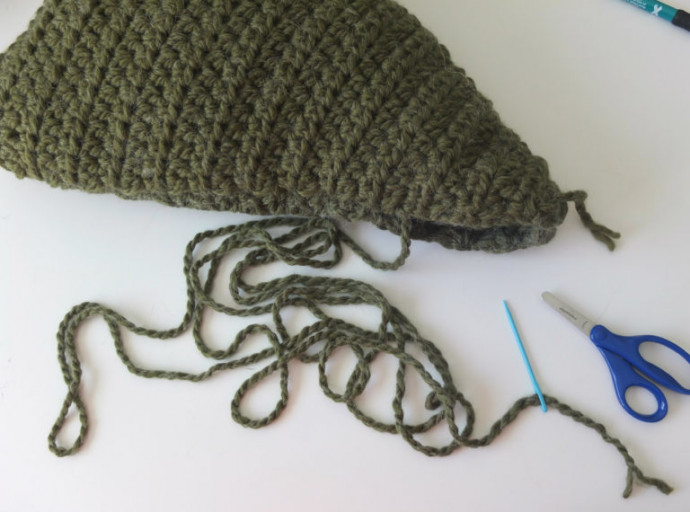
Repeat the same steps for the second panel, but when you tie off leave a long, long, long tail! Take at least double the length of the triangle you just created.
Cut your extremely long tail and use your tapestry needle to whip stitch both triangle panels together.
Once you reach the third side, whip stitch until about halfway and then pause to start stuffing your pillow with polyfil stuffing.
Once you’re done stuffing, continue whip stitching the rest of the way. When you reach the top, weave in your ends as much as you can so your pillow is extra secure.
Create your pom pom of any color using the Clover Pom Pom Maker or any other method you prefer and secure it to the top of your pillow!