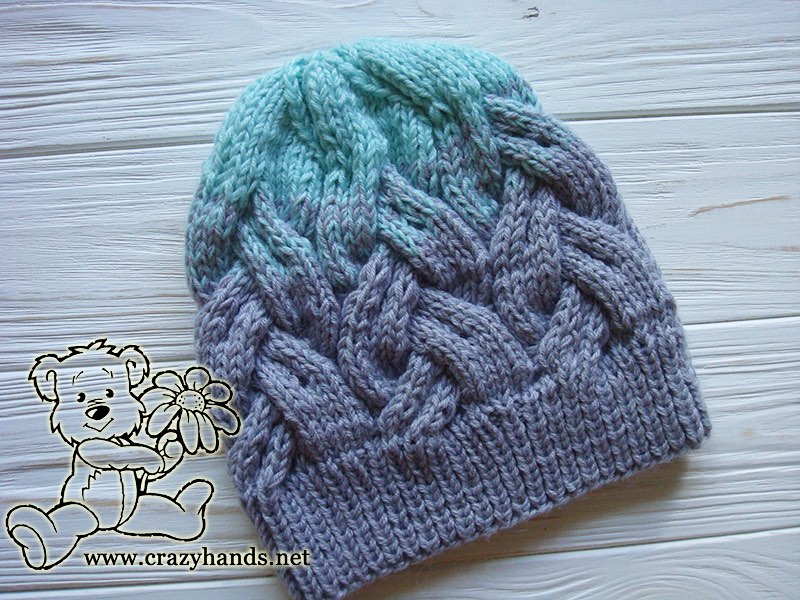
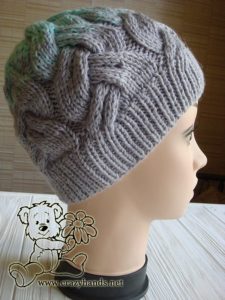
How to Knit a Cable Knit Hat for Adults

Knitting Materials and Knitting Tools
16” long, circular needles 3.5 mm (US 4) for ribbing part and 4.5 mm (US 7) for body part;
Alize baby wool – 40% wool, 40% acrylic, 20% bamboo. Light blue and gray colors: 50 grams = 175 m. (192 yds.) In total 1 gray and 1 light blue balls.
White real fur pom pom
Cable Knit Hat Size
Adult: 54-56 cm
Gauge
20 stitches = 4 inches in stockinette
26 stitches = 4 inches in ribbing – not stretched
Note for Knitters
Knit with two strands of yarn at once.
Common Abbreviations of Knitting Stitches
- k – knit
- p – purl
- k2tog – knit two together
- inc - increase
Cable 3 Back (C3B)
Slip 3 knit stitches to the extra needle and hold in back of work, 3k from the left hand needle, 3k from the extra needle.
Cable 3 Front (C3F)
Slip 3 knit stitches to the extra needle and hold in front of work, 3k from the left hand needle, 3k from the extra needle.
skpo – Slip, Knit, Pass Over
Slip one stitch to the right needle knitwise, knit in the next stitch and drop this stitch off the left needle, insert the left needle into the slipped stitch, pass it over the knit stitch and it's done.
Ribbing of the Cable Hat Knitting Pattern for Adults
Cast on 100 stitches and rib 1 by 1 *k1, p1* keep knitting until piece measures 5 cm or 2 inches.
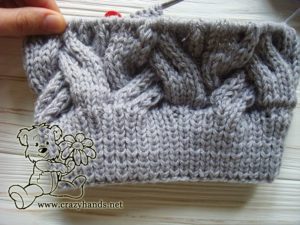
Body of the Cable Hat Knitting Pattern for Adults
I am going to use the same cable pattern as I used for my Bulky Braided Knit Headband.
It is time to change knitting needles from 3.5 to 4.5 or even 5 mm. At this point we are going to increase. Please check my Youtube video to get a better idea how to increase from the previous round.
Body part knits in a multiple of 20 stitches (20 sts – 1 cable). Add 20 more stitches to get in total 6 cables.
Rounds for Body of the Hat
Round 1: [inc, k1, k3, inc, k1, k3, inc, k1, k3, inc, k1, k1, p2, k4, inc, k1, k5, inc, k1, k3, inc, k1, p2, k3, inc, k1, k3, inc, k1, k5, inc, k1, k1, p2] - repeat twice.
Round 2: *k18, p2, repeat from* to the end of the round.
Round 3: *k9, C3B, k3, p2, repeat from* to the end of the round.
Round 4: *k18, p2, repeat from* to the end of the round.
Round 5: *k6, C3B, C3B, p2, repeat from* to the end of the round.
Round 6: *k18, p2, repeat from* to the end of the round.
Round 7: repeat Round 3.
Round 8: *k18, p2, repeat from* to the end of the round.
Round 9: *k3, C3F, k9, p2 repeat from* to the end of the round.
Round 10: *k18, p2, repeat from* to the end of the round.
Round 11: *C3F, C3F, k6, p2, repeat from* to the end of the round.
Round 12: *k18, p2, repeat from* to the end of the round.
Round 13: repeat Round 9.
Round 14: *k18, p2, repeat from* to the end of the round.
Repeat Rounds 3-14 two-three more times.
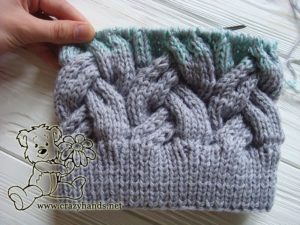
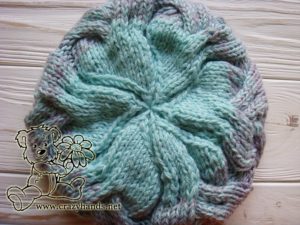
Shaping the Crown of Knitted Hat
You can start decreasing part at any point. With my gauge, I decided to knit Rounds 3 and 4 and start decreasing at Round 5.
Decreasing Rounds
Round 1: *skpo, k14, k2tog, p2, repeat from* to the end of the round.
Round 2: *k16, p2, repeat from* to the end of the round.
Round 3: *skpo, k12, k2tog, p2, repeat from* to the end of the round.
Round 4: *skpo, k10, k2tog, p2, repeat from* to the end of the round.
Round 5: *skpo, k8, k2tog, p2, repeat from* to the end of the round.
Round 6: *skpo, k6, k2tog, p2, repeat from* to the end of the round.
Round 7: *skpo, k4, k2tog, p2, repeat from* to the end of the round.
Round 8: *skpo, k2, k2tog, p2, repeat from* to the end of the round.
Round 9: *skpo, k2tog, p2, repeat from* to the end of the round.
Round 10: *k2tog, p2, repeat from* to the end of the round.
Cut working yarn leaving 10 cm or 5 inches. Thread it through remaining stitches. Pull tight and weave in ends.


