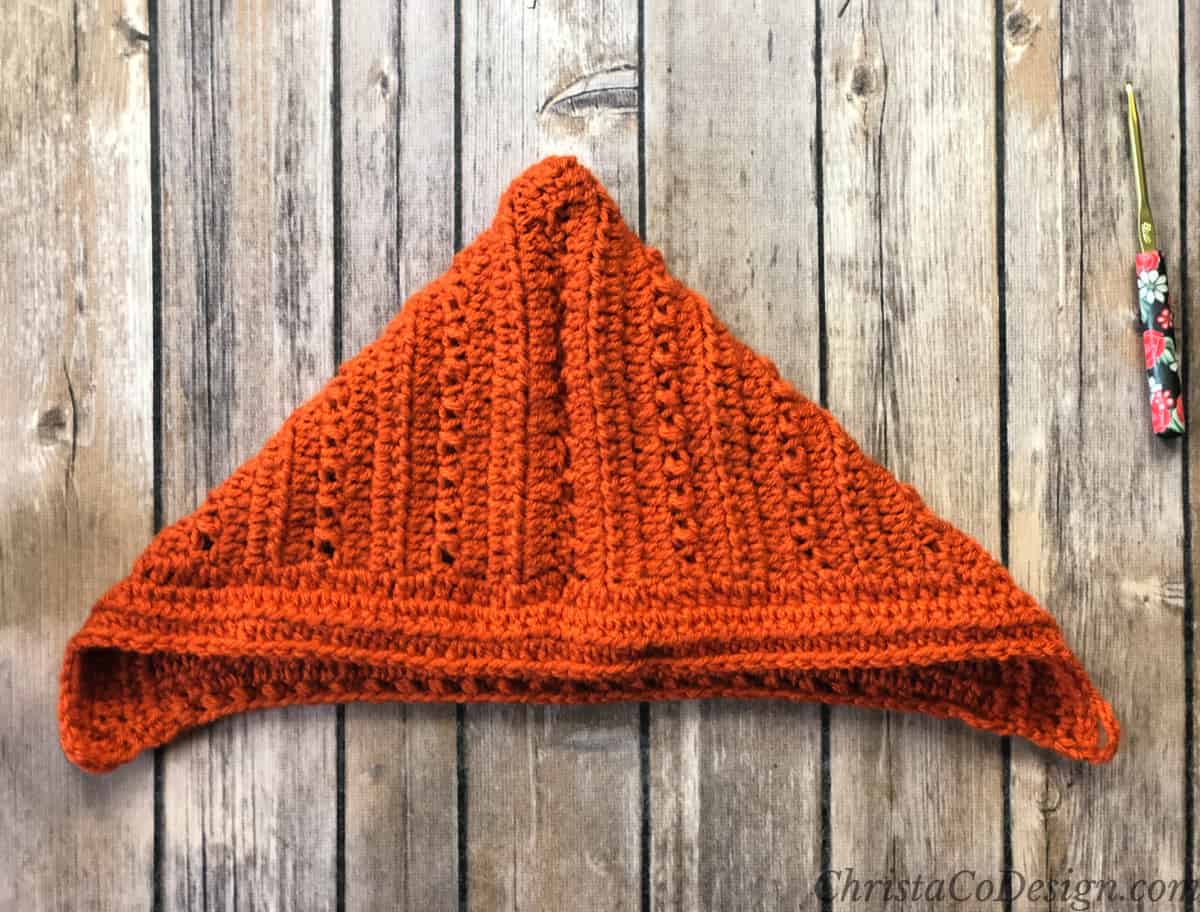
Crochet Pixie Hat Making Guide

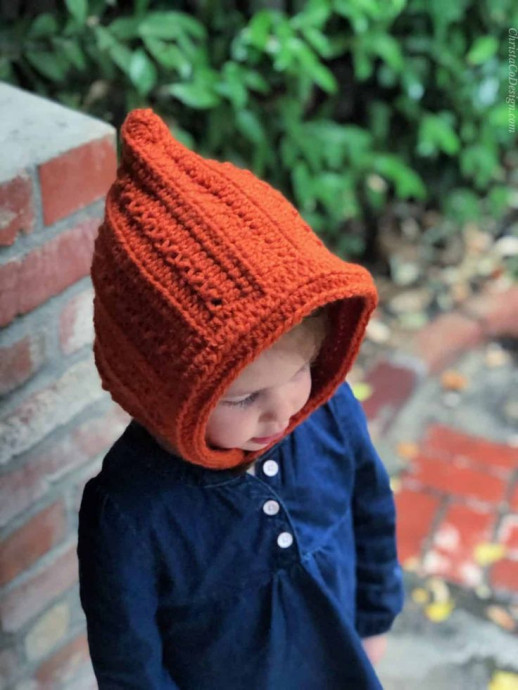
Crochet pixie hats are absolutely darling! These whimsical hats add a touch of enchantment to any outfit. With their pointed tops and often adorned with cute little pom-poms, crochet pixie hats are sure to bring a smile to anyone's face. If you're looking to simply add a playful vibe to your child’s everyday look, a crochet pixie hat is a fun and stylish accessory that is bound to make him or her feel like a magical woodland creature!
Materials
Vanna’s Choice Yarn, #4 med worsted weight yarn (100% acrylic; 3.5 oz/100g; 170 yd/156m; ) color: rust.
- 3mos: 100 yd/91m
- 6mos: 120 yd/110m
- 12mos: 125 yd/114m
- 24mos: 145 yd/133m
- 2-4yr: 160 yd/146m
- 4-12yr: 188 yd/172m
- teen: 238 yd/218m
- md adult: 265 yd/242m
- lg adult: 275 yd/251m
Tools
- 5mm (H) hook
- Yarn needle
- Measuring tape
- Scissors
- Button
Instructions
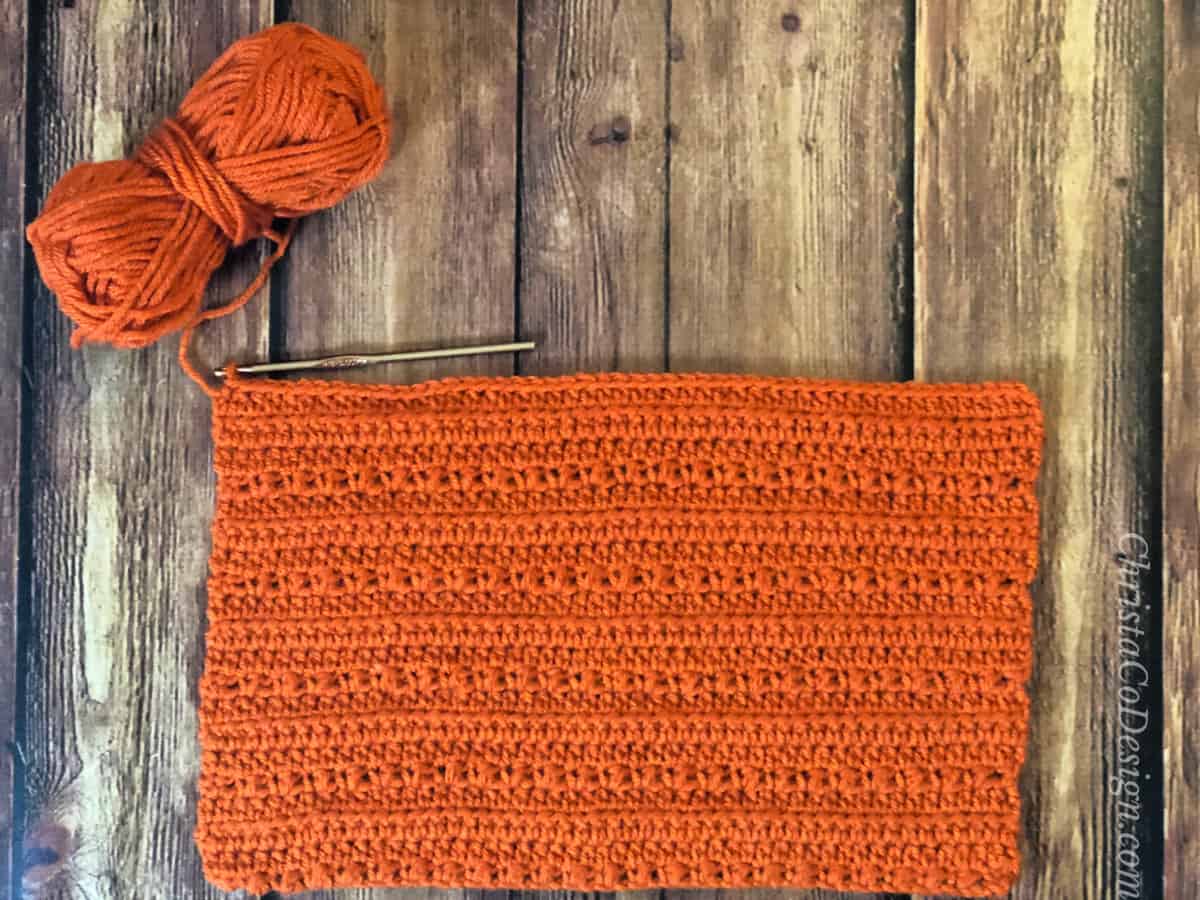
Ch 43 (45, 47, 49, 55, 63, 71, 75, 79)
3mos (6mos, 12mos, 24mos, 2-4yr, 4-12yr, Teen, Md Adult, Lg Adult)
Row Instructions
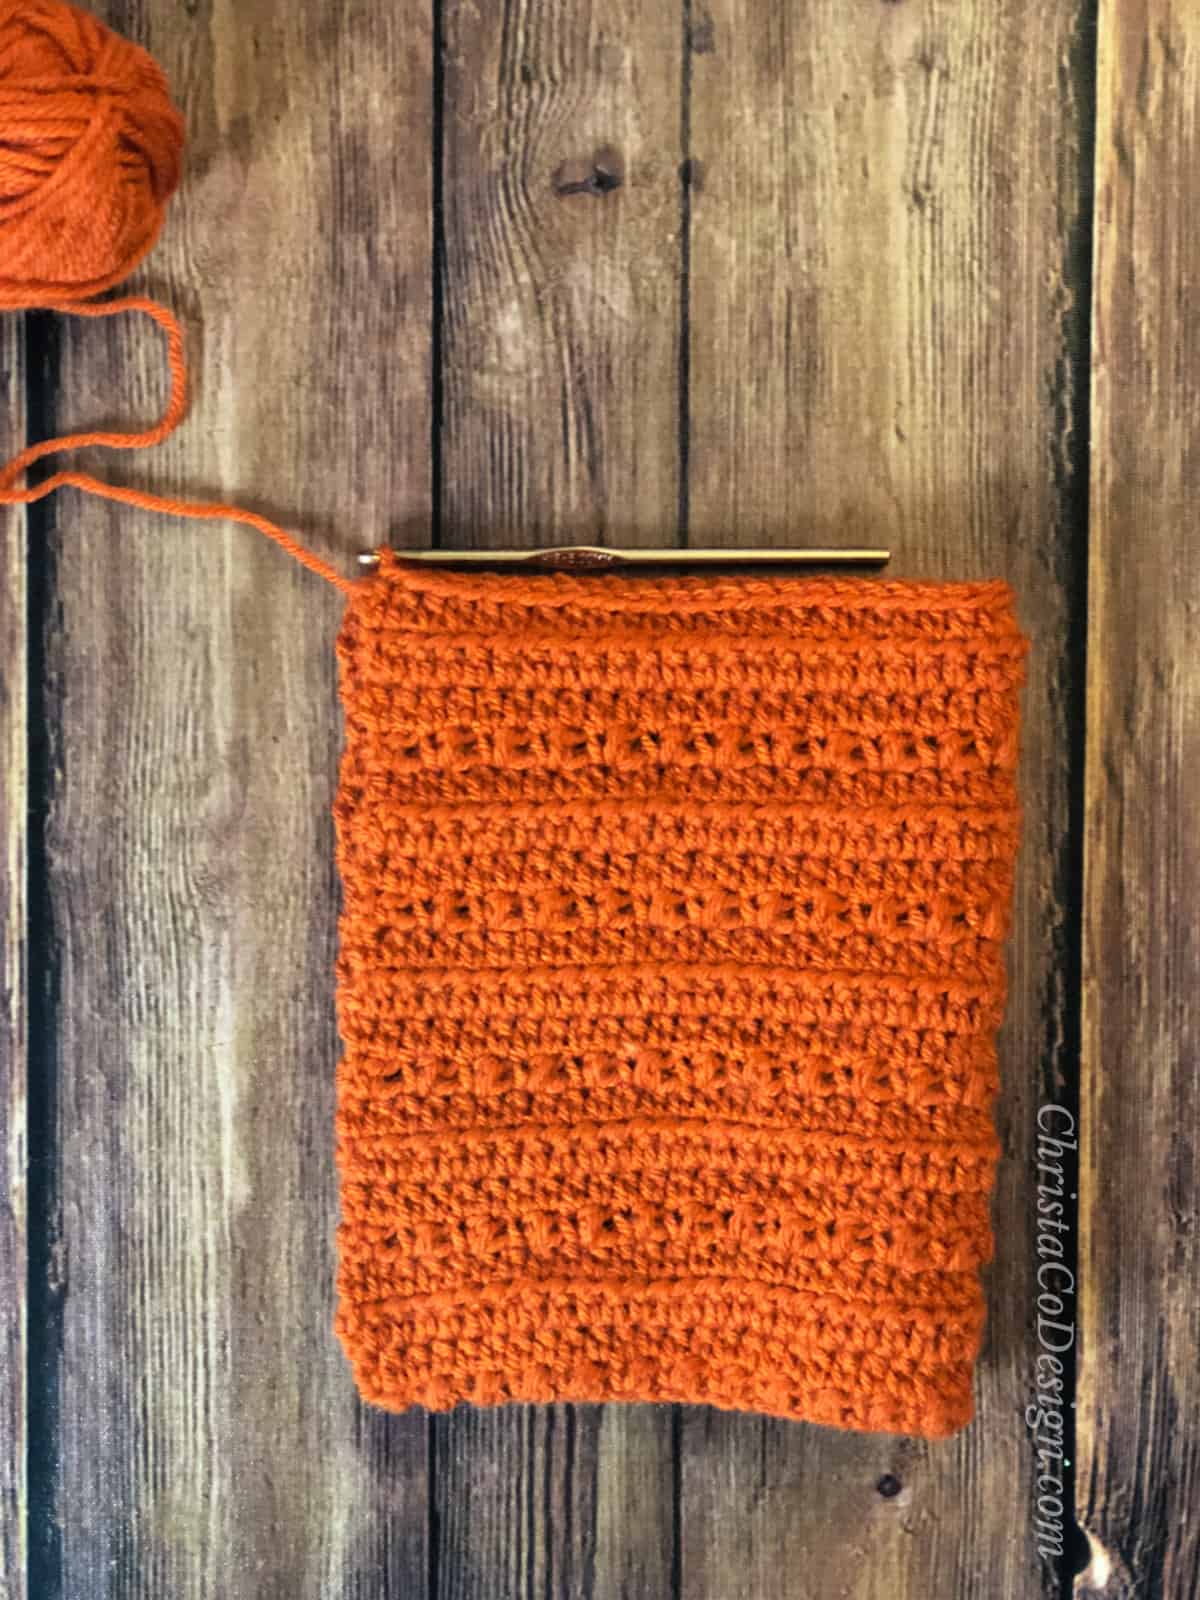
Continue to repeat Rows 5-8 for a total of:
- 3 mos: 16 rows or 7” tall.
- 6 mos: 18 rows or 8” tall - note this means you will end after two rows of the four-row repeat.
- 12 mos: 19 rows or 8.5” tall - note this means you will end after three rows of the four-row repeat.
- 24 mos: 20 rows or 9” tall.
- 2-4 yr: 20 rows or 9” tall.
- 4-12 yr: 22 rows or 9.75” tall - note this means you will end after two rows of the four-row repeat.
- Teen/Sm Adult: 24 rows or 10.75” tall.
- Md/Lg Adult: 28 rows or 12” tall.
Seam Your Pixie Hat
Cut your yarn and leave a long length to seam your hat together. With right sides touching, fold your rectangle in half, matching up the short ends, with Row 1 on the bottom and your last row on top (with your long tail for sewing).
You will seam the top of your hat now. Using a mattress stitch, sew together the top two rows you just folded together, forming the top seam of your hat. Finish off and turn your hat right side out.
Row 1 will be the bottom of your hat, which will fit around your neck, the seam you just made will be on the top of your head.
Front Edge of Hat
Attach yarn with a ss to the bottom right corner.
Rep last row. Do not finish off if you wish to add a buttonhole.
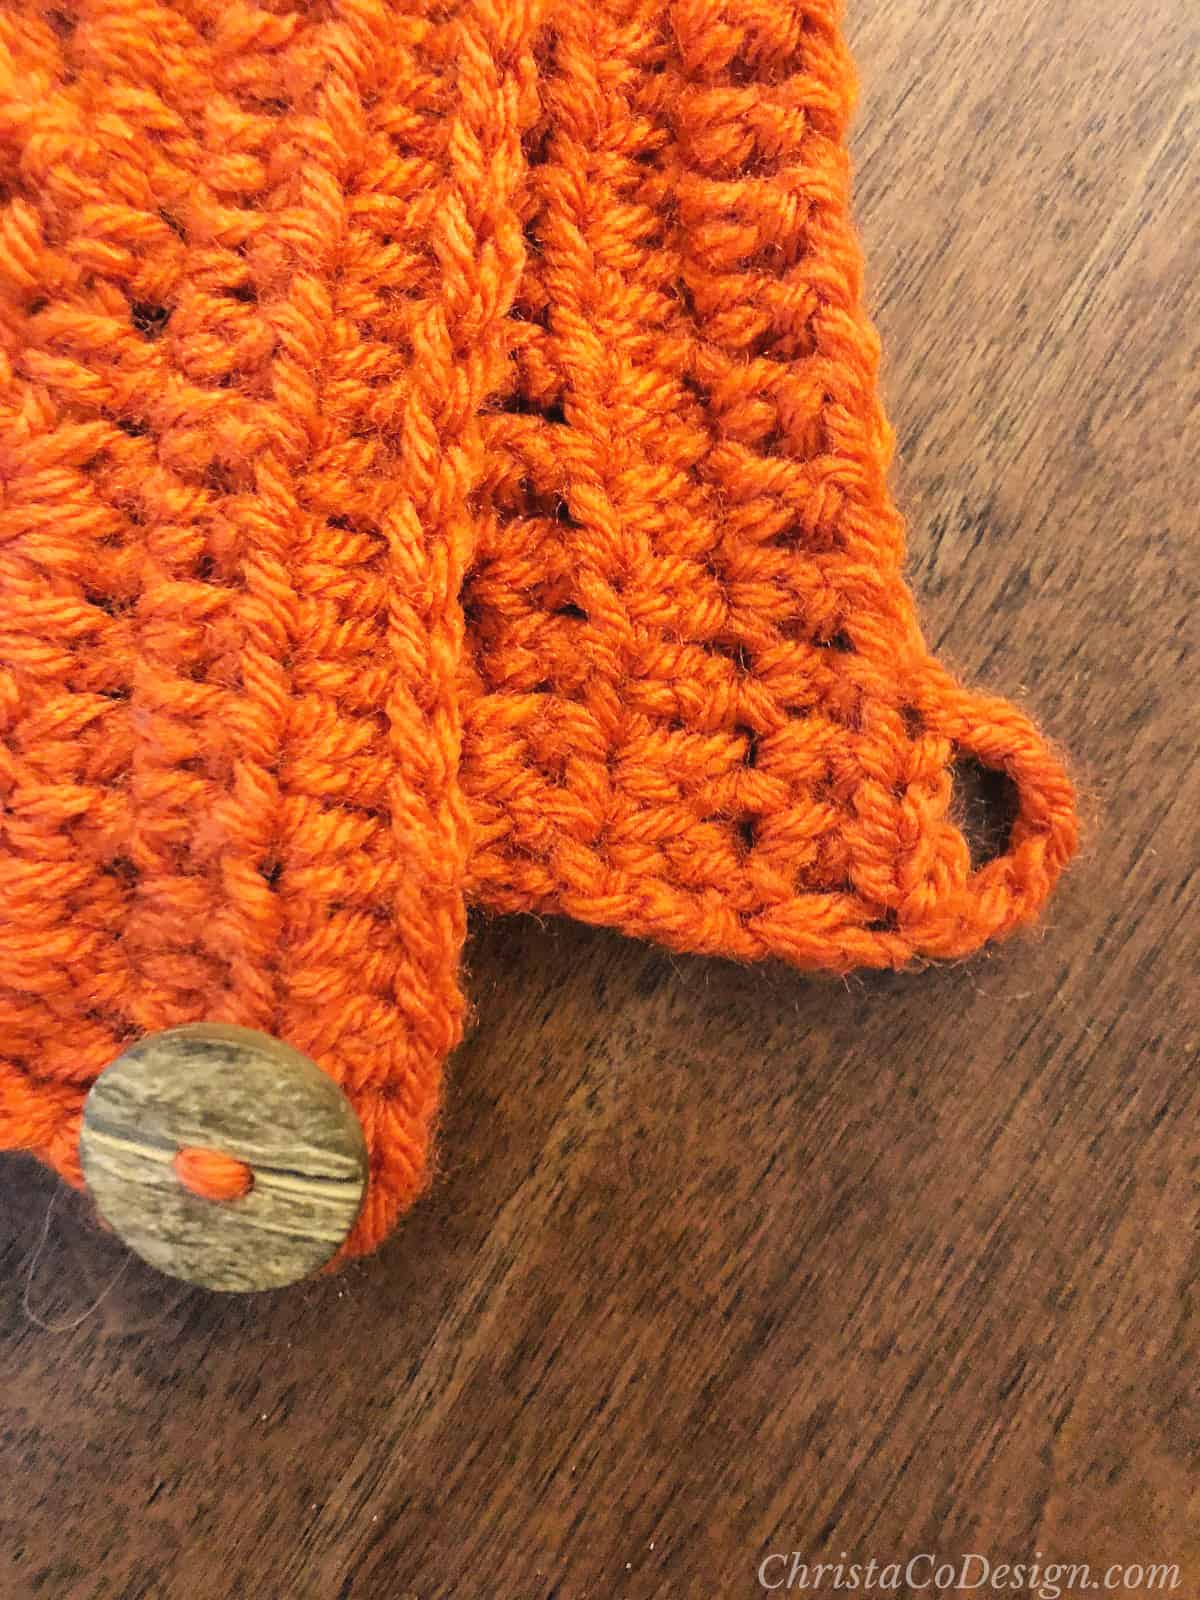
Buttonhole
For a 1” button, from where you are at the end of Row 3 on the front left corner, ch 5, counting back down the row you just completed, sk 3 st and ss to the 4th st. Finish off. For a different size button chain to the number necessary for the button to fit through.
Sew your button on to the opposite corner. The button closure fits under the chin.