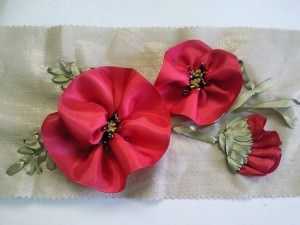
Step-by-Step Guide to Creating Ribbon Embroidery Poppy Flowers

Introduction to Ribbon Embroidery
Embroidery from ribbons, such as poppies, begins with the application of the design in pencil on the fabric. This method ensures that the center of the picture is clearly marked and the placement of the pattern to be embroidered remains accurate.
Preparing the Canvas
Insert the canvas into the hoop, making sure that the poppies are centered.
Creating the Poppy Flower
Making the Flower Center
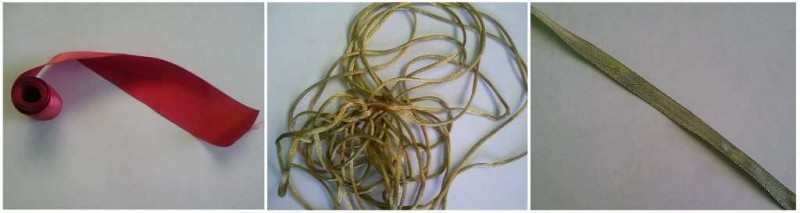
In a circle in the middle of the flower, make the first stitches with a scarlet ribbon, using an accordion technique. After the initial stitching of the ribbon, its edges should also be gathered.
Assembling the Core
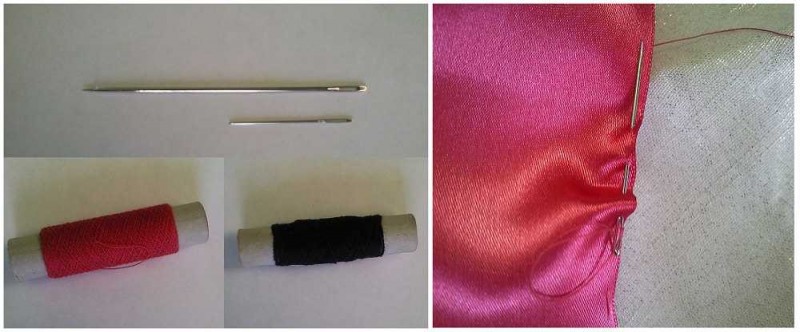
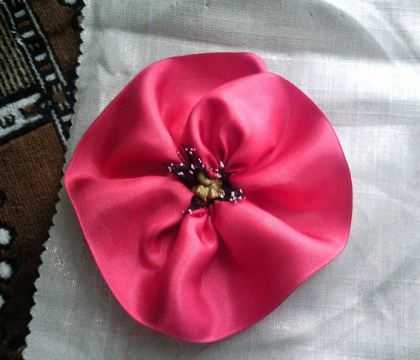
Now, let's move on to creating the core of the poppy. Take a small piece of lace, gather it, and sew it in the center. Use black thread to make a seam around the cord.
Adding Final Touches
On the edges of the antennae, apply droplets of glue, and then dip them into semolina. The mac is now completely ready. Repeat this process to make additional poppies.
Embroidering the Poppy Buds
Embroidery for the buds is done as follows: fold the scarlet ribbon into an accordion and sew it. After that, create the second half of the bud using green ribbons. Make sure to embroider with overlapping stitches for a fuller look.
Finishing the Poppy Design
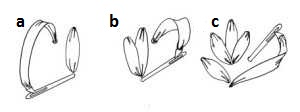
Our poppies also have leaves that are crafted with a thin green ribbon. Ensure that the stitches are not too tight, allowing them to appear voluminous and enhance the flower's beauty.
That's all! Our field poppy is complete. Such embroideries will make a beautiful decoration for your bedroom.