Crochet Basic Beanie for Adults

Introduction to Crochet Beanies
When it comes to the cozy world of crafting, a crochet basic beanie for adults is a delightful project to take on. Creating a warm and stylish accessory like this hat not only keeps you snug during chilly days but also lets you showcase your creativity in a fun way. Whether you're a seasoned crocheter or just starting out, the simple design of a basic beanie allows for endless customization possibilities - from choosing your favorite yarn colors to adding unique embellishments. With a hook in hand and a touch of imagination, crafting a cozy crochet beanie is not just a hobby; it's a way to wear your warmth with pride and flair.
Materials Needed
Yarn and Hook
Hook Size J
This hat works with Lion’s Brand and Red Heart Yarn Worsted yarn. I used Lion’s Brand for this hat.
Stitch Definitions
DC – Double Crochet
HDC – Half Double Crochet
Join – (Join the end of each round by slip stitching into the top of the first Double Crochet)
Step-by-Step Instructions
Starting Your Beanie
Start with Magic Ring, Chain 2
Row Instructions
Row 1: 10 DC in Magic Ring, join. Chain 2
Row 2: 2 DC in each stitch and join. Chain 2.
Row 3: 2 DC in first stitch, 1 DC in next stitch. Repeat until you have come back around and join at the top of your first DC. Chain 2.
Row 4: 2 DC in first stitch, 1 DC in next 2 stitches. Repeat until you have come back around and join at the top of your first DC. Chain 2.
Row 5: 2 DC in first stitch, 1 DC in next 3 stitches. Repeat until you have come back around and join at the top of your first DC. Chain 2.
Row 6: 2 DC in first stitch, 1 DC in next 4 stitches. Repeat until you have come back around and join at the top of your first DC. Chain 2.
Row 7 – 15: DC in each stitch around, joining and chaining 2 after each round.
Row 16: HDC in each stitch around, join and tie off.
Finishing Touches
Use a tapestry needle to weave end threads into the hat.
Customization Options
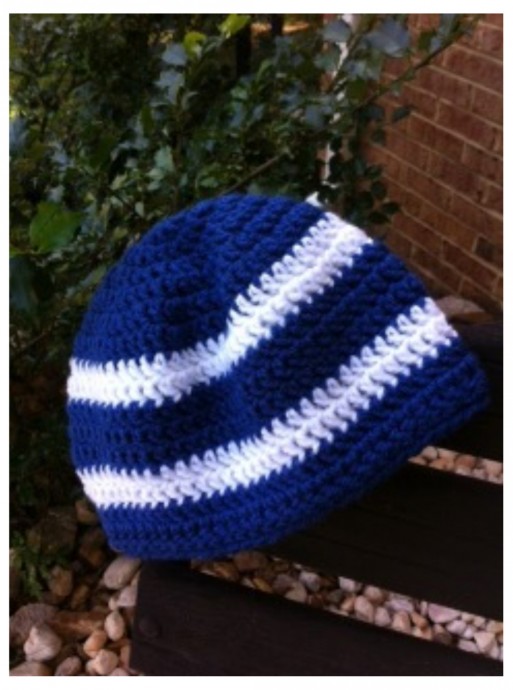
For the hat shown, I switched to white on Row 7 and Row 8, back to blue for three rows, and back to white for Row 12 and Row 13.
The length of this hat can be adjusted by adding additional rows before you add the row of HDC.