
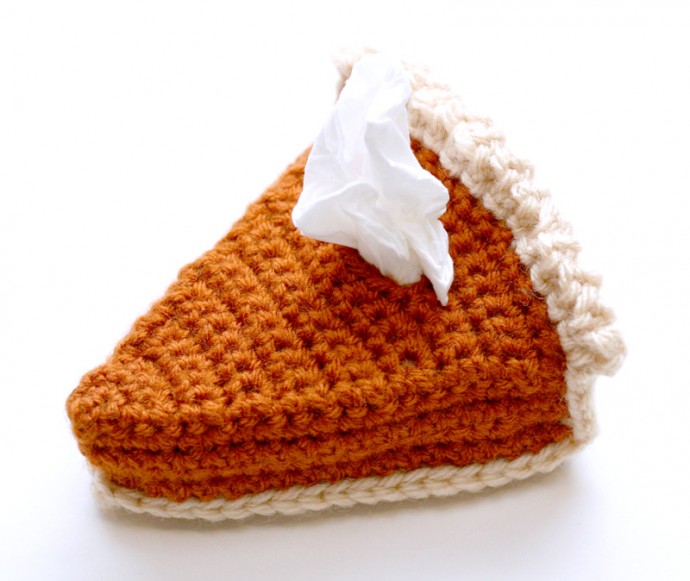
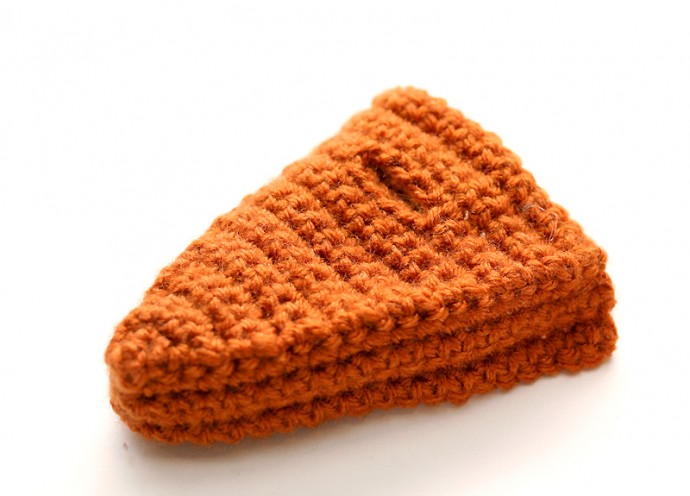
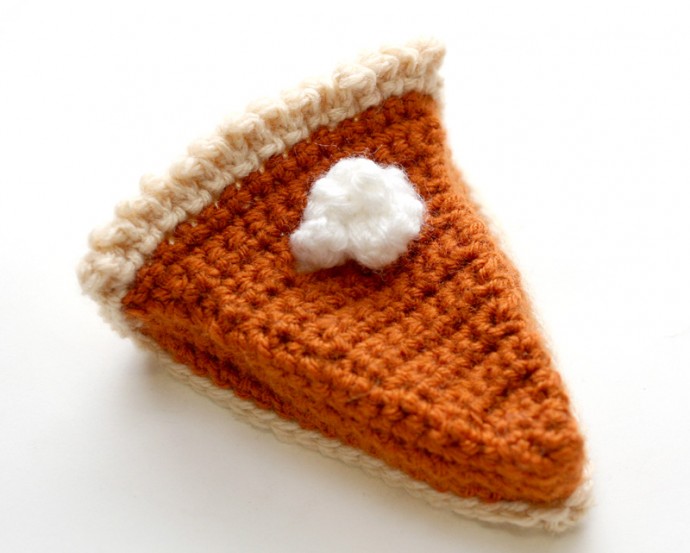
How to Crochet a Pie with Whipped Cream


You’ll Need
Lion Brand Vanna’s Choice in Rust, Beige, White colors;
Crochet hook 5 mm;
Polyfill stuffing;
Scissors;
Tapestry needle;
Pinback.
Instructions
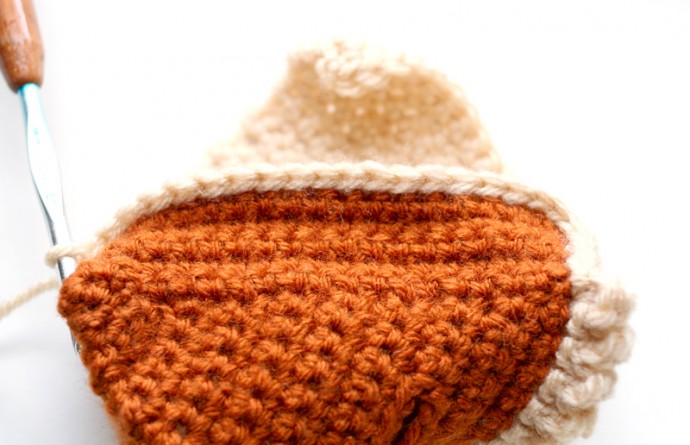
With Rust, ch 2.
Row 1: Sk 1st ch, 2 sc in 2nd ch. (2)
Row 2: Ch 1, turn. 1 sc in each st. (2)
Row 3: Ch 1, turn. (2 sc) 2 times. (4)
Row 4: Ch 1, turn. 1 sc in each st. (4)
Row 5: Ch 1, turn. (2 sc), 2 sc, (2 sc). (6)
Rows 6 – 7: Ch 1, turn. 1 sc in each st. (6)
Row 8: Ch 1, turn. (2 sc), 4 sc, (2 sc). (8)
Rows 9 – 10: 1 sc in each st. (8)
Row 11: Ch 1, turn. (2 sc), 6 sc, (2 sc). (10)
Rows 12 – 13: Ch 1, turn. 1 sc in each st. (10)
Row 14: Ch 1, turn. (2 sc), 8 sc, (2 sc). (12)
Row 15: Ch 1, turn. 4 sc, ch 4 and sk 4 sts, 4 sc. (12)
Row 16: Ch 1, turn. 1 sc in each st. (12)
Row 17: Ch 1, turn. (2 sc), 10 sc, (2 sc). (14)
Rows 18 – 19: Ch 1, turn. 1 sc in each st. (14)
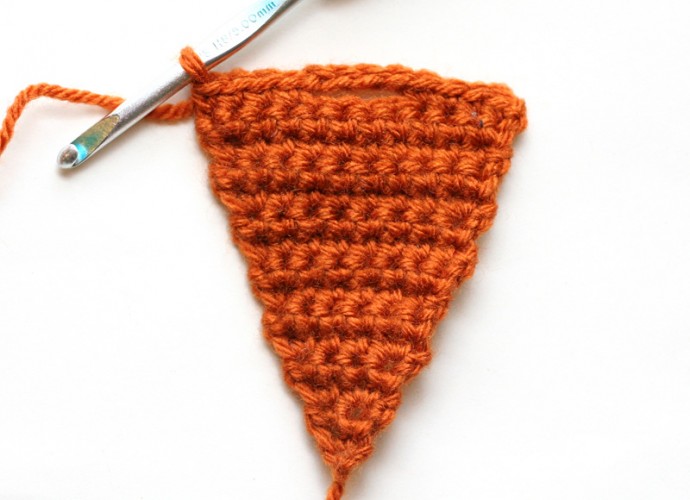
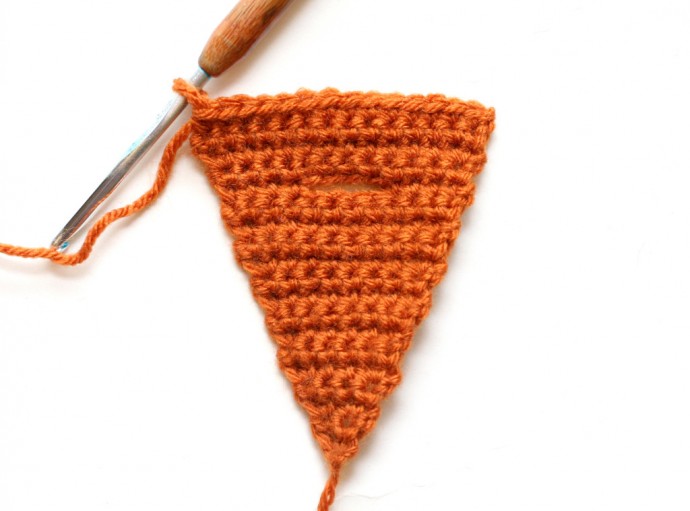
You should now have a triangle with a slit in it. The slit will be the opening for your tissue dollop.
Do not break off.
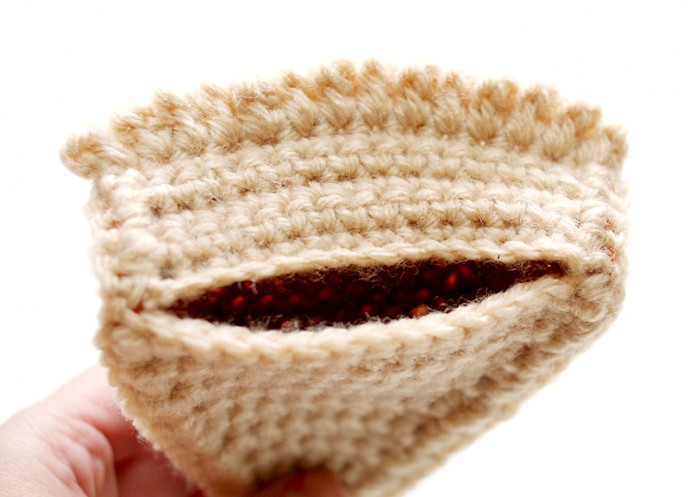
Sides of Pie
You will now work in sc around 2 sides of the triangle to start building the sides of the pie filling. The top or 3rd side will be worked in Beige later.
Row 1: Ch 1 and work 1 sc into the side of each row of Top of Pie. Since there were 19 rows and 2 sides of the triangle, you will work 38 sc evenly. (38)
Rows 2 – 5: Ch 1, and turn. 1 sc in each st. (38)
Break off and weave in ends.
Bottom of Pie
With Beige, ch 2.
Repeat Rows 1 – 14 of Top of Pie.
Row 15: Ch 1, turn. 1 sc in each st. (12)
Rows 16 – 19: Repeat Rows 16 – 19 of Top of Pie. (14)
You will now have a triangle with no slit in it. Break off and weave in ends.
Pie Crust
With Beige, ch 15.
Row 1: Sk 1st ch and work 14 sc evenly across. (14)
Rows 2 – 5: Ch 1, turn. 1 sc each in st. (14)
Ch 2, turn.
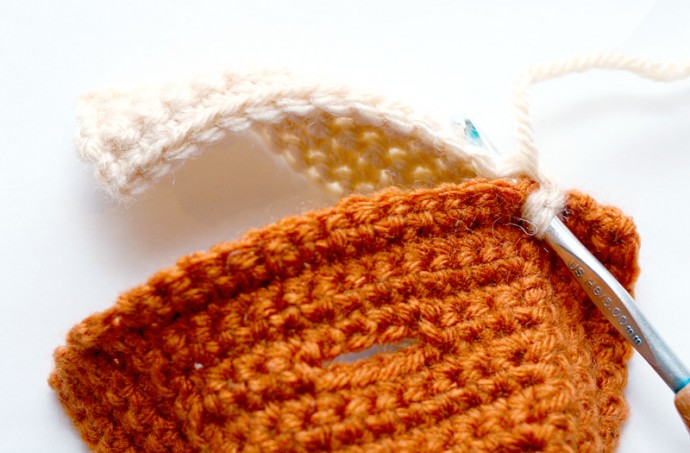
You are going to create a scallop for the crust as well as begin joining all the sections of the pie together.
Place Pie Crust behind Top of Pie. You will be crocheting together Row 19 of Top of Pie to Row 6 of Pie Crust that you are about to work.
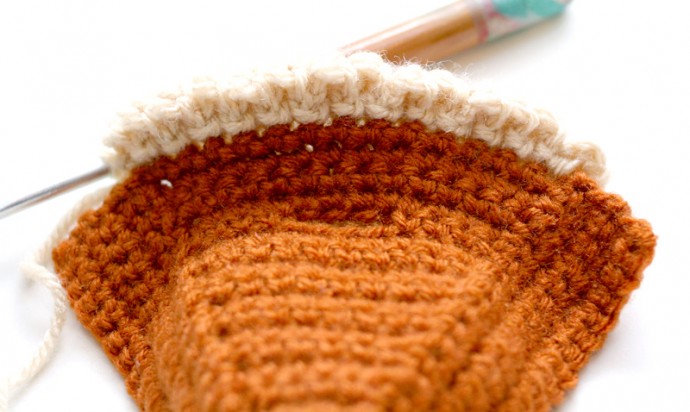
Row 6: YO and insert hook through 1st st of Row 19 of Top of Pie as well as Pie Crust. Complete 1 dc, ch 2, and sl st into same st. [Sl st into next st, ch 2, 1 dc, ch 2, sl st into same st] 13 times into the remaining 14 sts.
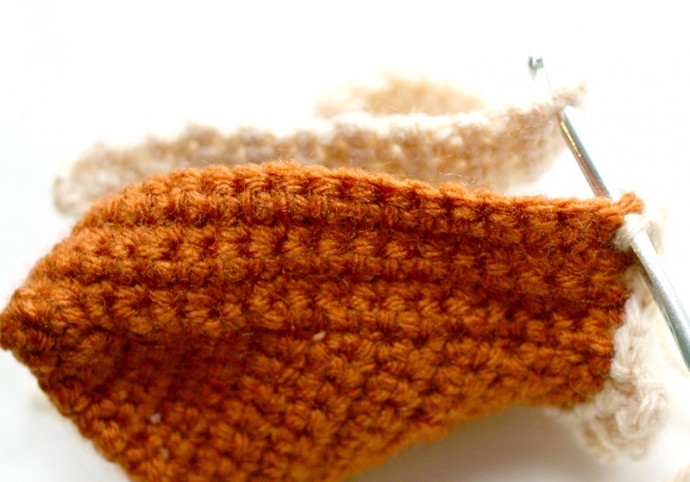
You will now single crochet together the sides of Sides of Pie and Pie Crust. Since each is 5 rows long, you will work 5 sc through both layers.
Now it’s time to join Bottom of Pie. Place Bottom of Pie underneath your work. You will crochet Row 5 of Sides of Pie to the edges of Bottom of Pie, which means you will work 38 sc total.
Then you will single crochet together the last side of Sides of Pie and Pie Crust with 5 sc evenly. Sl st to next to join. Break off and weave in all ends.
There is a gap in the crust, and this is for you to insert your Kleenex. If you just want to stuff your pie with Polyfil, then do so now, and sew up this gap.
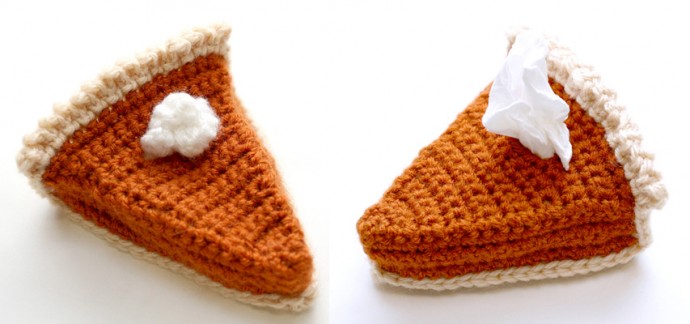
Whipped Cream
With White, ch 25.
Row 1: Sk 1st ch, work 1 sc in each remaining ch. (24)
Break off leaving about 18 inches for sewing.
All you’re going to do is tie a loose knot in the center, and then tie another loose knot. Sew down the tiny ends, and then sew the Whipped Cream to the top of your Pie.