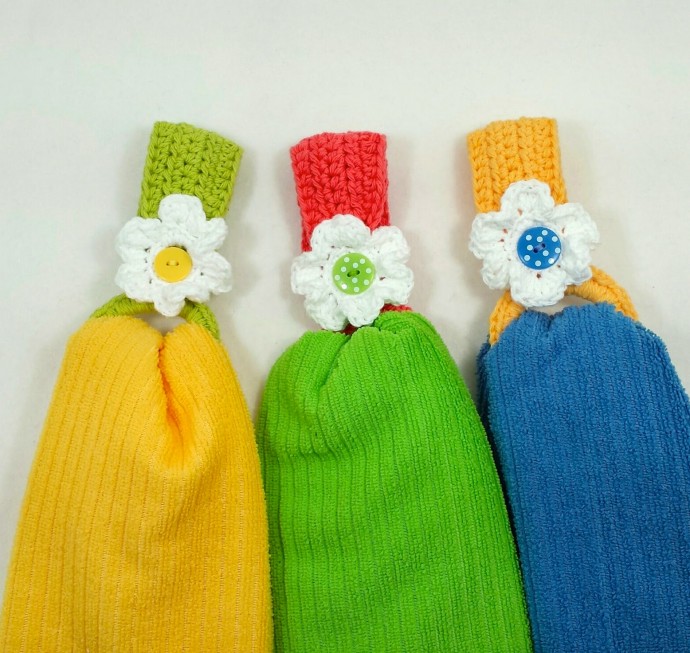
Crochet Ponytail Holder with Daisy Flower

You’ll Need:
Some medium density (size 4) cotton yarn in two colors: one for the main body and one for the little daisy-like flower;
Crochet hook 4 mm;
Button with 2.5 cm diameter;
Embroidery thread;
Ponytail/hair elastic;
Tapestry needle.
Instructions
Main Body
Leaving a yarn tail of about 3-4 inches, single crochet (sc) around your ponytail elastic, filling it up with nice, uniform stitches. I matched the yarn with the elastic to ensure that even if the ring is stretched and there is slight separation between stitches, the color stays uniform.
If you are using a similar size ponytail elastic, your total sc might reach between 40–45 stitches.
Row 1
Chain a long chain to measure about 5.5 inches (14 cm)—about 24 stitches. The stitch count is less important than the length.
Row 2
Starting in the second chain from the hook, half double crochet (hdc) the length of the chain down to the elastic ring. Sc into the top of the nearest sc on the elastic ring, then sc into the next stitch. Turn.
Row 3
Hdc along the body of the holder to the end. Chain 2. Turn.
Row 4
Hdc the length of the holder. Sc into the top of the nearest sc of the elastic ring and again into the next sc after that. Turn.
Row 5
Hdc the length of the holder. This time, instead of turning, sc across the end of the holder to the original chain (Row 1) side.
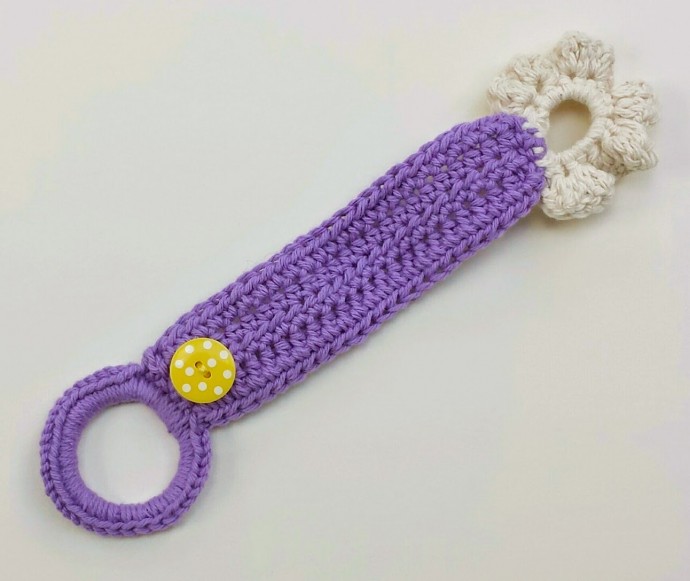
Final Row
Hdc down the length of the holder along the original long chain (Row 1). This final row makes a nice finished edge.
Cut yarn, leaving a 4-inch tail.
Using your tapestry needle, secure any loose yarn ends.
Flower
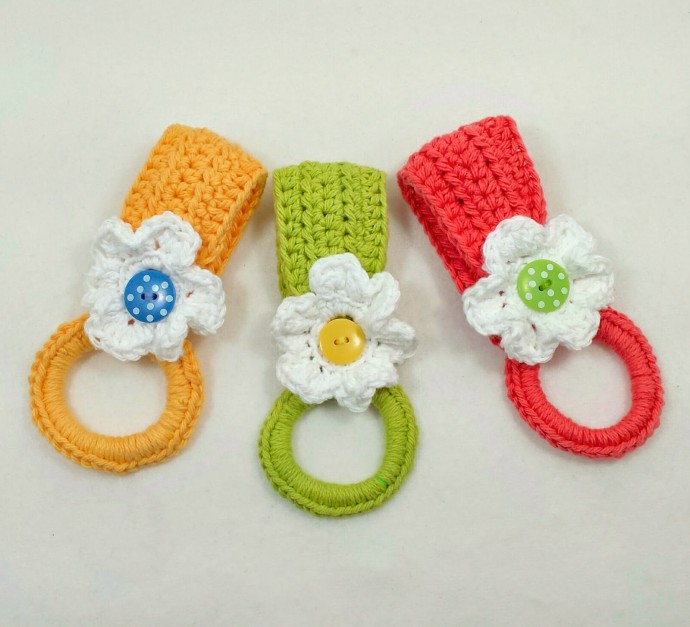
Using a 6-inch starting tail (15 cm), make a magic loop or chain enough stitches for a tight fitting button hole to accommodate the button you selected. If you use a similar button size to the ones in the first photo, you will want to start with 8 chain stitches to make a loop, if you are not doing the magic loop method.
Row 1
Sc 18 stitches around the loop.
Petals
You will be making 6 petals working in the back loops of the sc row.
For the first stitch, chain 2 to serve as the first hdc, then hdc, dc (2) in the nearest stitch.
For the second stitch: dc (2), hdc (2).
For the third stitch: slip stitch (sl st).
For the fourth stitch: hdc (2), dc (2).
For the fifth stitch: dc (2), hdc (2).
For the sixth stitch: sl st.
Repeat the fourth through sixth stitch sequence around to make 5 more petals (total of 6 petals).
Leaving a 6-inch (15 cm) tail, cut yarn.
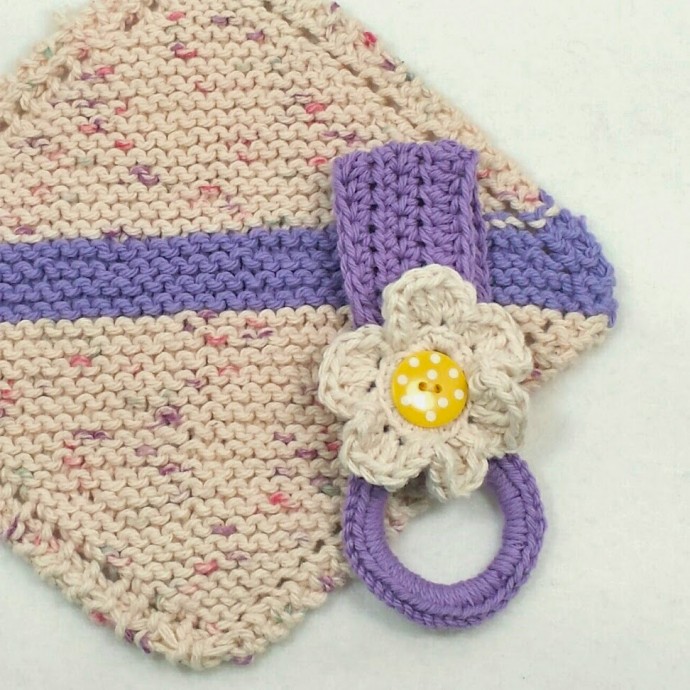
Button
Refer to the photo below to show the placement of the button. Somewhat loosely, sew your button to the towel holder using embroidery thread. When sewn, make a shank on the backside of the button by wrapping the embroidery thread around and around a few times and then securing your thread. The shank will make the button fit better into the daisy and reduce the likelihood of it popping off in the future.