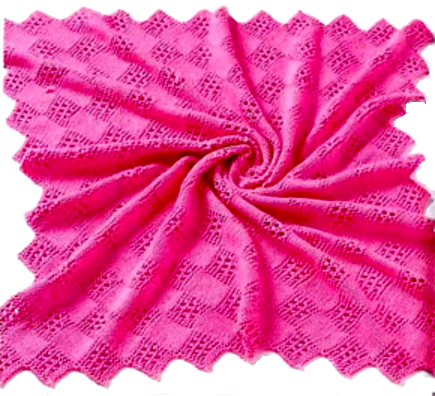
Knitting a Relief Element Pattern

You’ll Need
300g of mixed yarn content;
Circle knitting needles 4.
Size
82 х 82 cm.
Stitches Control
22 sts х 30 rows = 10 х 10 cm.
Relief Element
Cast on 9 sts.
1st - 4th rows: knit;
5th row: 2 knit sts, *knit2tog, 1 yarn over* x twice, 3 knit sts;
6th - 8th rows: knit;
9th row: 1 knit st, *knit2tog, 1 yarn over* x 3 times, 2 knit sts;
10th - 12th rows: knit;
13th - 16th rows: repeat 5th - 8th rows.
Instructions
Start with 11 sts. The first and last sts – selvedge sts. Make the relief element on 9 sts with 16 rows height. Then, don’t slip the sts from the knitting needle, cast on 9 sts for the next relief element.
17th row: 1 selvedge st, 9 sts of relief element, 9 knit sts, 1 selvedge st. Total, 29 sts;
Cast on 9 more sts.
18th row: 1 selvedge st, 9 sts of relief ornament, 9 purls, 9 sts of relief ornament, 1 selvedge st. Total, 29 sts;
Rows 15-29
15th - 29th rows: relief elements and wrong-side.
Cast on 9 more sts.
30rd Row
30rd row: 1 selvedge st, *9 purls, 9 sts of relief element* x twice, 9 purls, 1 selvedge st. Total, 47 sts;
31st - 45th rows: relief elements and wrong side.
Then, continue working according to the previously described scheme until you have 23 x 9 sts = 209 sts on your knitting needles. Bind off the areas in reversed order, as you increased sts.
