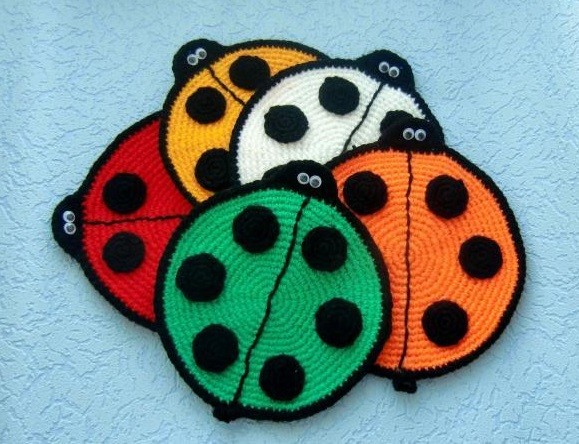
How to Crochet a Cute Ladybug Amigurumi


You'll Need:
Black and any color you like yarn;
Crochet hook (appropriate for your chosen yarn).
Instructions
Make chain stitches and circle them in a ring.
Row Instructions:
- 1st row: 6 single crochets in the ring, slip stitch;
- 2nd row: 2 single crochets in 1 stitch, slip stitch;
- 3rd row: 2 single crochets in 1 stitch, 1 single crochet, slip stitch;
- 4th row: 2 single crochets in 1 stitch, 2 single crochets, slip stitch;
- 5th row: 2 single crochets in 1 stitch, 3 single crochets, slip stitch;
- 6th row: 2 single crochets in 1 stitch, 4 single crochets, slip stitch.
Repeat these rows until you reach the desired diameter. Then, make a "backwards needle" seam with black yarn in the middle of the circle.
Next, create the head for your ladybug. Begin from the edge of the circle. Make 8 single crochets, turn, and make 8 single crochets more. Turn again and make 6 single crochets, decreasing 1 stitch from each side, turn, then make 2 more decreases from each side. Fasten the yarn.
Now, to add fastening and a loop, start from the opposite side of the ladybug's head. Fasten around with single crochets, making a loop from 10-15 chain stitches. Make 6 spots, each consisting of 3 circle rows (similarly to how the base of the oven cloth was created). Sew the spots onto the ladybug and make eyes using beads or white yarn.
