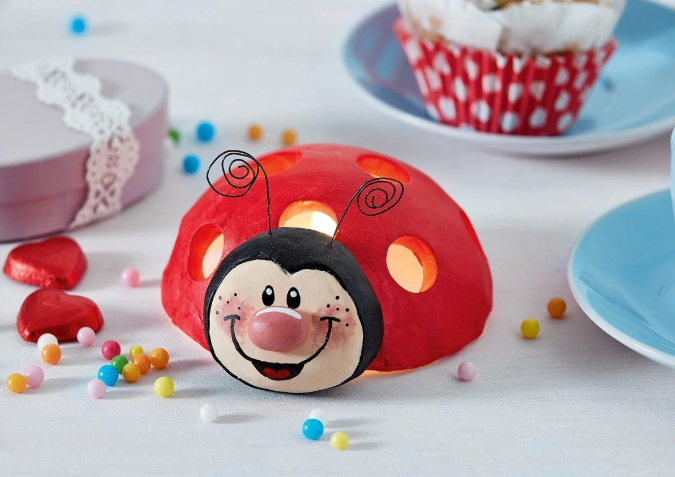
DIY Polymer Clay Ladybug Decoration Guide

You'll Need:
White polymer clay;
Tempered wire;
Acrylic paints in white, pink, red, and black colors;
Acrylic varnish in nude color;
Circle form for cutting with a 2 cm diameter;
Instruments for clay modeling;
Acrylic half-sphere with a 10 cm diameter;
LED garland or button candle;
Brush;
Glue.
Instructions
Roll out polymer clay to approximately 1 cm thick, and cover the resulting layer with an acrylic half-sphere. Cut off any excess clay.
Using a modeling tool, form a round head with an oval nose and attach it to the body of the ladybug.
Cut out holes on the back of the ladybug using the round shape. Insert a piece of wire (approximately 15 cm in length) into the head, and leave the ladybug in the air to dry for several days.
Once dry, remove the acrylic hemisphere and paint the ladybug according to your design or preference. Twist the ends of the wires into a spiral and place the LED garland or a safe button candle inside the ladybug.
