

How to Crochet a Cute Balloon Dog — Complete Pattern & Materials

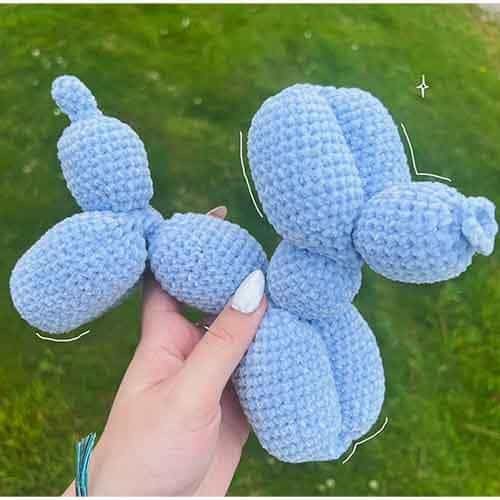
Crochet balloon dogs are a whimsical, handmade twist on the classic balloon-animal shape. This pattern walks you through the full amigurumi-style construction—tail, legs, body, neck, ears and head—using simple single crochet increases and decreases. Use colorful worsted-weight yarn and a bit of stuffing to create a playful decoration or a unique handmade gift.
Below you will find the materials list, abbreviations, the full row-by-row pattern, and a few finishing tips to help you get a neat result.
Materials
- Yarn of choice: big twist value yarn (worsted acrylic – size 4 was used in this sample).
- Crochet hook: 4.5 mm.
- Polyfill.
- Stitch marker.
Abbreviations
- Sc: Single crochet
- Inc: Increase
- Dec: Decrease
Tail
Make a magic ring with 6 sc.
R1-4: sc around (6)
This is the unflated tip of the tail and can be adjusted according to your preferences.
R5: inc around (12)
R6: inc around (24)
R7-16: sc around (24)
R17: dec around (12)
Stuff to your desired firmness.
R18: dec around (6)
R19-22: sc around (6)
Deflated section.
Legs
R23: inc around (12)
R24: inc around (24)
R25-38: sc around (24)
R39: dec around (12)
Stuff to your desired firmness.
R40: dec around (6)
R41-44: sc around (6)
Deflated section.
Repeat for the second leg, ending on Row 66. You should now have 3 bulbs.
Body
R67: inc around (27)
R68: inc around (24)
R69-80: sc around (24)
R81: dec around (12)
Stuff to your desired firmness.
R82: dec around (6)
R83-86: sc around (6)
Deflated section.
Repeat the pattern for two more legs. It helps to write out the rows so you know when you will inc/dec. The second leg ends on Row 130 and you will have a total of 6 bulbs.
Neck
R131: inc around (12)
R132: inc around (24)
R133-140: sc around (24)
R141: dec around (12)
Stuff to your desired firmness.
R142: dec around (6)
R143-146: sc around (6)
Deflated section.
Ears
R147: inc around (12)
R148: inc around (24)
R149-161: sc around (24)
R162: dec around (12)
Stuff to your desired firmness.
R163: dec around (6)
R164-167: sc around (6)
Repeat the pattern for two more ears. It helps to write out the rows so you know when you will inc/dec. The second ear ends on Row 188 and you will have a total of 9 bulbs.
Head
R189: inc around (12)
R190: inc around (24)
R191-198: sc around (24)
R199: dec around (12)
Stuff to your desired firmness.
R200: dec around (6)
R201: sc around (6)
Deflated section.
R202: inc around (12)
Slip stitch into the next stitch and fasten off by cutting yarn to finish.
You have now finished the crochet balloon dog.
Finishing tips
- Stuff firmly but not overly tight to keep the balloon-like bulb shapes. Add stuffing gradually to control shape.
- Use a stitch marker to keep track of the first stitch of each round—this pattern uses many continuous rounds.
- Weave in ends securely and use small, neat stitches when joining sections so seams stay hidden.
Variations
Try different yarn colors or stripes for a playful look. You can also adjust the hook size or yarn weight to make larger or smaller versions of the balloon dog—just be aware that changes will alter the final size and amount of stuffing needed.
- Funny Pictures
-
 Fresh Animal Memes to Mix in Your Morning Coffee
-
 The Funniest Tweets of the Day
-
 Hilarious Tweets to Get Your Thoughts Clear
- Recipes
-
 Crispy Bean Tostadas with Smashed Avocado and Jicama-Cilantro Slaw
-
 Mango “Burrito” Bowls with Crispy Tofu and Peanut Sauce
-
 Baklava Granola
- Lifehacks
-
 Crochet Tutorial: Textured Bobble Stitch
-
 Crochet Tutorial: Brick Stitch
-
 Crochet Wheat Stitch Tutorial
- Crochet Ideas
-
 Crochet Pumpkin Bear
-
 Crochet Santa Placemat
-
 Crochet Mini Boo Bucket for Treats and Decor
- DIY
-
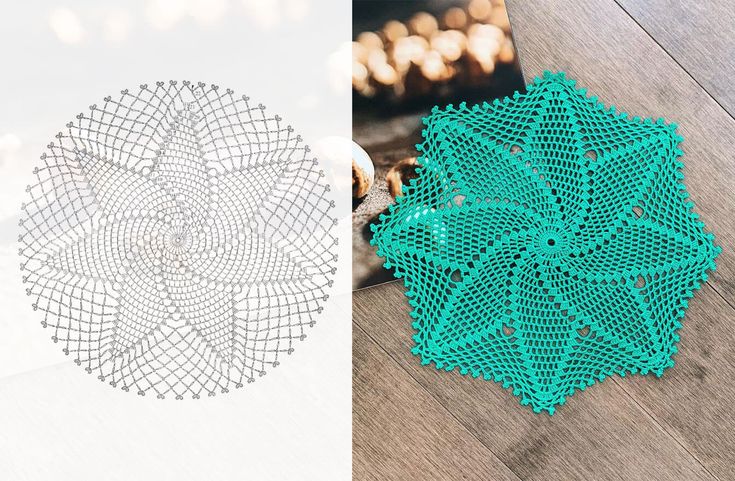 Make a Crochet Spiral Star Doily — Free US-Term Pattern & Tips
-
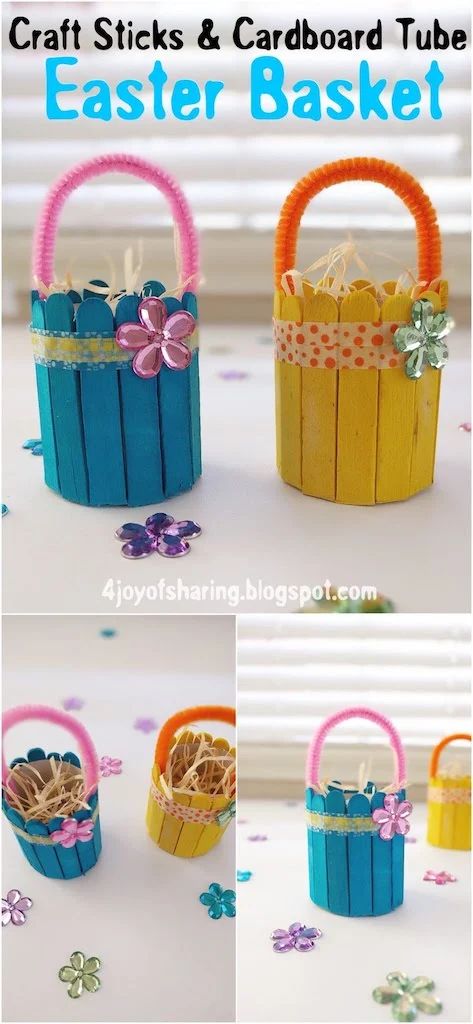 Easy DIY Easter Basket from Craft Sticks and a Cardboard Tube — Step-by-Step
-
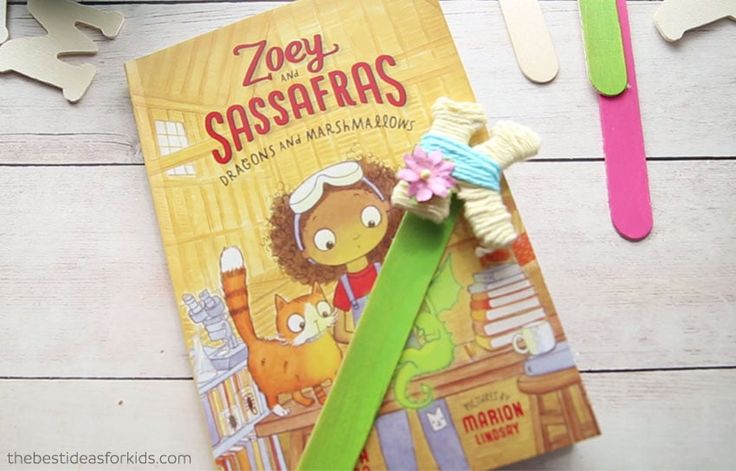 DIY Yarn-Wrapped Letter Bookmarks — Cute Personalized Bookmarks in Minutes
- Knitting Ideas
-
 DIY Knitted Waffle Kitchen Towel — Easy Pattern for a Textured, Absorbent Cotton Towel
-
 Make an Adorable Knitted Scrappy Bandana Bib — Easy Garter-Stitch Baby Pattern
-
 Quick & Cozy Knitted Wrist Pincushion — Easy Pattern and Step‑by‑Step Instructions