Crochet Jack O’ Lantern Keychain with Customizable Face

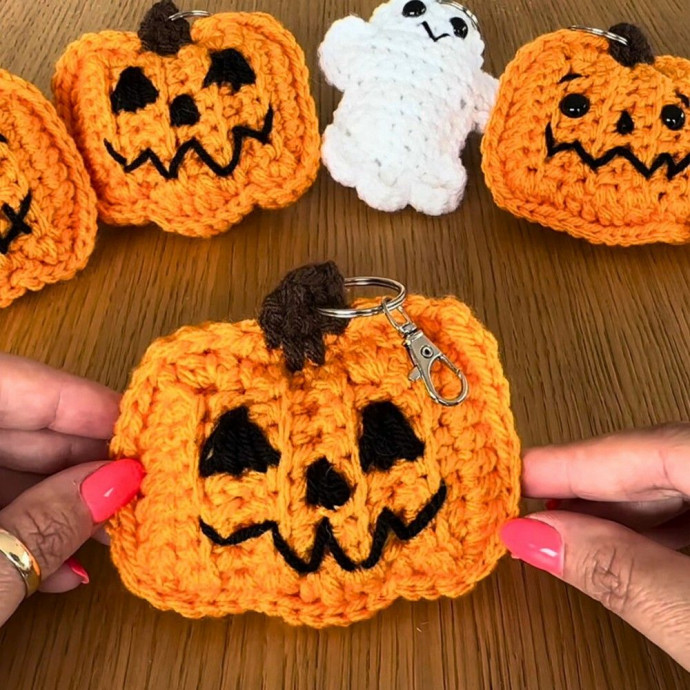
Looking to add a touch of spooky cuteness to your keys or bags this Halloween season? Look no further than the Crochet Jack O’ Lantern Keychain with Customizable Face! This charming and handmade keychain is the perfect way to showcase your holiday spirit while keeping your essentials in check. With its customizable face, you can give your little Jack O’ Lantern a unique personality that suits your style. Handcrafted with care and attention to detail, this keychain is not only adorable but also durable, ensuring it will accompany you through many Halloween seasons to come. So, why not treat yourself or a loved one to this delightful accessory and add a fun and festive flair to your everyday items this spooky season?
Materials and Preparation
- This beginner-friendly tutorial focuses on two face options: embroidered or safety eyes.
- The pattern features a ribbed texture achieved through working in the back loops, making it look like a real pumpkin.
- To create a keychain version, you’ll use the optional swivel clasp and O-ring.
- Gauge is not crucial if the same weight yarn is used consistently.
Gauge, Approximate Size, and Pattern Notes
- Gauge: Not critical. Created with size 4 medium worsted weight yarn and a G/4 mm hook for best results.
- Finished Size: Approximately keychain-sized; small enough to fit in your palm.
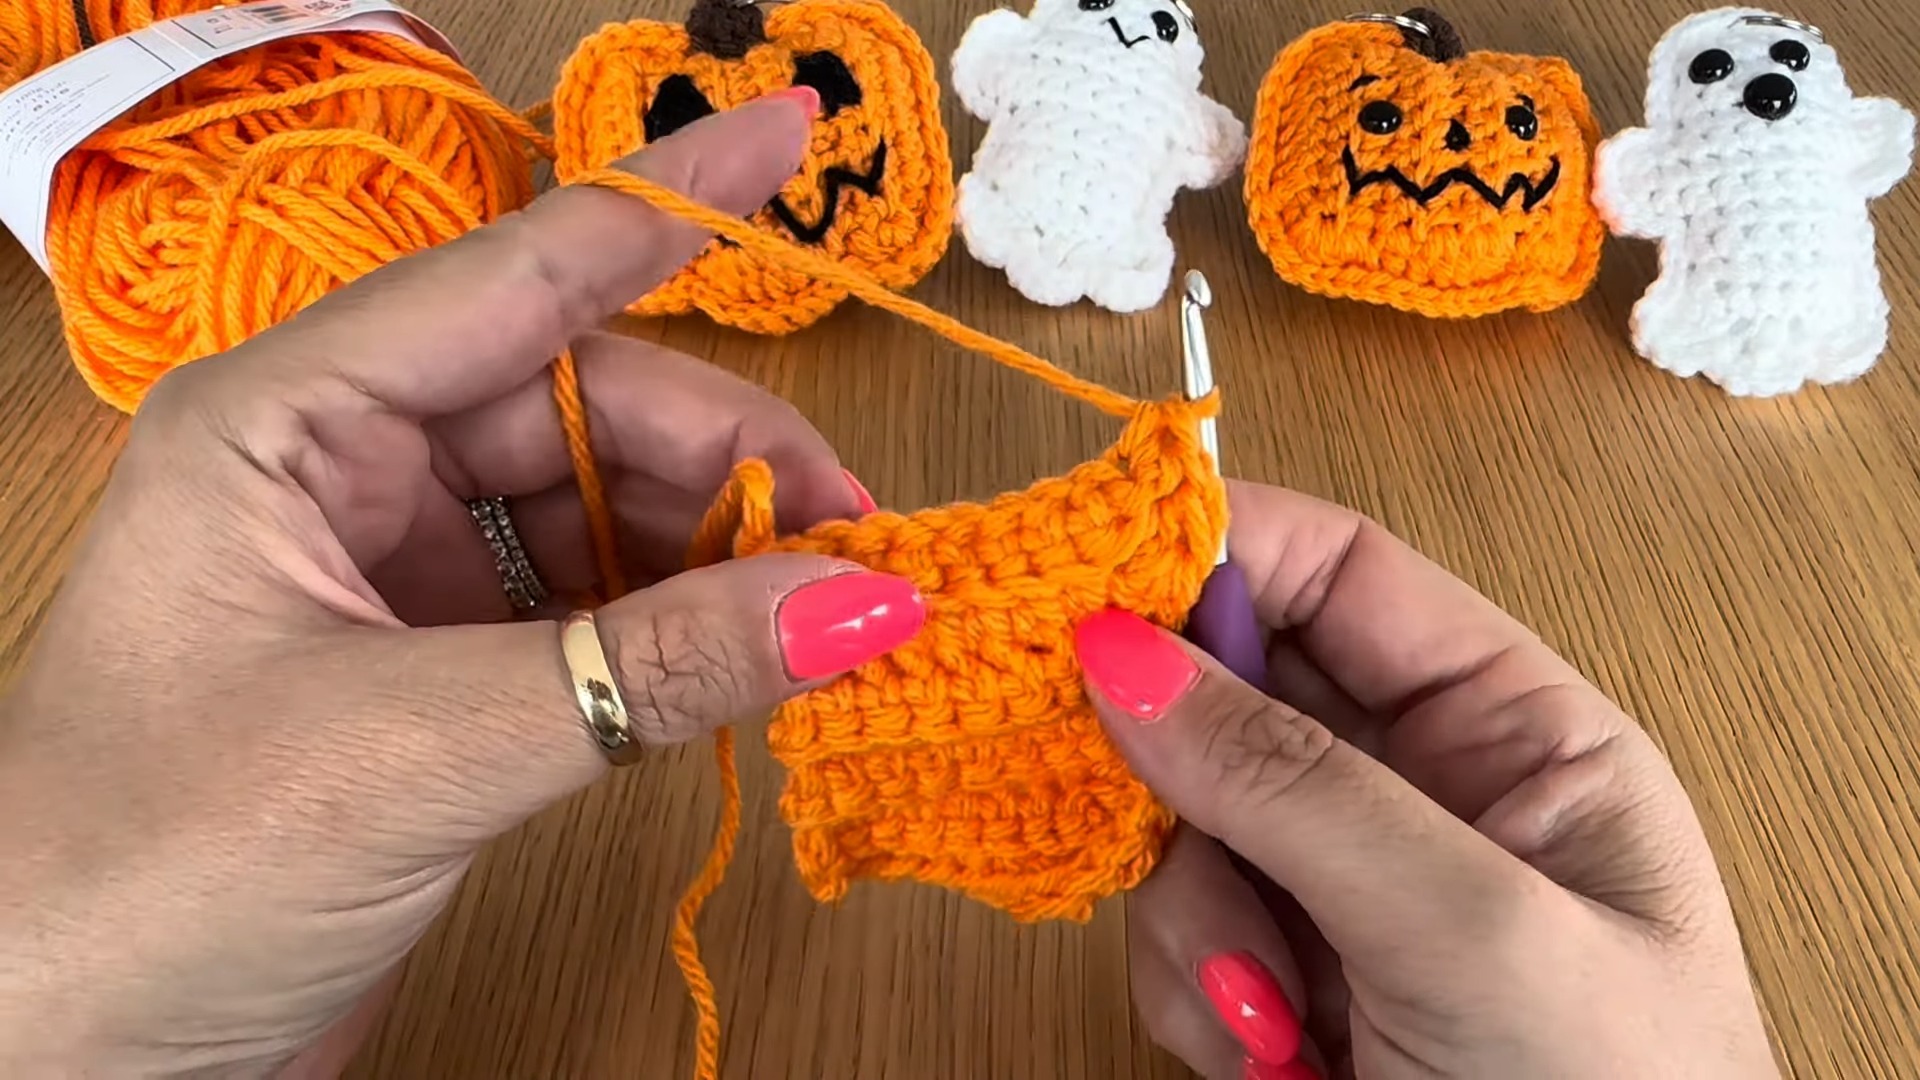
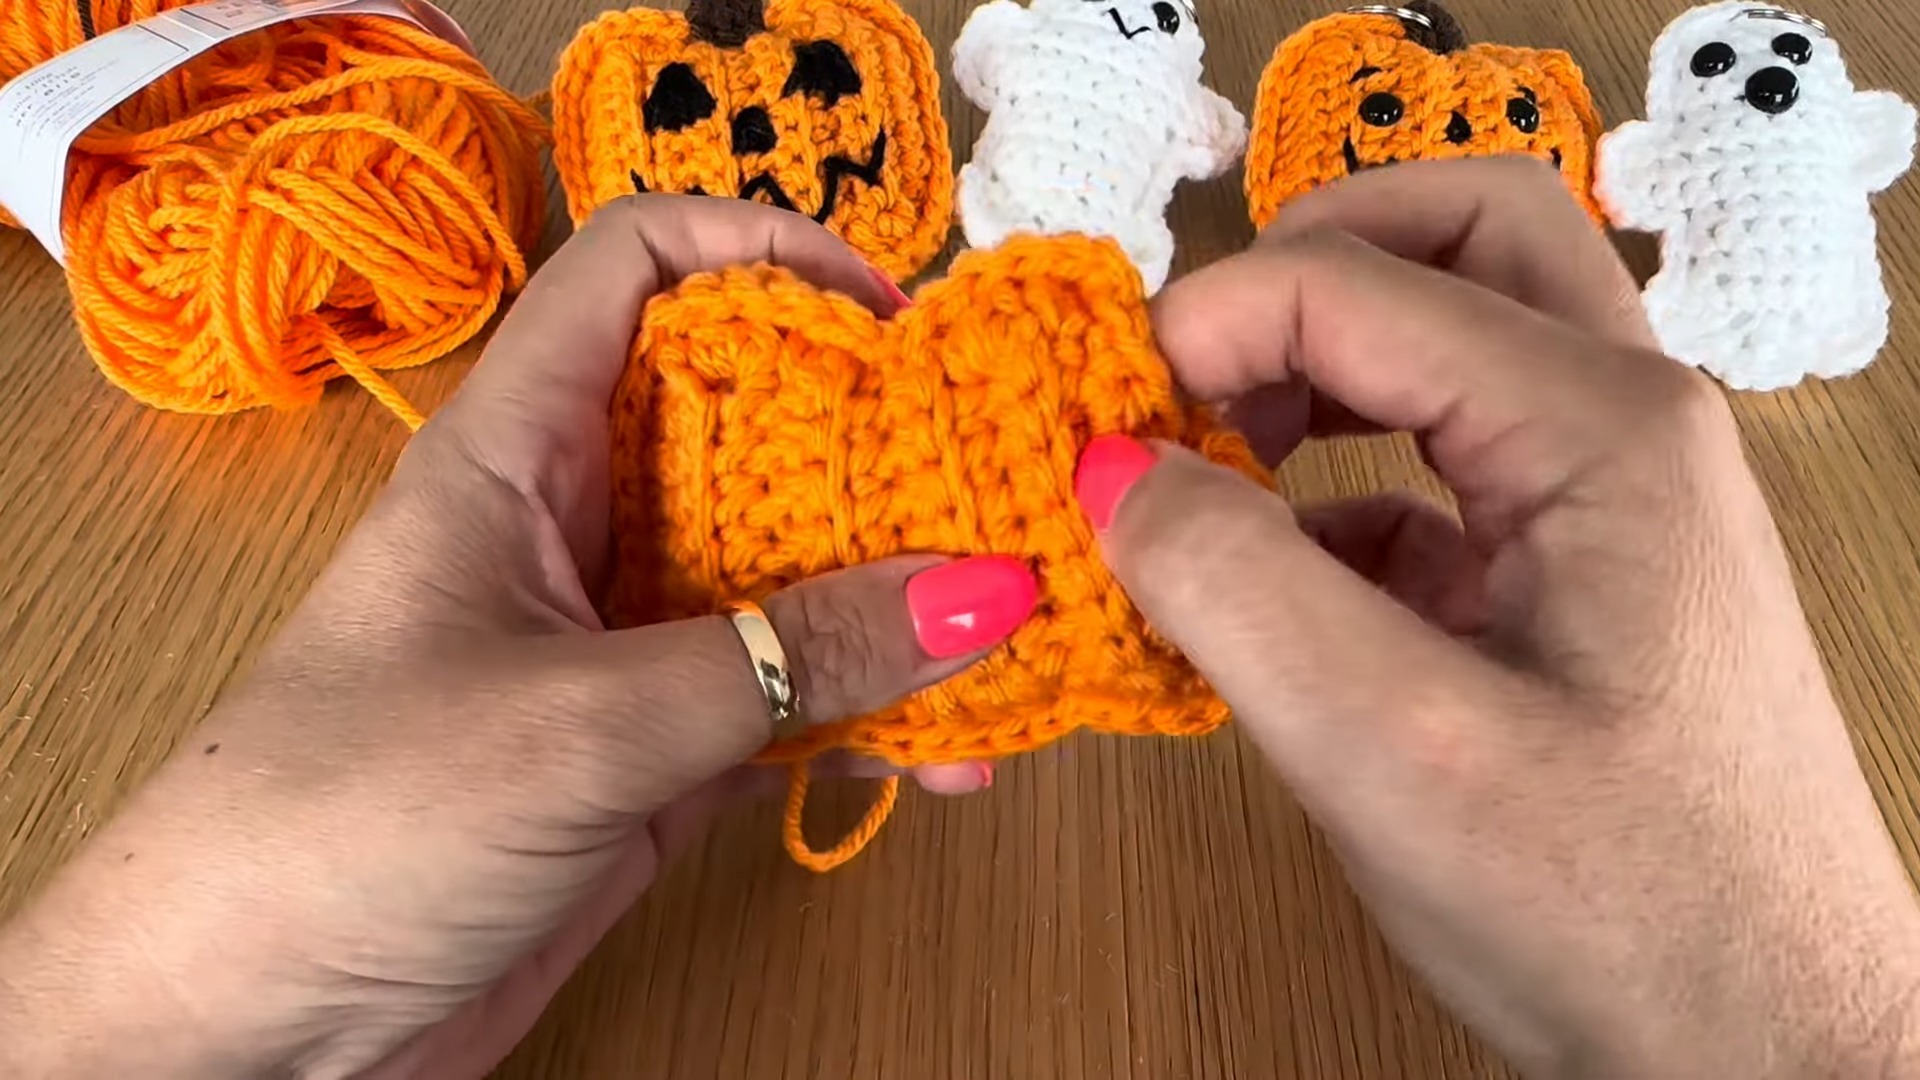
- The pumpkin is made of two identical ribbed panels sewn together.
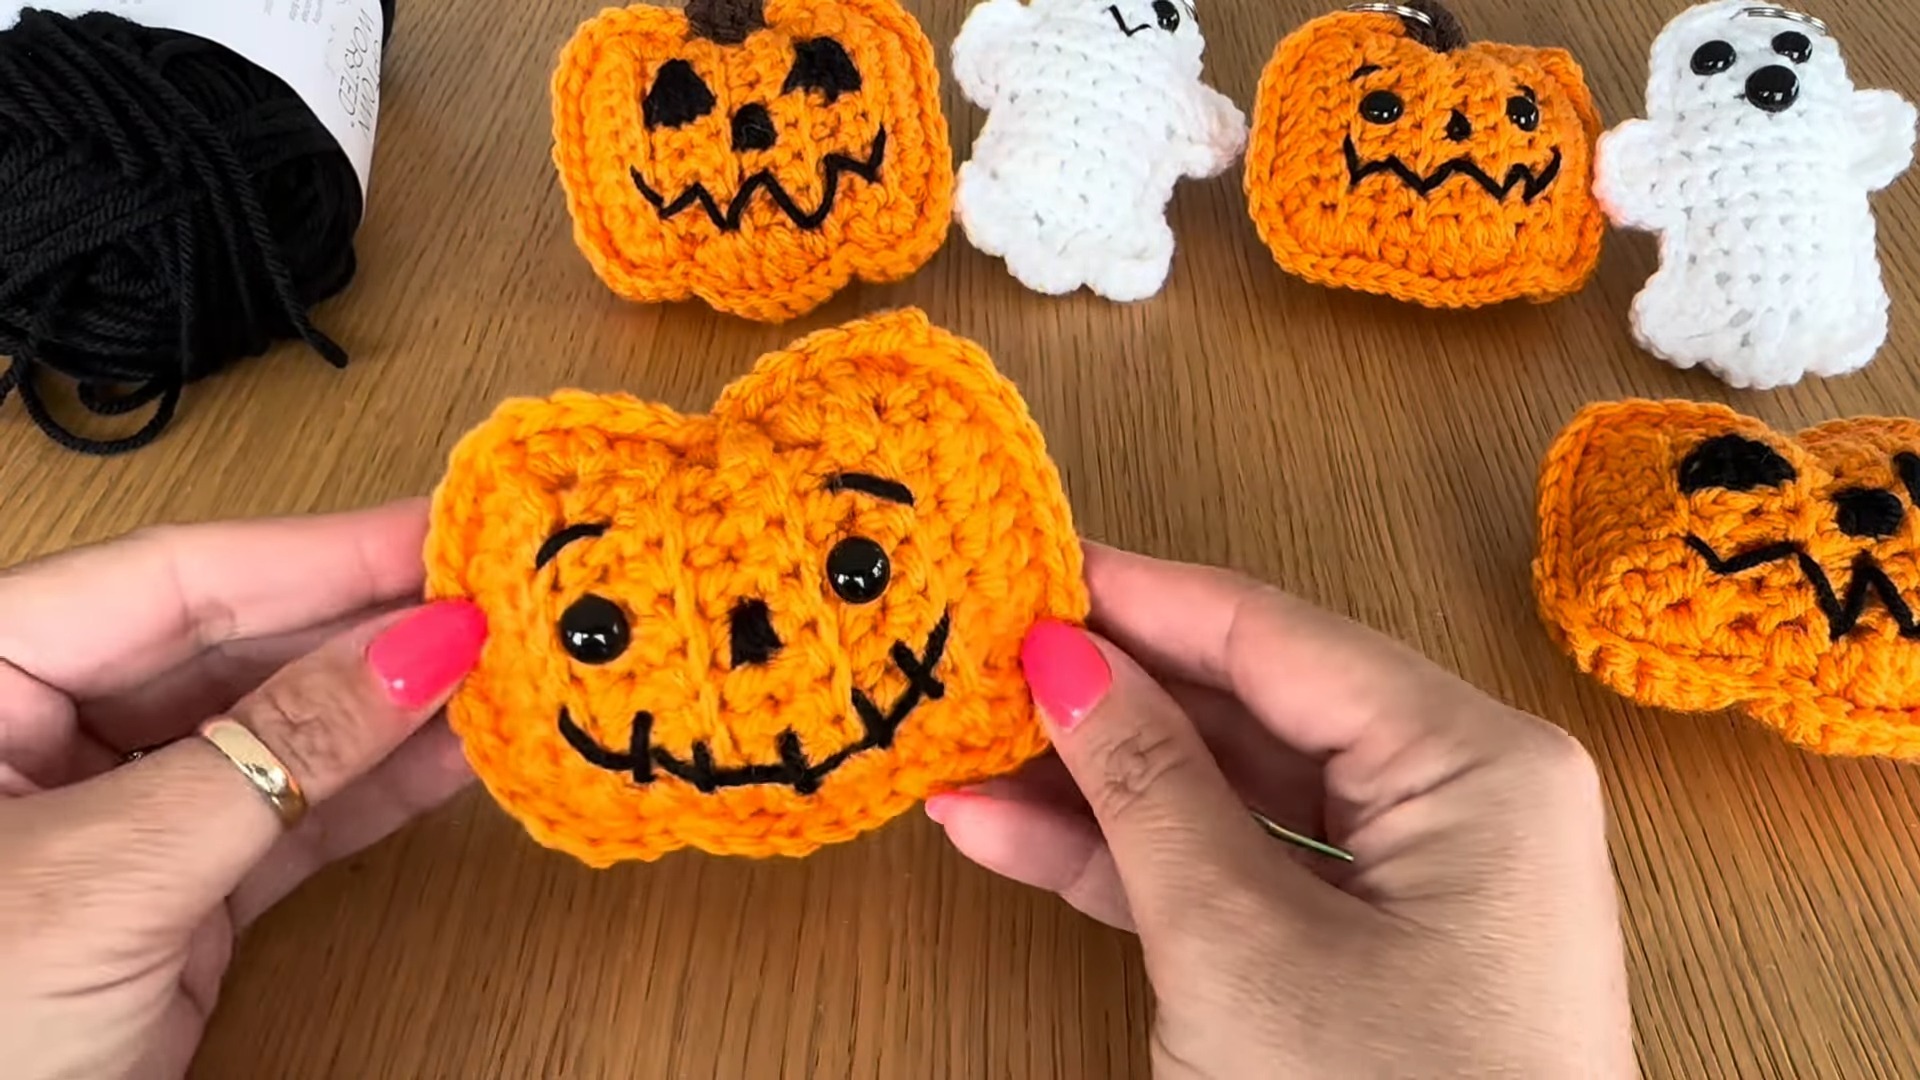
- Face options: Use the safety eyes or embroider the face using black yarn.
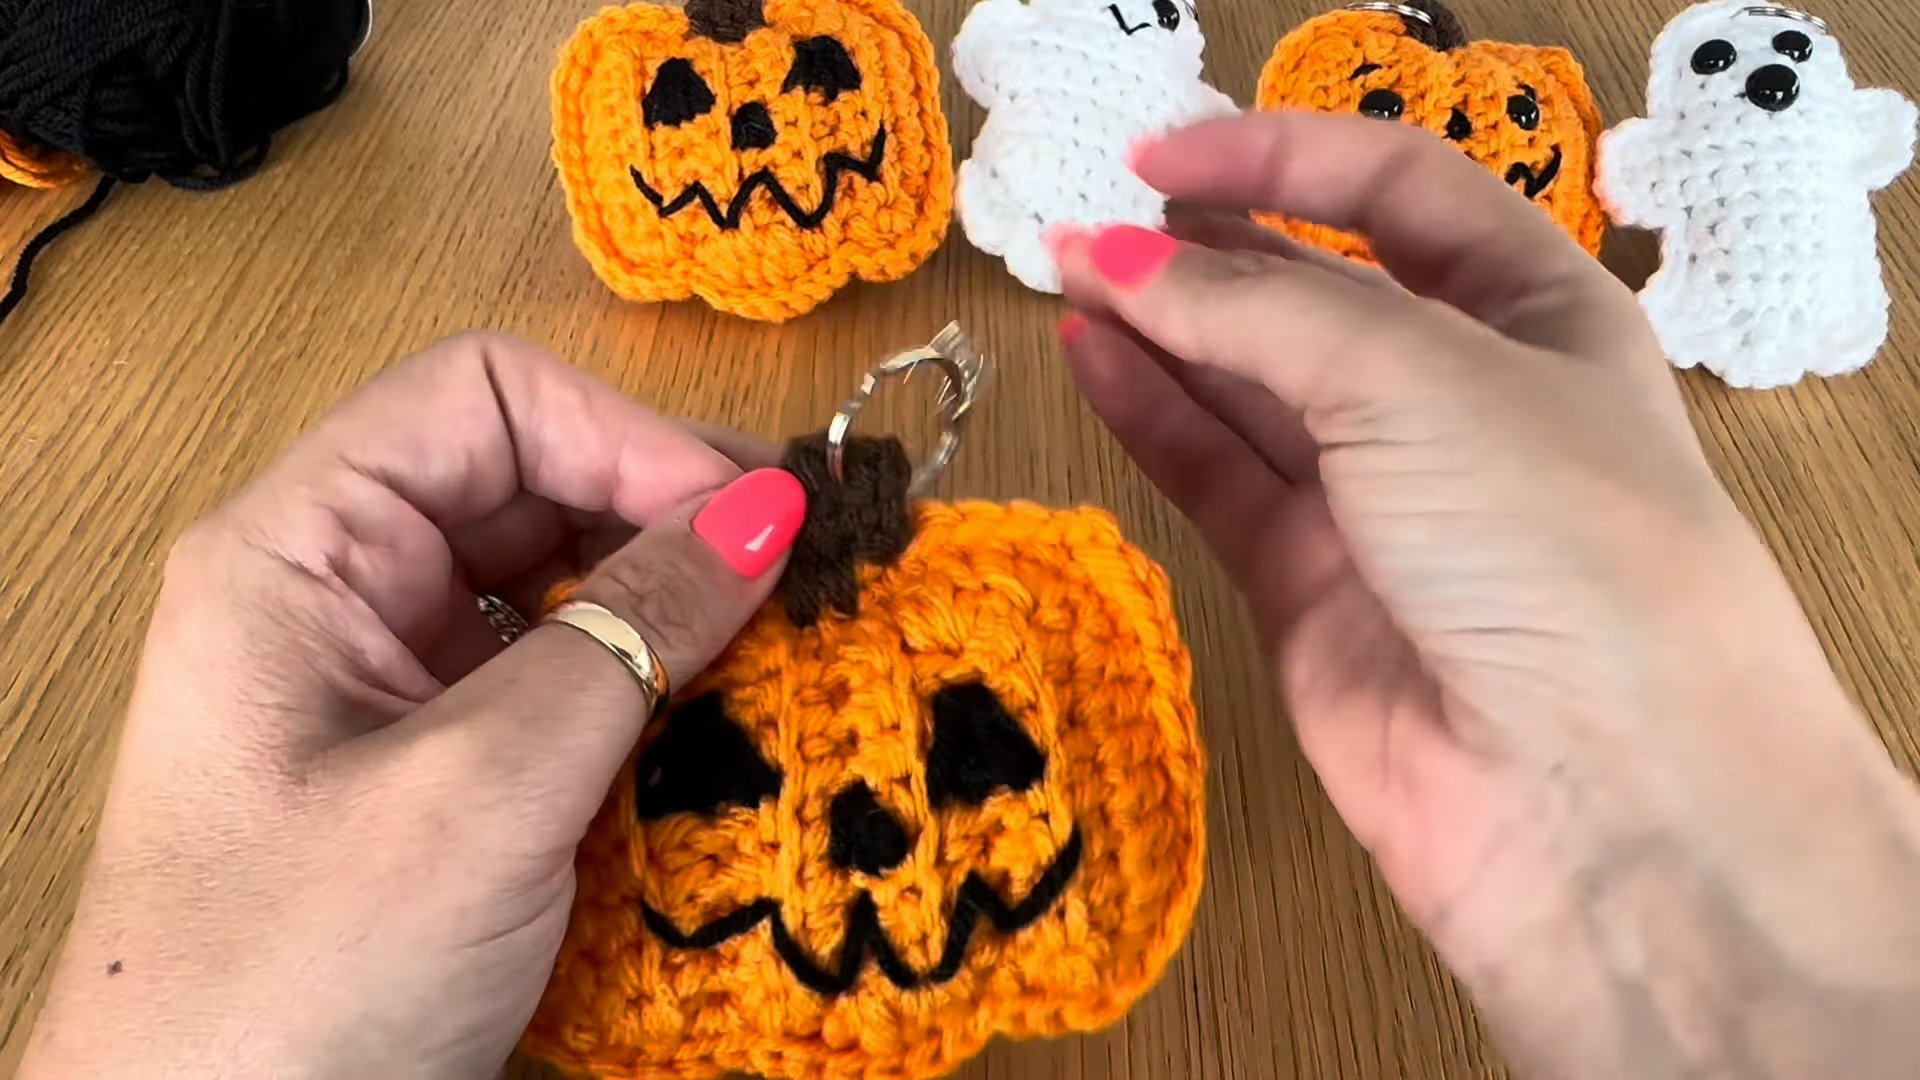
- The stem is attached at the top center of the pumpkin.
- Always keep your stitches even for a uniform texture.
Step-by-Step Pattern
Step 1: Create the Pumpkin Panels (Make 2)
Finish the Panel:
Step 2: Assemble the Pumpkin
Close the Opening:
Step 3: Add the Face
Step 4: Create the Stem
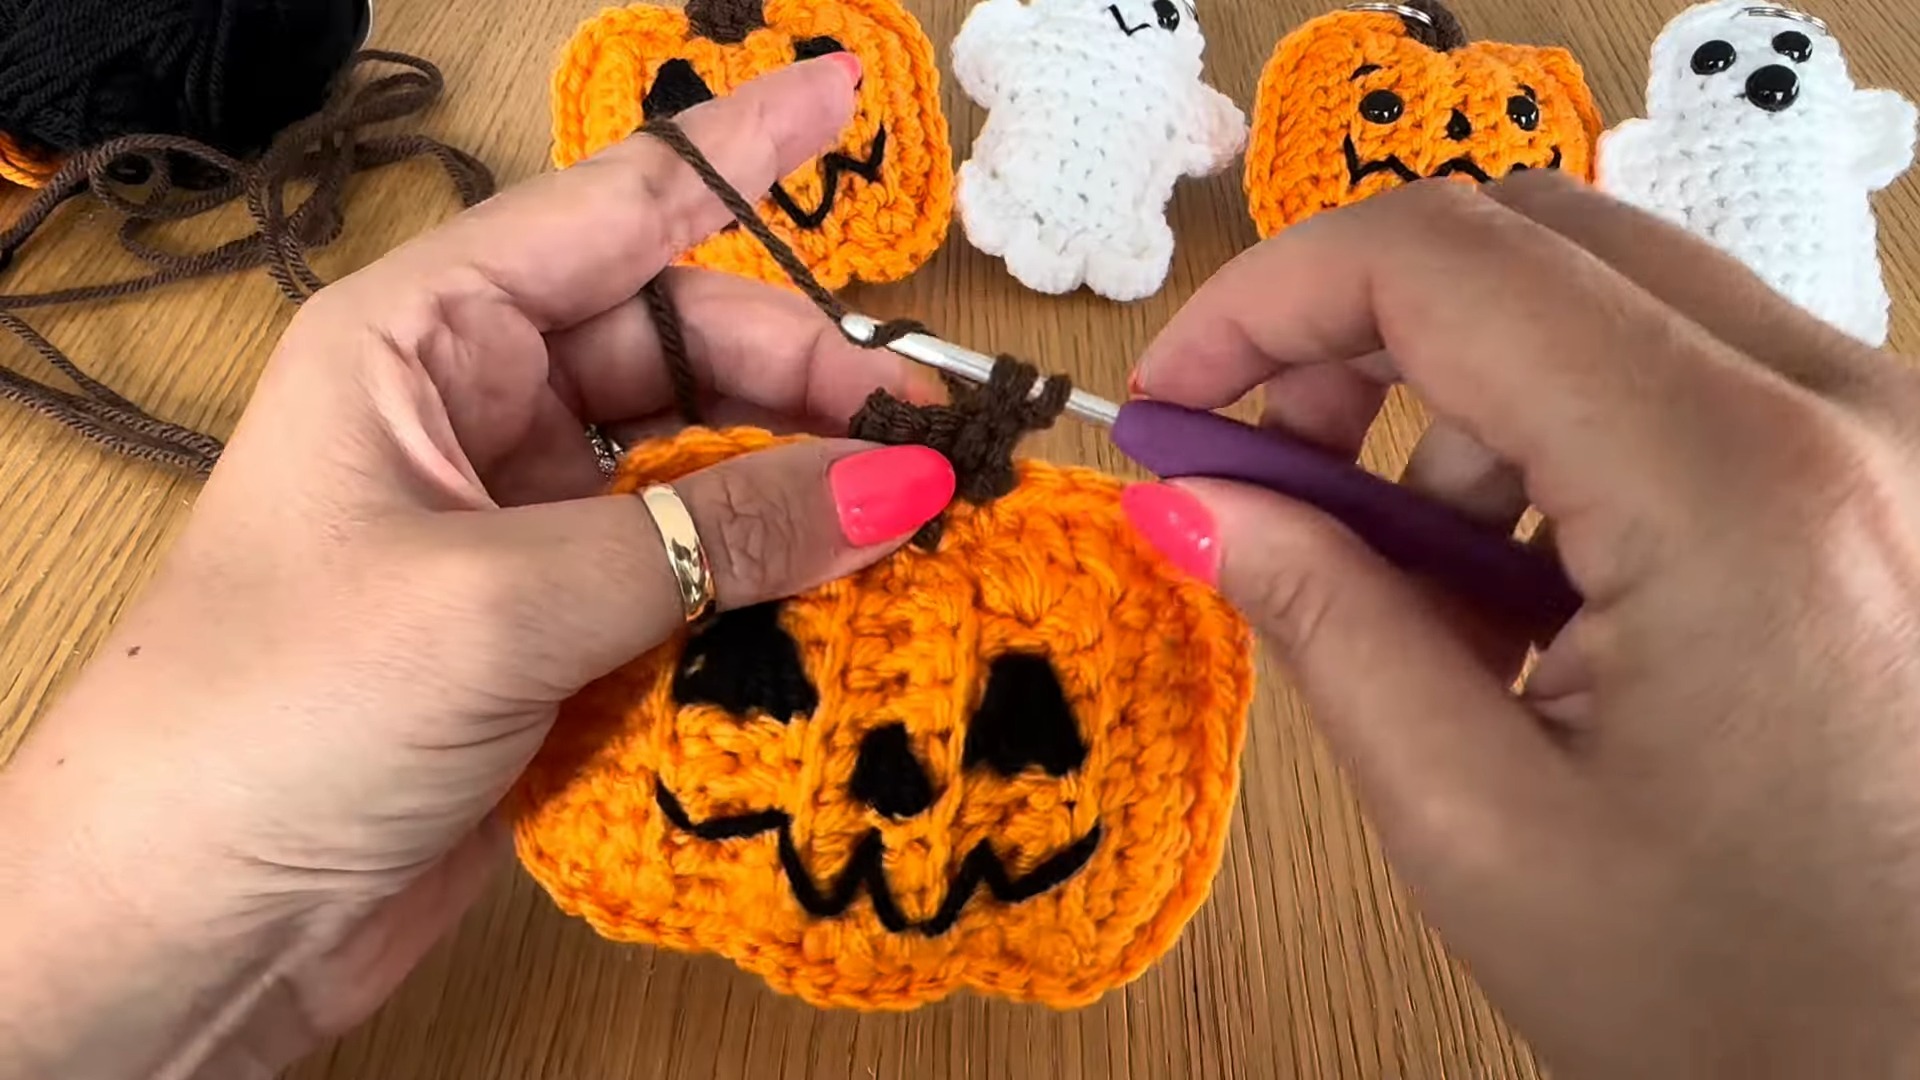
Step 5: Add the Keychain (Optional)
Secure the Keychain:
Key to Success
- Use a 4mm crochet hook and medium-weight (size 4) yarn for best results.
- Choose whether you’d like embroidered or safety-eye designs for the face.
- Pay close attention to ribbing for texture—it adds lifelike detail.
- Add polyfill stuffing carefully to maintain shape without overfilling.
- Customize accessories like the keychain ring or swivel clasp for versatility.
- Funny Pictures
-
 Feline Memes to Feel Better
-
 Best Funny Pics of the Day Especially for You
-
 Pictures That Have No Right to be This Funny
- Recipes
-
 Strawberry Banana Bread
-
 Baked Beans and Hot Dogs with Biscuit Topping
-
 Roasted Rosemary Lemon Chicken Breasts
- Lifehacks
-
 Crochet Tutorial: Flower Puff Stitch
-
 8 Basic Crochet Tips
-
 7 Crochet Tips And Tricks
- Crochet Ideas
-
 Crochet Snorlax Plushie Doll
-
 Crochet Cat in 1 Row
-
 Crochet Beautiful Penguin Toy
- DIY
-
 Popsicle Stick and Jingle Bell Christmas Tree Ornament
-
 Upcycled Mason Jar Chicken Vase
-
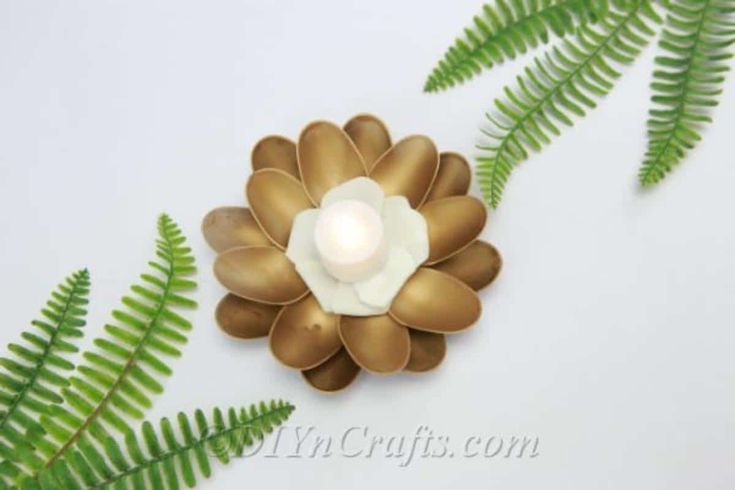 Make A Candle Holder From Plastic Spoons
- Knitting Ideas
-
 Knitted Newborn Striped Beanie
-
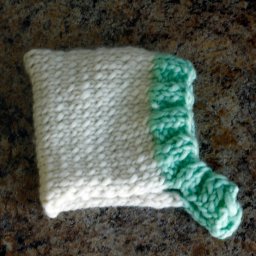 Knitted Chunky Newborn Pixie Hat
-
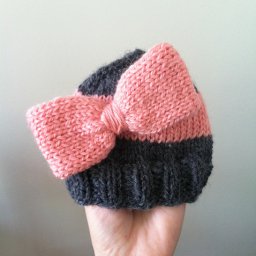 Knitted Big Bow Hat