Crochet Pumpkin Hairclip

Introduction
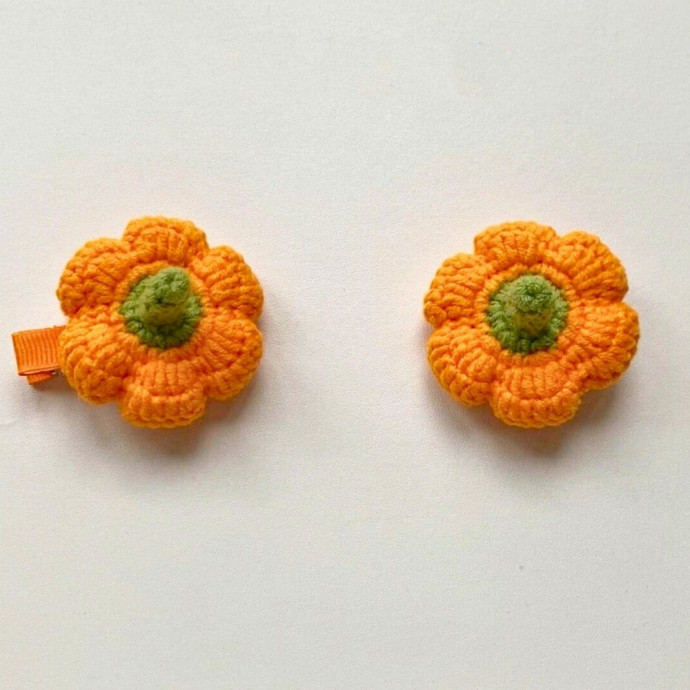
Embrace the cozy and charming vibes of the fall season with an adorable Crochet Pumpkin Hairclip! This delightful accessory adds a touch of whimsy to any outfit, whether you're heading out for a pumpkin patch adventure or simply enjoying a pumpkin spice latte with friends. Handcrafted with care and attention to detail, these crocheted pumpkins are not only stylish but also a fun way to showcase your love for autumn. With its vibrant orange color and cute design, this hairclip is sure to bring a smile to your face every time you wear it. Let your inner autumn enthusiast shine with this cute and festive accessory!
Materials and Preparation
To make a crochet pumpkin hairclip, you’ll need:
Yarn: Worsted weight yarn (medium #4) in orange (pumpkin) and green (stem or leaf).
Hook size: 3.5 mm or 4 mm crochet hook.
Additional Tools
Tapestry needle for sewing.
Scissors.
Small black beads (optional for embellishment).
Hairclip or bobby pin for attachment.
Abbreviations and Notes
Crochet Abbreviations
CH: Chain
SC: Single Crochet
HDC: Half Double Crochet
DC: Double Crochet
SL ST: Slip Stitch
INC: Increase (two SC into one stitch)
ST: Stitch
RS: Right side
Important Notes
Work stitches tightly to give the pumpkin shape proper structure.
The video provides a visual guide; follow along for additional tips if written instructions get tricky.
Make sure to keep your tension consistent to achieve neat results.
Gauge, Approximate Size, and Pattern Notes
Gauge
Gauge is not crucial for this project, as it’s a small decorative item. However, aim for approximately 6–8 stitches per inch in single crochet.
Finished Dimensions
The finished pumpkin hairclip will measure approximately 2 inches wide and 1.5 inches tall, perfect for hairstyling.
Pattern Notes
No gauge swatch is required.
Special techniques include crocheting in the round to shape the pumpkin.
Step-by-Step Pattern
Step 1: Begin with the Pumpkin
Create a magic ring with orange yarn.
Round 1: CH 1, work 8 SC into the magic ring. Pull tight and SL ST to the first SC. (8 STs)
Round 2: CH 1, INC in each stitch around. SL ST. (16 STs)
Round 3: CH 1, work [1 SC, INC] all the way around. SL ST. (24 STs)
Round 4: CH 1, work SC in each stitch around. SL ST. (24 STs)

Step 2: Form the Pumpkin Shape
Begin decreasing:
Round 5: CH 1, work [1 SC, DEC] all the way around. SL ST. (16 STs)
Round 6: CH 1, work DEC in each stitch around. Close the hole with a tapestry needle and weave the yarn to secure.
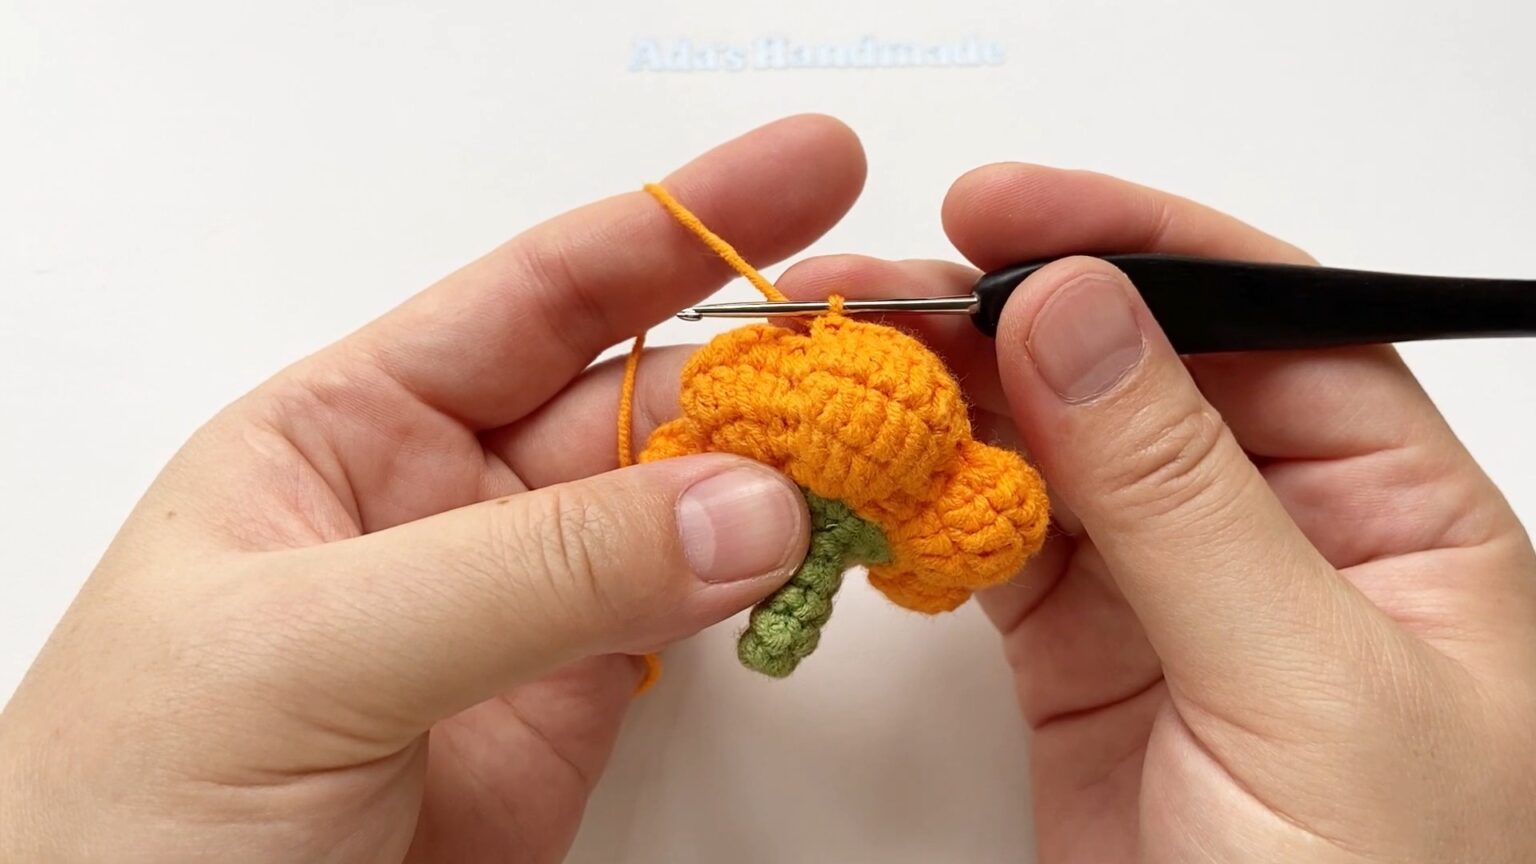
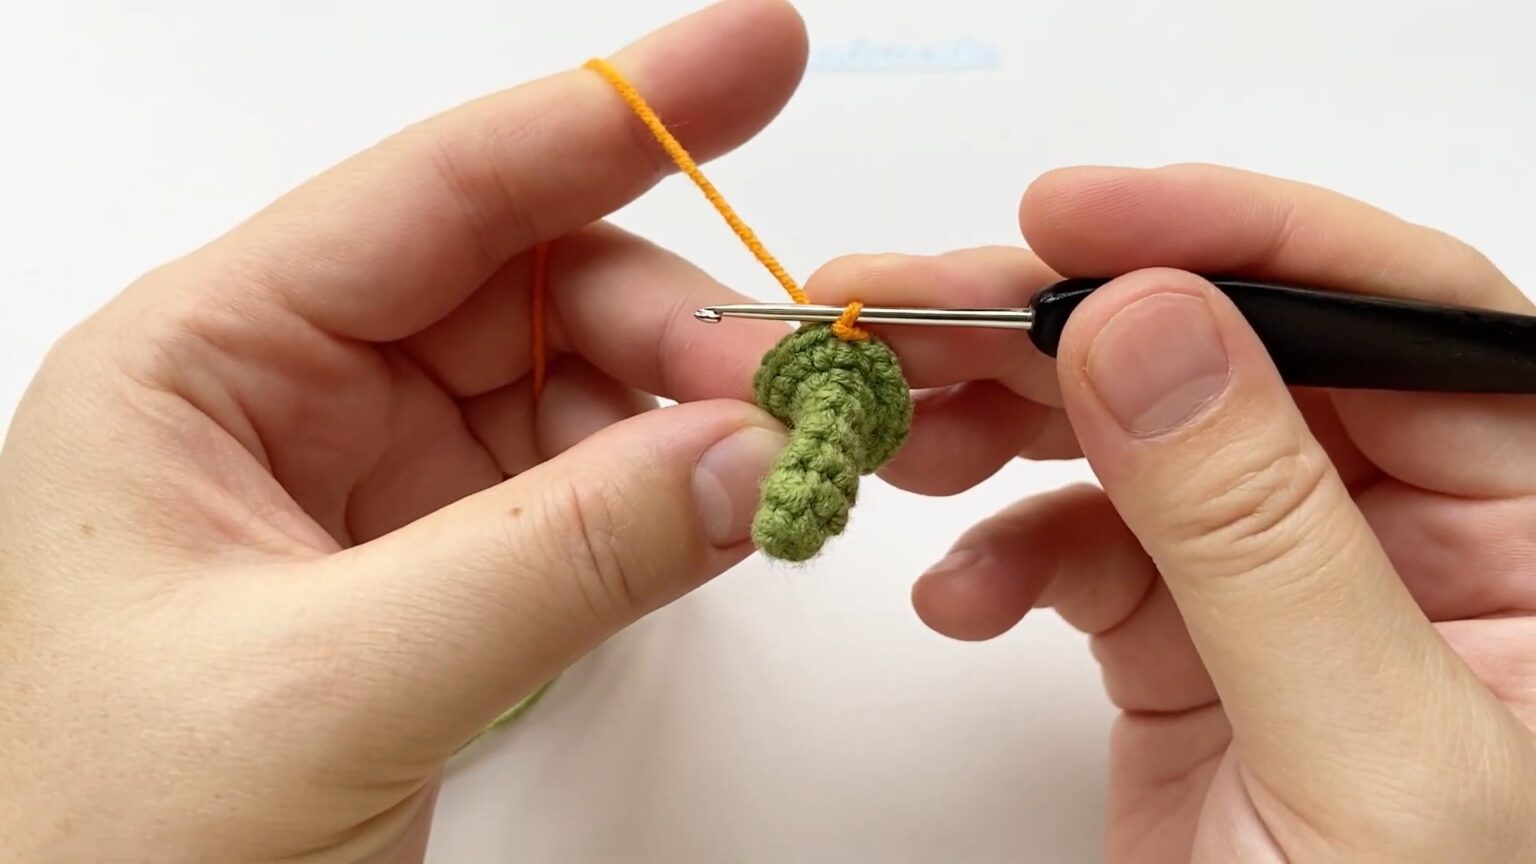
Step 3: Add the Stem
Attach green yarn to the top of the pumpkin.
CH 3, SL ST back into the base stitch.
Optionally, you can create a small leaf by working [1 DC, 1 SC] into the next stitch, SL ST into the base.
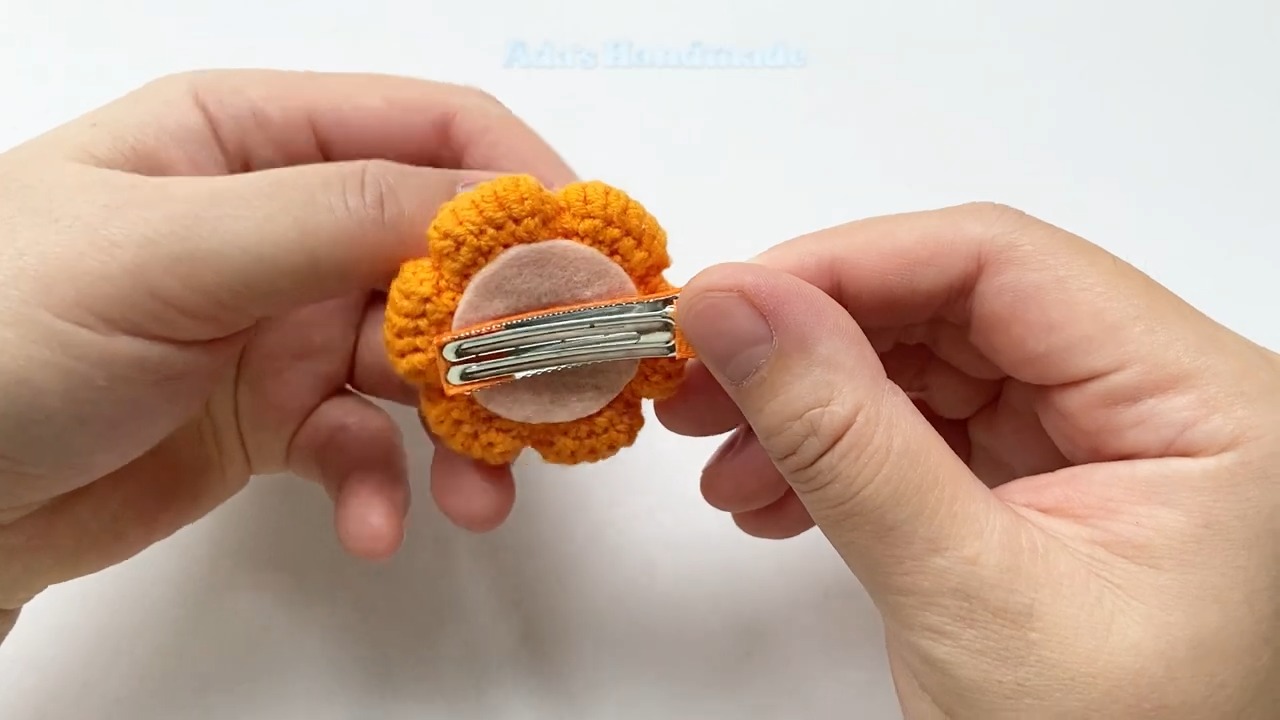
Step 4: Attach the Hairclip
Sew or glue the finished pumpkin onto a hairclip or bobby pin using your tapestry needle and extra yarn. Make sure the pumpkin is securely attached by reinforcing the stitches.
Optional Embellishment
Attach small black beads or stitch on details like a smiley face for a cute, festive look.
Key to Success
Choose high-quality yarn for durability and a soft finish.
Follow step-by-step instructions for precise results.
Use a strong hairclip base to ensure the pumpkin stays secure.
Add decorative touches like small leaves for extra flair.
- Funny Pictures
-
 Pics to Get the Excitement Today
-
 Funny Christmas Meme Dump
-
 Funniest Relatable Felines in the Form of Memes
- Recipes
-
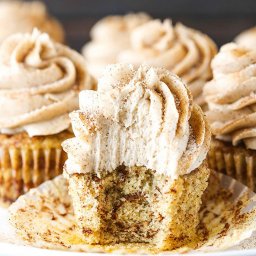 Cinnamon Sugar Swirl Cupcakes
-
 Cheesy Bacon Ranch Roasted Potatoes
-
 Blooming Onion Bites with Dipping Sauce
- Lifehacks
-
 7 Toilet and Bathroom Cleaning Hacks
-
 Tips & Hacks for Clean Carpets
-
 7 Kitchen Hacks & Simple Solutions
- Crochet Ideas
-
 Crochet Watermelon Amigurumi
-
 Crochet Shark Applique
-
 Crochet Pineapple Amigurumi
- DIY
-
 Yarn Wrapped Christmas Wreath Ornaments
-
 Egg Carton Snowman Ornament
-
 Stick Peppermint Candy Ornament
- Knitting Ideas
-
 Knitted Star Square Dishcloth
-
 Knitted Free 2025 Year Dishcloth
-
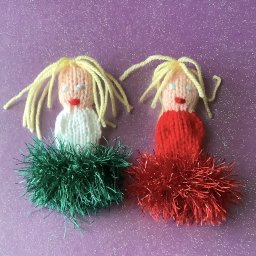 Knitted Belle Finger Puppet