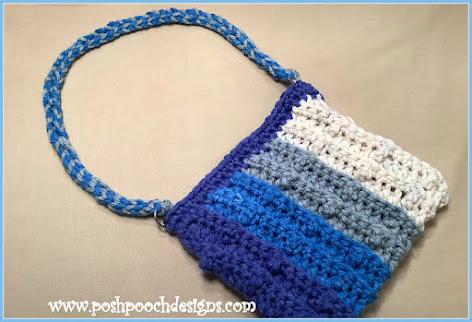
Crochet Let's Go Shoulder Bag
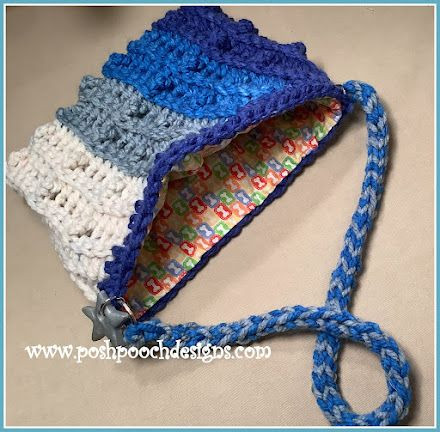
Hey there! Let's talk about the Crochet Let's Go Shoulder Bag – isn't it just the cutest accessory ever? This trendy bag is perfect for carrying your essentials in style while adding a touch of handmade charm to your outfit. With its unique crochet design and spacious interior, it's a must-have for anyone who loves a mix of fashion and functionality. Whether you're heading out for a casual day or a fun weekend adventure, this shoulder bag will be your reliable and stylish companion. So go ahead and rock that Crochet Let's Go Shoulder Bag with confidence!
Skill Level
Easy
Materials
- Crochet Hook – J / 6.00 MM
- Yarn - Bulky (5) 3 oz. (I used leftover O’Go Yarn – Overboard)
- Yarn Needle
- 2 Rings - 1 inch (can be metal or wood and any size you prefer)
Stitches Used
- Chain (ch)
- Slip Stitch (slst)
- Single Crochet (sc)
- Double Crochet (dc)
- Triple Crochet (tr)
- Back Loop Only (BLO)
Dimensions
Size: 8 X 8 Inches, not including the handle
Multiples: 5 + 5 Chs
4 chs = 1 inch
2 Rows = 1 inch
Additional Notes
- Ch1 does not count as a stitch.
- I separated all my colors from the O’go ‘skein’ into 5 separate balls; I only used 4 colors.
- The striping is up to you.
- When changing color, Ch1 after the color change.
Pattern Instructions
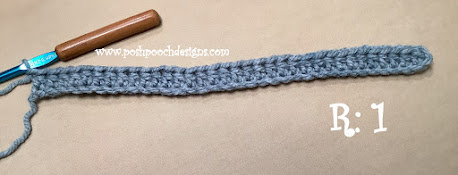
RND 1: Ch 35, 1 hdc in the 2nd ch from the hook, 1 hdc in each ch across, turn, ch 1 (34 hdc)
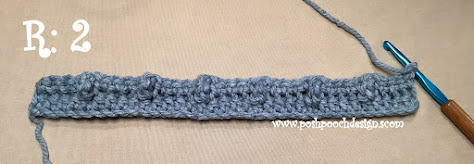
RND 2: BLO, 1 sc in the 1st 4 hdc, *1 tr in the next hdc, 1 sc in the next 4 hdc* Repeat from * to * 5 more times, turn, ch 3 (6 tr, 28 sc)
RND 3: BLO, 1 hdc in each st across, turn, ch 1 (34 hdc)
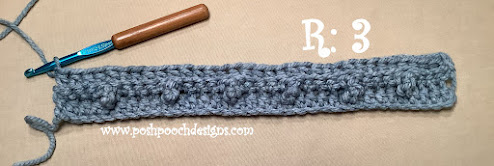
RND 4: Repeat RND 2
RND 5 to RND 16: Repeat RND 3 and RND 4, alternating every other row
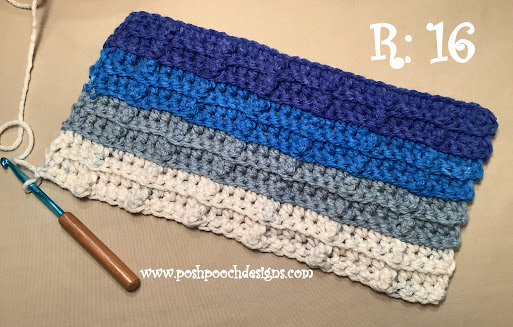
RND 17: Repeat RND 3
RND 18: Fold bag in half, wrong side out, stitch closed the 1st side stitching slsts evenly, tie off, weave in the ends.
Attach yarn to the bottom corner of the other side, evenly slst closed this 2nd side, do not tie off.
RND 19: Flip bag right side out, evenly sc around the top edge of the bag, join to the 1st sc, ch 1
RND 20: 1 sc in each sc around, join, and tie off
Bag Handle – I Cord
Using 2 strands of yarn held together, I like to use 2 different colors. I tie a knot in the bottom of the 2 strands to make it easier to hold.
I untie that knot when I am finished.
With 1 strand, make a slip knot, ch 3, slip hook through each ch and pull up a loop. (3 loops on the hook)
**Slide off the 2nd and 3rd loops carefully, with the 2nd strand, slst in the 1st loop, insert hook in the 2nd loop and pull through a loop from the 2nd strand, and repeat on the 3rd loop**
Using the 1st strand of yarn, repeat ** to **.
Continue to repeat from * to * alternating the 2 strands of yarn until the cord/handle is as long as you want it.
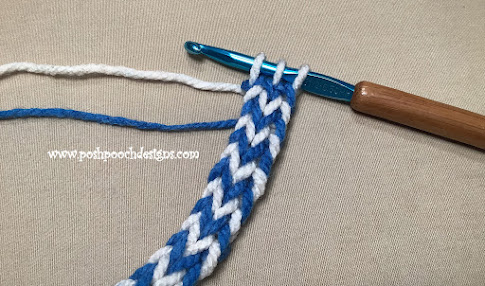
Slst in the 1st loop, pull the 1st loop through the 2nd loop, pull the 2nd loop through the 3rd loop, tie off and weave in your ends.
With a needle and matching yarn, sew a ring on each side of the bag. Sew the ends of the I cord to each ring securely.
