Crochet Single Long Sleeve Top

Penelope
Jun 10, 2025 08:57 AM
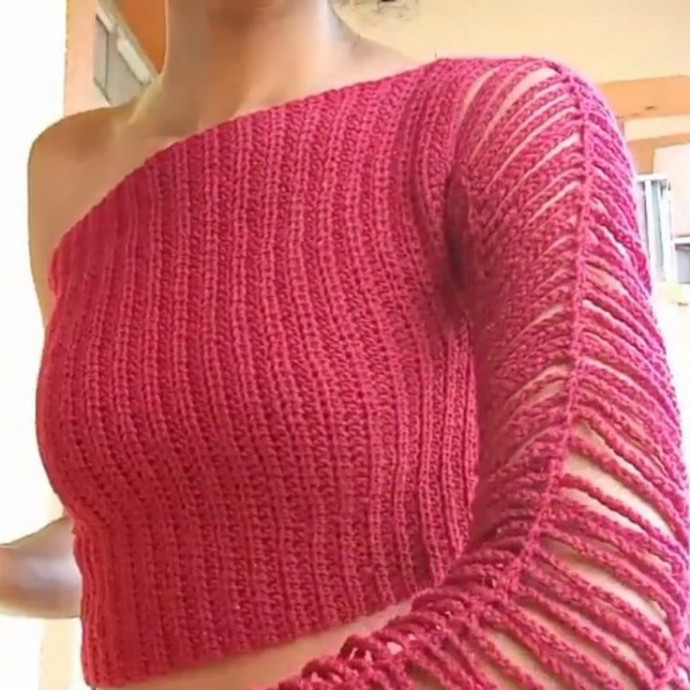
The Crochet Single Long Sleeve Top is the perfect mix of trendy and stylish! With its unique design, this top adds a fun twist to any outfit. The single long sleeve gives it a modern edge, making it a versatile piece that can easily transition from day to night. Whether you're dressing up for a special occasion or just want to elevate your everyday look, this top is sure to turn heads and make you feel fabulous!
Materials Needed
- Yarn
- Tape measure
- Scissors
- Recommended hook size for your yarn
Key Measurements
- Arm depth
- Length from shoulder to desired end
- Bust size
Instructions
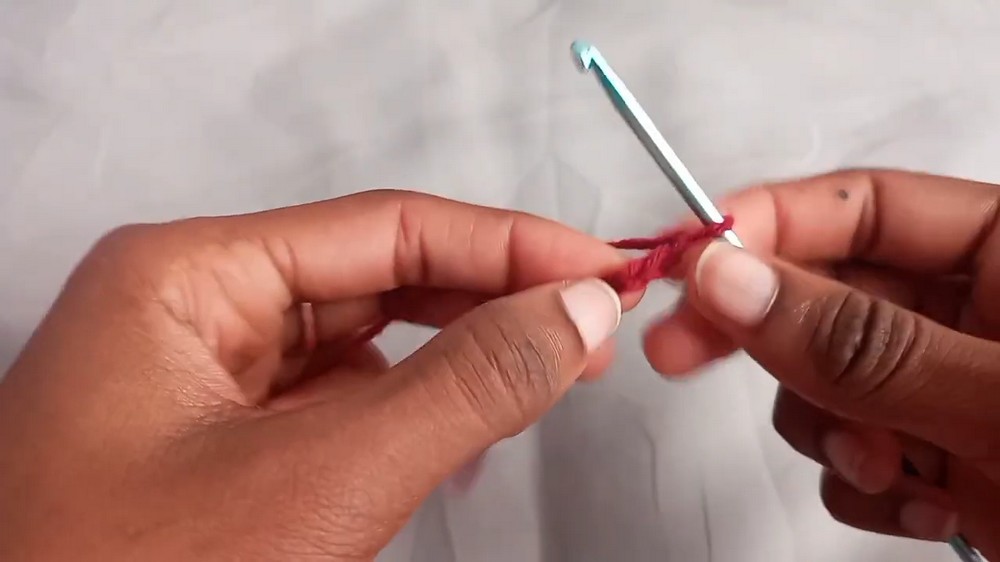
Chain Stitch and Initial Rows
- Chain 3 stitches.
- Yarn over and insert your hook into the first loop made.
- Yarn over and pull through to have 3 loops on your hook.
- Yarn over and pull through the first loop only to create your chain stitch row.
- Yarn over and pull through the remaining 3 loops to create a half double crochet.
- Twist your work and insert your hook into the last two loops.
- Repeat the process until you reach the desired length from your shoulder to where you want the top to end.
Working Double Rows
- Chain 2 at the end of each row, turn your work and continue working in both loops.
- Continue the pattern: yarn over, insert your hook into both loops, yarn over, and pull through all three loops.
- Repeat this until you have the desired length.
Create the Top Panel
- Ensure your piece fits tightly around your bust.
- Chain 2 and continue with the half double crochets up to the end.
Creating the Armhole
- Measure and mark arm depth with stitch markers.
- Attach panels together using half double crochets.
- At the end of the last half double crochet, insert your hook into the first stitch of the other panel and pull through.
- Chain 2, turn your work, and continue half double crochets across both panels.
Finishing the Underarm Portion
- Continue with your half double crochets up to the stitch marker and do not cut your yarn.
- Count the number of stitches you have and attach them together.
- Insert your hook and make slip stitches all the way around to even out the shoulder.
Completing the Shoulder
- Count the number of stitches around the shoulder and divide into four sections for ease of working.
- Attach stitch markers at the midpoint of each section.
- Insert single crochets in each section, attaching at the midpoints.
- Work up to the top shoulder point, turning and attaching with single crochets at each midpoint.
Creating the Sleeve
- Chain the required number of stitches for the wrist, ensuring the top fits snugly around your wrist (typically about one hand span narrow).
- Continue with the chain and attach with a slip stitch.
- Turn your work and continue with half double crochets until you have the desired length of the sleeve.
- Leave the last two inches and start decreasing to create a puff or balloon effect at the wrist.

Mathematical Adjustments
- If necessary, measure the number of stitches per inch and adjust accordingly.
- You can divide the total by four to determine how many decreases are needed at each midpoint.
Finishing
- Ensure your top piece and your sleeve pieces are all correctly measured and attached.
- Once you have finished all the desired lengths, secure all loose ends and make any final adjustments.
Final Tips
- Constantly check the fit as you crochet, particularly around the bust and wrist.
- Adjust the hook size if needed for different sections for a better fit.
- Tag your finished work to the provided Instagram account.
No comments
Write a comment
- Funny Pictures
-
 These are the Pics That Simply Describe Your Life
-
 Hilariously Accurate Parenting Memes That Show the Other Side of Parenthood
-
 Great Pics That Just Depict Our Lives
- Recipes
-
 Crispy Baked Avocado Fries
-
 Baked Beans and Hot Dogs with Biscuit Topping
-
 Roasted Rosemary Lemon Chicken Breasts
- Lifehacks
-
 Crochet Basics: Twisted Fringe
-
 7 Crochet Tips And Tricks
-
 How To Work Crochet Into Denim
- Crochet Ideas
-
 Crochet Snorlax Plushie Doll
-
 Crochet Cat in 1 Row
-
 Crochet Beautiful Penguin Toy
- DIY
-
 Popsicle Stick and Jingle Bell Christmas Tree Ornament
-
 Upcycled Mason Jar Chicken Vase
-
 Crochet Namaste Stephanie Doll
- Knitting Ideas
-
 Knitted Keepsake Bag
-
 Knitted Textured Heart Dishcloth
-
 Knitted Snowfall Dishcloth