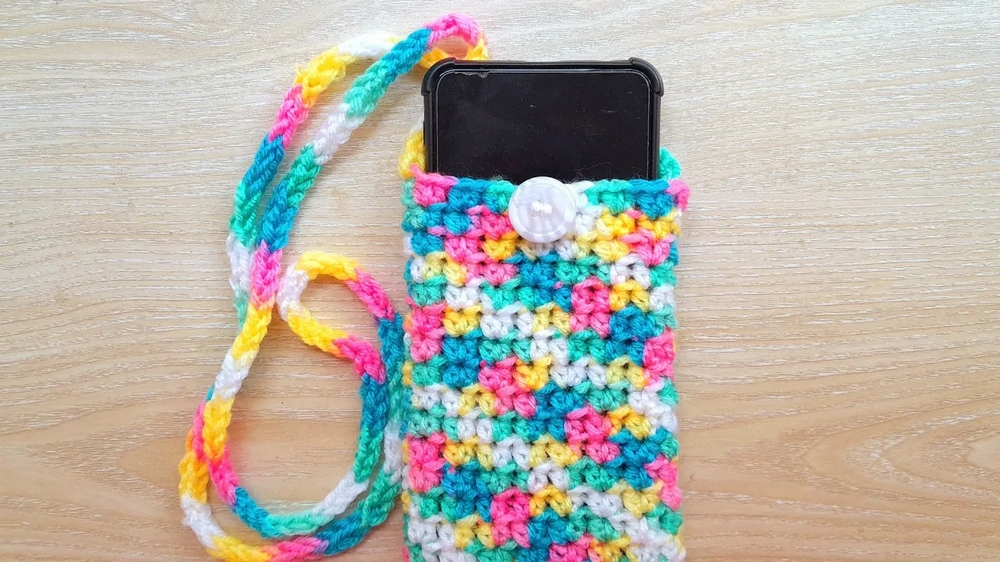
Crochet Rainbow Phone Bag Using the 2HDC Stitch

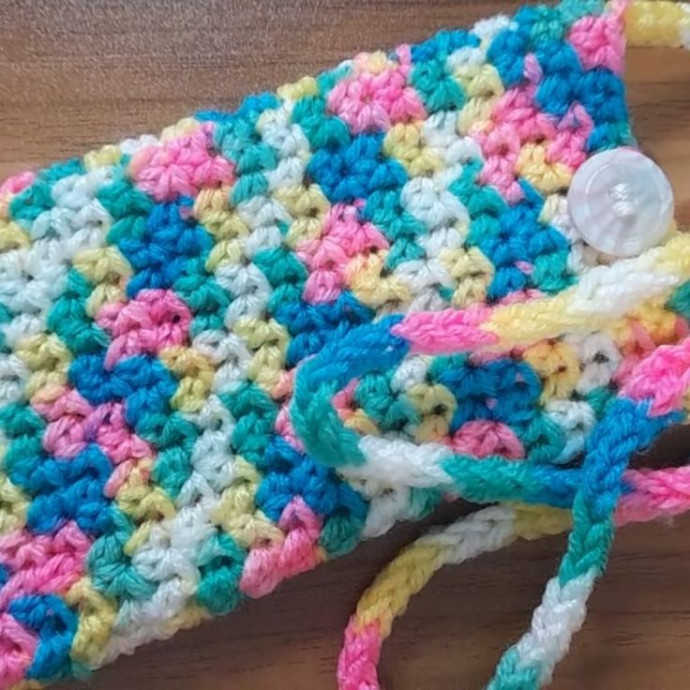
If you're looking to add a pop of color and creativity to your phone accessories, the Crochet Rainbow Phone Bag using the 2HDC Stitch is the perfect project for you! With its vibrant rainbow hues and the simple yet engaging 2HDC stitch pattern, this phone bag not only provides style but also offers a fun and rewarding crochet experience. It's a fantastic way to showcase your personality while keeping your phone protected and stylishly snug. Get ready to enjoy the process of creating something unique and eye-catching with this delightful crochet project!
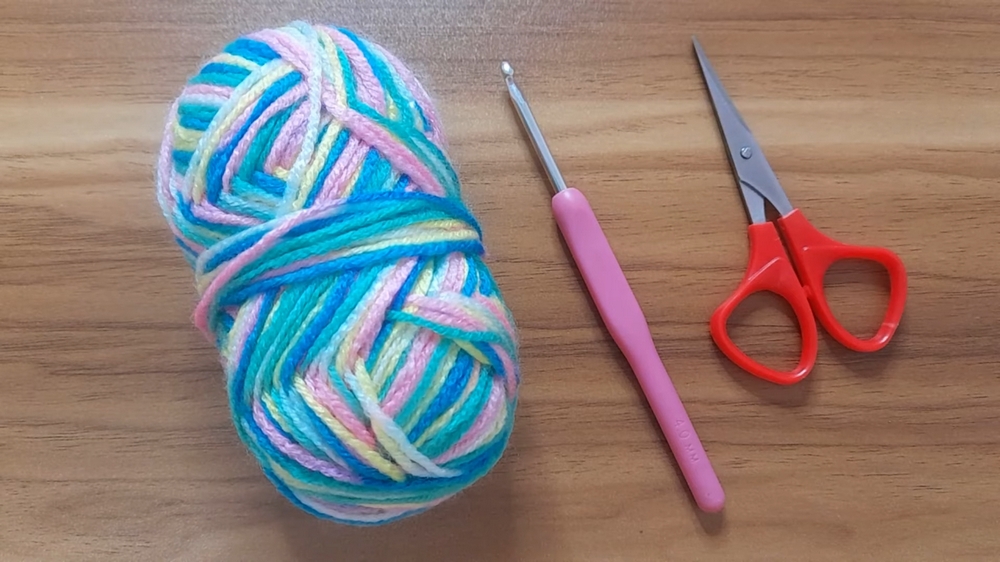
Materials
- Yarn: Acrylic 4-ply yarn (multicolored or any color of your choice)
- Crochet Hook: 4 mm hook
- Scissors
- Stitch Marker
- Button (for closure)
- Needle: For cord and button attachment
Stitch Abbreviations
- Ch: Chain
- Hdc: Half Double Crochet
- Sl st: Slip Stitch
Pattern Instructions
Step 1: Preparing the Foundation
Slip Knot: Start with a slip knot.
Chains for Base: Make 15 chains for the base. Measure this against the size of your mobile. Adjust if needed.
Extra Chains: Add 2 chains (total: 17 chains).
Step 2: Row 1
Hdc in 3rd Chain from Hook: Make 1 Half Double Crochet (Hdc) in the third chain from the hook.
Hdc Across: Continue making 1 Hdc in each chain up to the second-to-last stitch (leave the last stitch).
Corner Increase: In the last stitch, make 3 Hdc to round the corner.
Opposite Side: Continue making 1 Hdc in each stitch along the opposite side of the chains.
Slip Stitch: At the end, make 1 Sl st into the first Hdc of the row.
Step 3: Rows 2-20 (Repeat Pattern for Body of Bag)
Chains to Start Row: Start each row with 2 chains.
Hdc in Same Stitch: Make 1 Hdc in the same stitch where the chains were made.
Skip Stitch: Skip 1 stitch.
Increase: In the next stitch, make 2 Hdc.
Repeat Step 3 and 4: Continue the pattern (Skip One Stitch, then 2 Hdc) across the row.
Slip Stitch: At the end of each row, Sl st into the first Hdc.
Repeat this pattern for a total of 20 rows or until you reach your desired bag length. Adjust the rows if needed when testing the length against your mobile.
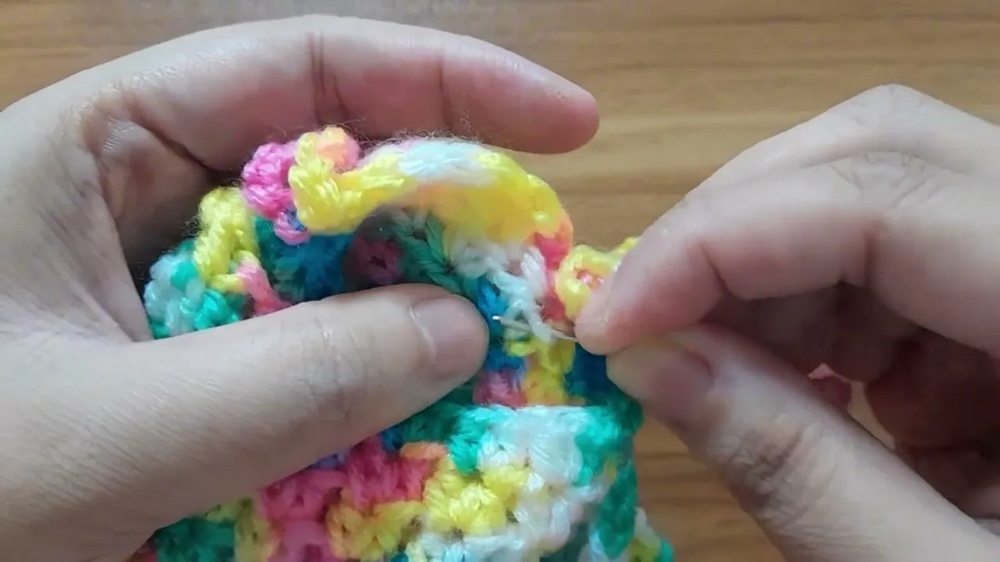
Step 4: Adding the Button Hole
Middle Point: Find the center of the bag’s top row and mark it with a stitch marker.
Button Hole:
Sl st into the marked stitch.
Make 8-10 chains (depending on the button size).
Sl st again into the same stitch to create a loop for the button.
Step 5: Cord Creation
Starting the Cord:
Make 1 chain.
Pull up a loop to get two loops on the hook.
Manipulate the Loops:
Remove the hook from the front loop and pull yarn through the back loop.
Reinsert the hook into the front loop and pull yarn through to create another loop.
Repeat: Continue this process slowly to create a long cord. Adjust the length as desired.
Step 6: Attaching Cord
Attach Cord: Use a needle to sew one end of the cord to the side of the bag.
Secure Cord: Tie a knot and cut extra yarn. Repeat for the other side of the cord.
Step 7: Button Attachment
Sew Button: Use a needle to sew the button under the loop created for the buttonhole.
Secure the Button: Knot the yarn tightly and trim any excess.
Conclusion
This multicolor crochet mobile bag is a versatile and functional accessory that can be customized to fit any size or style. By following the simple half double crochet pattern and adding decorative elements like the buttonhole and cord, you can make a unique and practical mobile bag. Experiment with colors, yarn types, and embellishments to make it your own.
- Funny Pictures
-
 Cute Cat Memes That Will Make Your Day Brighter
-
 Spot-on and Funny Memes About Introverts Struggles
-
 Top Wonderful Cat Memes on Their Way to Better Your Day
- Recipes
-
 Creamy Old Fashioned Rice Pudding
-
 Russian Tea Cakes (Snowball Cookies)
-
 Rigatoni with Sausage, Tomatoes, and Zucchini
- Lifehacks
-
 How to Crochet a Harlequin Stitch
-
 Removing The Toughest Stains
-
 Crochet Basics: Crumpled Griddle Stitch
- Crochet Ideas
-
 Crochet Christmas Tree
-
 Crochet Goblet of Fire
-
 Crochet Adorable Ammonite
- DIY
-
 DIY Snowman Wreath
-
 Mini Santa Sleigh Ornament
-
 Crochet Gingerbread House Blanket
- Knitting Ideas
-
 Knitted Easter Bunny
-
 Knitted Mobile Phone/Glasses Case
-
 Knitted Cabled Wallet