Crochet Tilted Scallop Baby Blanket

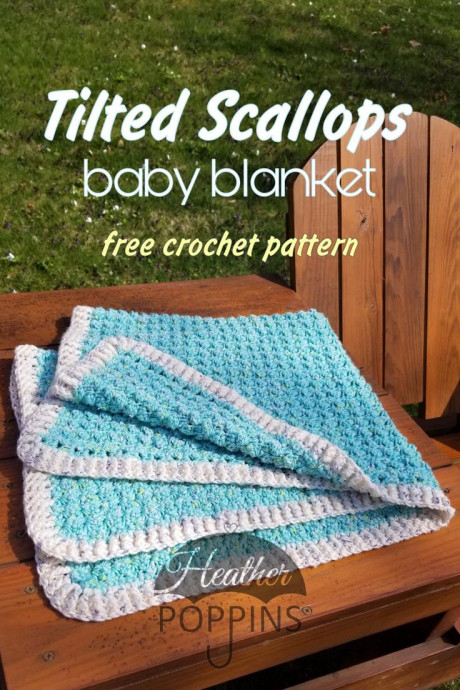
The Crochet Tilted Scallop Baby Blanket is not only adorable but also perfect for keeping your little one cozy and warm. With its unique tilted scallop design, this blanket adds a touch of charm to any nursery. The soft yarn used for this project ensures a gentle feel against your baby's delicate skin. Whether you're making it for your own child or as a thoughtful gift for a friend, this blanket is sure to be treasured for years to come. Get your crochet hooks ready to create a snuggly masterpiece that will be loved by both babies and parents alike!
Supplies
- 5 mm crochet hook
- Loops & Threads – Flecks in Seafoam (3 skeins)
- Loops & Threads – Flecks in Sweet Cream (1/2 skein)
Tilted Scallops Blanket Pattern
Chain 108 + 2, or in multiples of three until the desired length, then add two for turning.
Rows Instructions
Row 1 – 2dc in 3rd chain from hook, *skip 2 ch, (sc, 2dc) repeat from * until end of row.
Row 2 – ch 2, turn, 2dc in next sc, *skip 2 ch, (sc, 2dc) repeat from * finish row by sc, 2dc into the turning chain.
Repeat Row 2 until the desired height is achieved. I used three skeins of Seafoam and called it the perfect length.
Border Pattern
Row 1
Attach to the first sc from the final row’s right side corner: Ch2, 1dc in every stitch.
- Corner – 3dc in the turning ch.
- End Row Edge – *1dc at the bottom of ch2 space, 2dc around the end row’s 2dc, repeat * until the corner.
- Corner – 3dc in the turning ch.
- Starter Chain Edge – *2dc in the same chain as the first row’s sc2dc, 1dc in the first row 2skch, repeat * until the corner.
- Corner – 3dc in the turning ch.
- End Row Edge – *2dc around the end row’s first 2dc, 1dc around the bottom of the ch2 space, repeat * until the corner.
- Corner – 3dc in the turning ch.
End edge row 1 by slip stitch into the top of your starting ch2.
Row 2
Ch2, alternate front post and back post dc around to create the ribbed effect.
Corner – at the corner, use the same post stitch dc across all three dc, BUT add 1dc to the space between Row 1’s corner dc. Example: FP1dc, 1dc in space, FP1dc, 1dc in space, FP1dc.
Continue down edge returning to alternate front and back post dc.
End row by slip stitching into the top of your ch2.
Row 3 (Final Row)
Ch2, alternate front and back post dc to match the row below. At the corner, continue your front/back post pattern; the new dc in the spaces of the below row should match up.
- Funny Pictures
-
 So Funny and Relatable Memes You Will Laugh out Loud
-
 These Holiday Cat Memes Will Get You in the Christmas Spirit
-
 Some Memes That Just Speak Truth About You
- Recipes
-
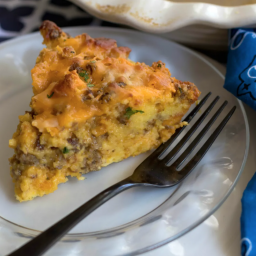 Cheesy Sausage Cornbread Quiche
-
 Homemade Potato and Cheese Pierogies
-
 Crispy Beer Battered Fish
- Lifehacks
-
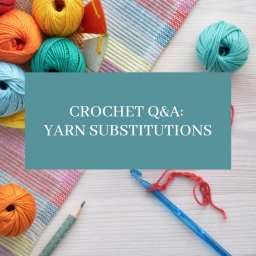 Crochet Q&A: Yarn Substitutions
-
 7 Toilet and Bathroom Cleaning Hacks
-
 Bedroom Tips for Comfortable Sleep
- Crochet Ideas
-
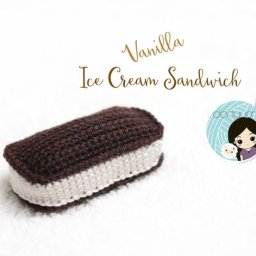 Crochet Vanilla Ice Cream Sandwich
-
 Crochet Watermelon Amigurumi
-
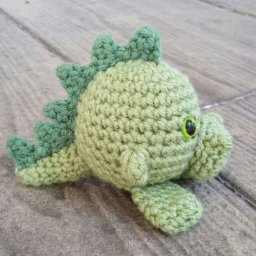 Crochet Ruby the Dragon
- DIY
-
 Yarn Wrapped Christmas Wreath Ornaments
-
 Egg Carton Snowman Ornament
-
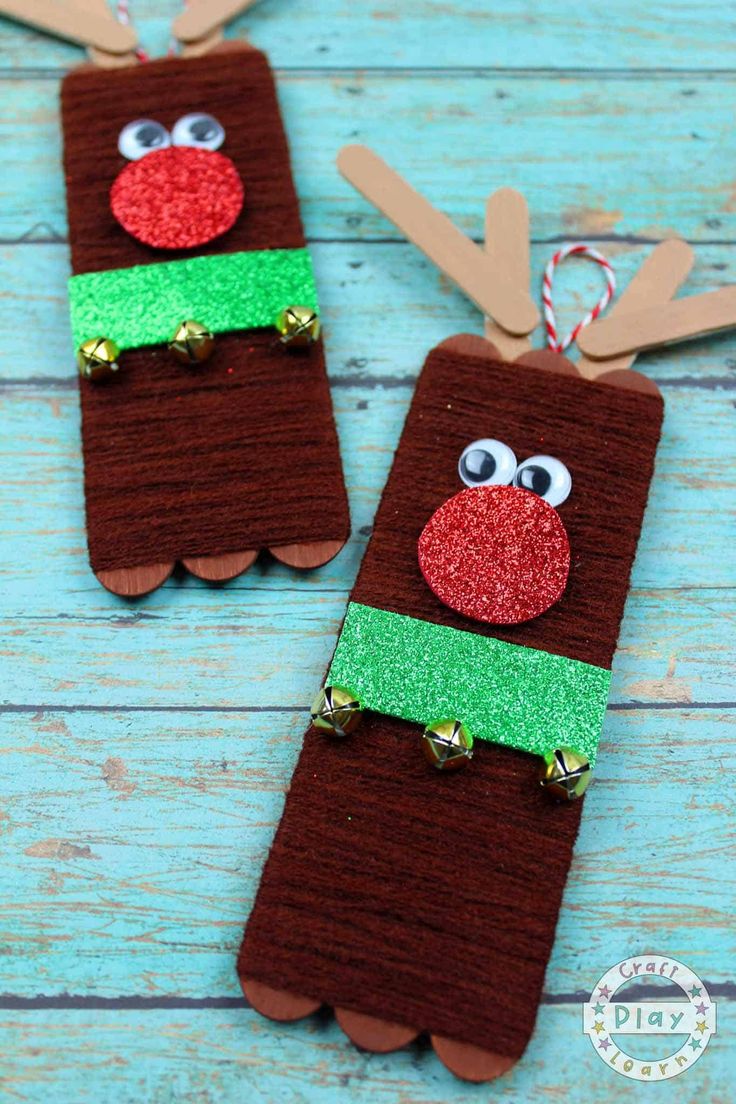 Rudolph Decorations Using Popsicle Sticks
- Knitting Ideas
-
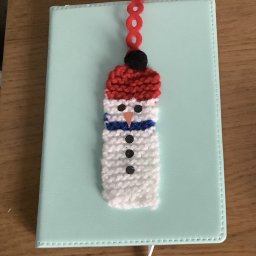 Knitted Trailing Snowman Bookmark
-
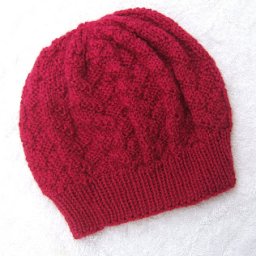 Knitted Slouchy Chemo Hat
-
 Knitted Moss Stitch Scarf