Crochet Frog Amigurumi Bookmark

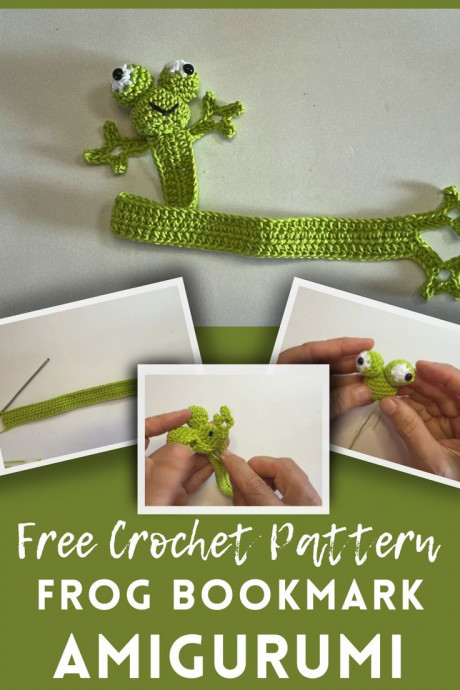
Crochet Frog Amigurumi Bookmark
Crochet Frog Amigurumi Bookmark is not just a bookmark; it's a whimsical buddy for your reading adventures! This adorable handcrafted creation brings a touch of playful charm to your reading routine. Its cute frog design is sure to bring a smile to your face every time you reach for your book. Crafted with love and attention to detail, this unique bookmark is the perfect companion for all your literary journeys. Whether you're diving into a thrilling novel or exploring the pages of a beloved classic, this little frog will keep your place with style and personality!
Materials Needed
- Lightweight 100% cotton yarn (two colors for body and feet, a small amount of black for eyes and mouth)
- 2 mm crochet hook
- Polyfill stuffing
- Safety eyes
- Tapestry needle
- Scissors
- Stitch marker (optional)
Step-by-Step Crochet Pattern
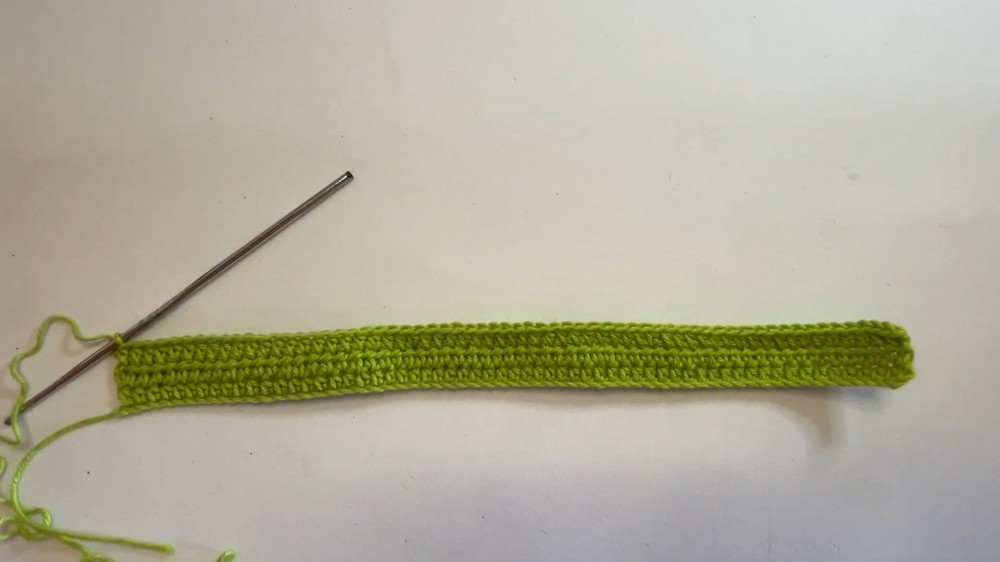
1. The Body
Foundation Chain:
Start with a slip knot and chain 35 (or adjust the chain length to match your book's height).
Row 1:
Chain 2 extras.
Work 1 half double crochet (hdc) into the 3rd chain from your hook.
Work 1 hdc in each stitch across the row.
Row 2 & 3:
Chain 2, turn your work.
Start with 1 hdc in the same stitch.
Work 1 hdc in each stitch across both rows.
Frog’s Legs and Feet
First Leg:
Chain 5, then chain 4 more.
Work 1 single crochet (sc) in the second chain from the hook, and make 1 sc in the next 3 stitches.
Chain 4, then slip stitch into the same stitch (this forms a toe).
Repeat this toe-making process two more times for a total of 3 toes.
Work 1 hdc next to the last toe to close the foot.
Work 1 hdc in the next 4 stitches along the foundation chain.
Second Leg:
After creating the first leg, slip stitch into the next 2 stitches in the center of the body.
Repeat the process for legs and feet:
Chain 5 + 4 and follow the same steps as above to form the leg and toes.
Chain 1, pull up the yarn, and cut it.
Weave in the yarn tails.
Work on the Other Side
Flip the body to the opposite side and repeat the leg and feet steps:
Chain 5 + 4, make the toes and the leg as before.
Finish with weaving in the tails.
2. The Head
Round 1:
Create a magic ring.
Chain 1 and work 6 single crochets (sc) into the ring.
Pull the ring closed and slip stitch into the first sc.
Round 2:
Work 2 sc in each stitch around for a total of 12 stitches.
Round 3:
Alternate: 1 sc, 2 sc in the next stitch, around for a total of 18 stitches.
Rounds 4 to 6:
Work 1 sc in each stitch for all 3 rounds (18 stitches per round).
Round 7:
Alternate: 1 sc, then 1 decrease, all the way around (12 stitches total).
Begin stuffing the head with polyfill.
Round 8:
Work only decreases (6 stitches total).
Pull up the yarn, leave a long tail, and cut it.
Sew the ends to close the head.
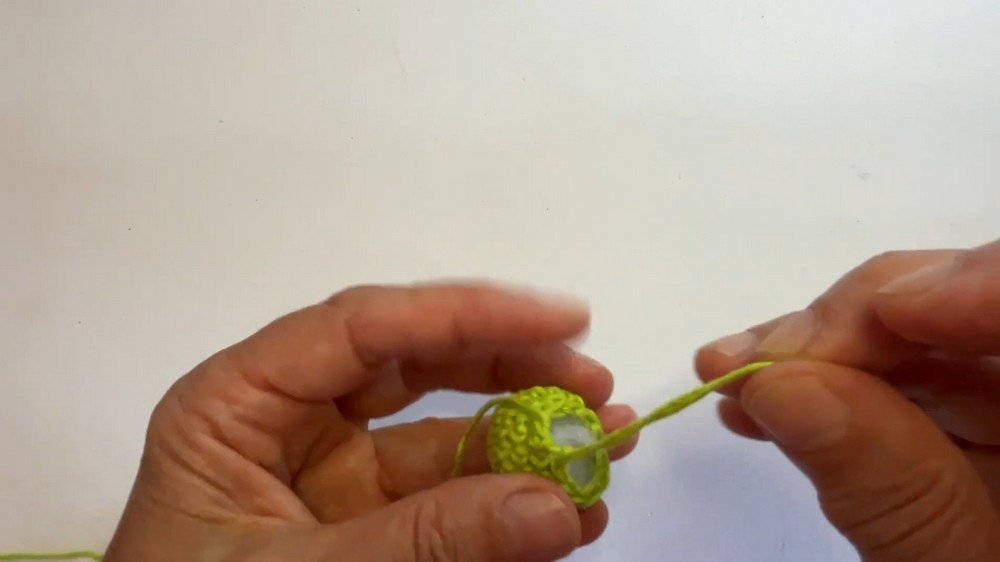
3. The Eyes
Round 1:
Create a magic ring using white yarn and chain 1.
Work 6 half double crochets (hdc) into the ring.
Slip stitch into the first hdc, then pull the yarn loop up and cut it.
Weave in the tails.
Round 2:
Using the white yarn, make a standing single crochet (sc) into any stitch from Round 1.
Work 2 sc in each stitch around (12 stitches total).
Slip stitch into the first sc.
Round 3:
Chain 1, then work 1 sc in each stitch around (12 stitches total).
Slip stitch into the first sc.
Rounds 4 & 5:
For each round:
Chain 1 and make 1 sc in each stitch (12 stitches per round).
Next Steps:
Place the safety eye in the center of the white eye piece where you’d like.
Stuff the eyeball lightly with polyfill.
Round 6:
Work 6 decreases, closing the eye shape.
Pull the yarn up, leaving a long tail for sewing, and cut it.
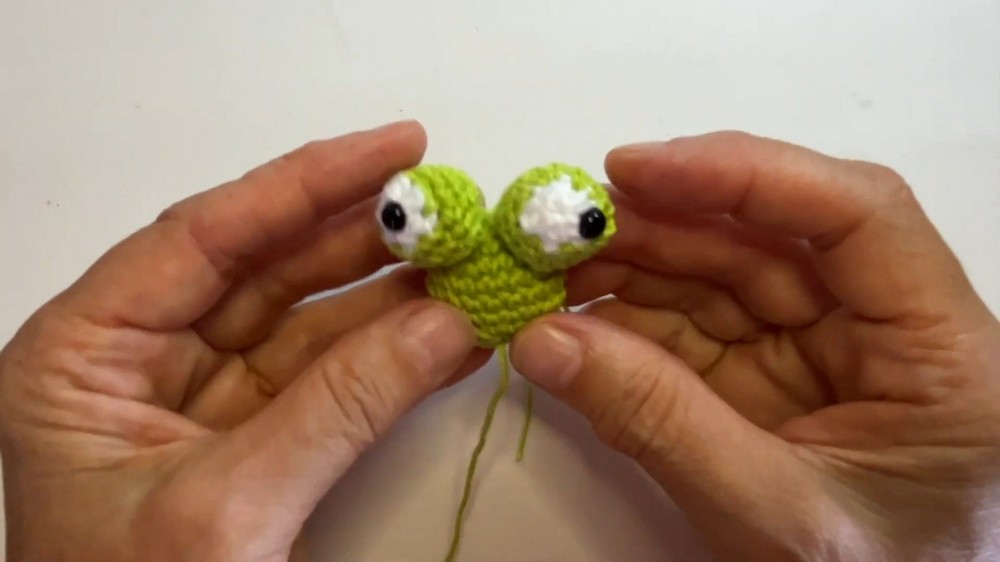
Repeat for the Second Eye:
Make a second white eye using the same steps, but place the safety eye crooked or angled for a fun, whimsical look.
Joining the Pieces
Attaching the Head to the Body:
Sew the bottom of the head to the top edge of the body using the long tail left earlier.
Make sure the attachment is secure.
Attaching the Eyes to the Head:
Sew each eye onto the top of the frog’s head, leaving a small gap between the two for a cute appearance.
Final Steps (Optional)
If desired, block the bookmark:
Stretch the body on a foam board and lightly spritz it with water. Allow it to dry to keep the body flat.
Your Frog Bookmark is Ready!
- Funny Pictures
-
 Hilarious Memes for Those Bored to Tears
-
 Weekly Treat of Funniest Parenting Memes for Good Laugh out Loud Right Now
-
 Really Funny Pics to End These Weekend Perfectly
- Recipes
-
 Crispy Baked Avocado Fries
-
 Scrambled Chickpea and Spinach Pitas
-
 Cinnamon Pancakes
- Lifehacks
-
 Crochet Basics: Aligned Cobble Stitch
-
 Brick Stitch Crochet Tutorial
-
 Crochet Basics: Wattle Stitch
- Crochet Ideas
-
 Crochet Snorlax Plushie Doll
-
 Crochet Beautiful Penguin Toy
-
 Crochet Tiny Snowman
- DIY
-
 DIY Santa Craft For Kids
-
 Paper Plate Angel Craft
-
 Upcycled Mason Jar Chicken Vase
- Knitting Ideas
-
 Knitted Bridger Cowl
-
 Knitted Keepsake Bag
-
 Knitted Cutie Cupcake Dolls