Crochet Mystery Medley Tote Bag Instructions
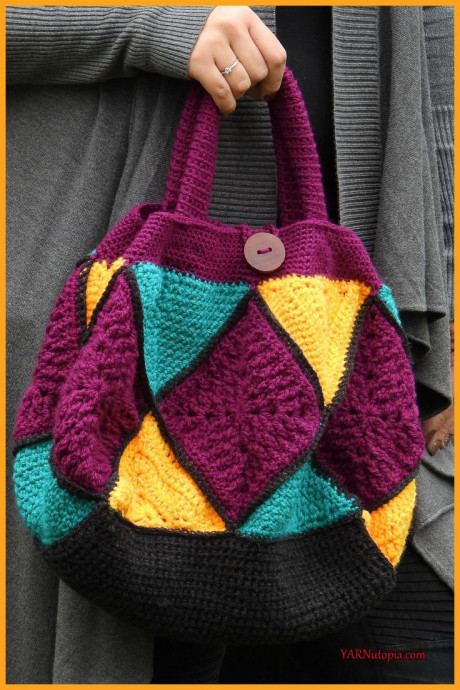
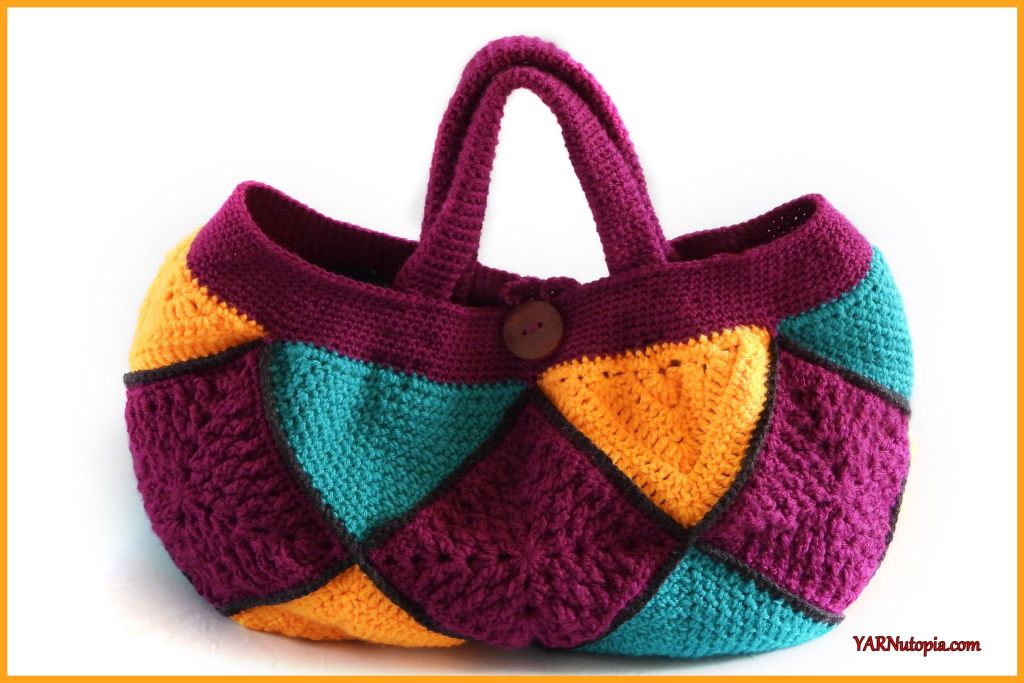
The Crochet Mystery Medley Tote Bag is a delightful and whimsical creation that adds a touch of charm to your everyday style. With its unique medley of crochet stitches and patterns, this tote bag is sure to make a statement wherever you go. Its spacious interior offers plenty of room to carry all your essentials, making it both practical and fashionable. Whether you're heading to the farmer's market or meeting friends for coffee, this tote bag is a fun and friendly accessory that will brighten up your day.
Materials You Will Need
- 4 different colors of worsted weight (Size 4 medium) yarn
- I used WeCrochet’s Brava yarn with these colors:
- - 1 skein of Caution for Part 1
- - 1 skein of Marina for Part 2
- - 2 skeins of Asphalt Heather for Part 3
- - 2 skeins of Fairytale for Part 4 and 5
- 4.0mm hook
- Scissors
- Measuring tape
- Tapestry needle
Special Notes
GAUGE is NOT important, BUT measurements will be! PLEASE MEASURE!
This bag is approximately 16 inches wide and 12 inches tall. It is very spacious!
Special Stitches
Ch(s): Chain(s)
St(s): Stitch(es)
Sl st: Slip Stitch
SK: Skip
WS: Wrong Side (Back of square)
RS: Right Side (Front of Square)
SC: Single Crochet
DC: Double Crochet
FPDC: Front Post Double Crochet
BPDC: Back Post Double Crochet
ATC: Alternate Turning Chain (if you cannot do this, simply Chain 3, and that should be sufficient)
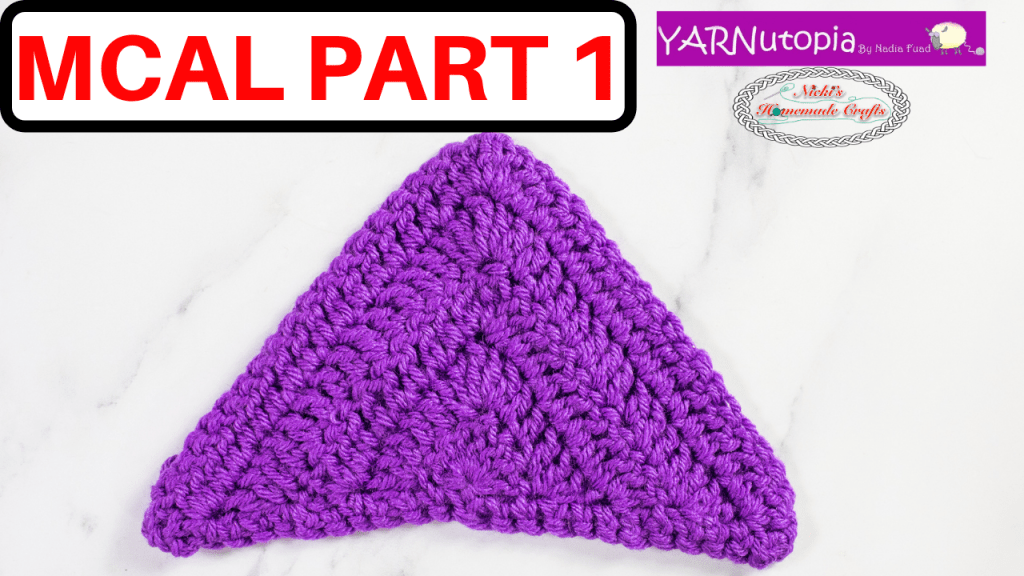
Make 6 Triangles
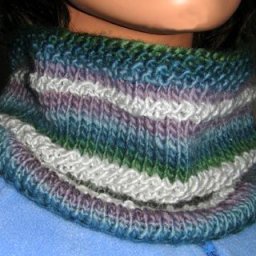
Start with a color you only have ONE skein of. I picked Caution Yellow (the image above shows color Freesia).
Each triangle has the dimensions 7.5 x 5.5 (if stretched it could also be 6 inches). Try to make sure your measurements match that.
The triangle is made in rows and finished off with 1 row (just one edge) of single crochet stitches. All ATCs are the height of a tr (so 3 stacked sc’s) which are counted as a stitch.
Triangle Rows Instructions
Row 1: 1 ATC, 3 DC, 1 TR, 3 DC, 1 TR, turn, close the magic ring.
Row 2: [1 ATC, 2 DC] all on top of the TR from the previous row, 1 DC on top of each DC from the previous row, until you reach the TR from previous row, place [2 DC’s, 1 TR, 2 DC’s] on top of the TR from previous row, 1 DC on top of each DC from the previous row, until you reach the last stitch, place [2 DC’s and 1 TR] on top of that last stitch, turn.
Rows 3 – 5: Repeat Row 2.
Once you have finished the last row, simply crochet evenly 24 SC’s across the long side of the triangle (where the edges of the rows are).
Fasten off, weave in ends.
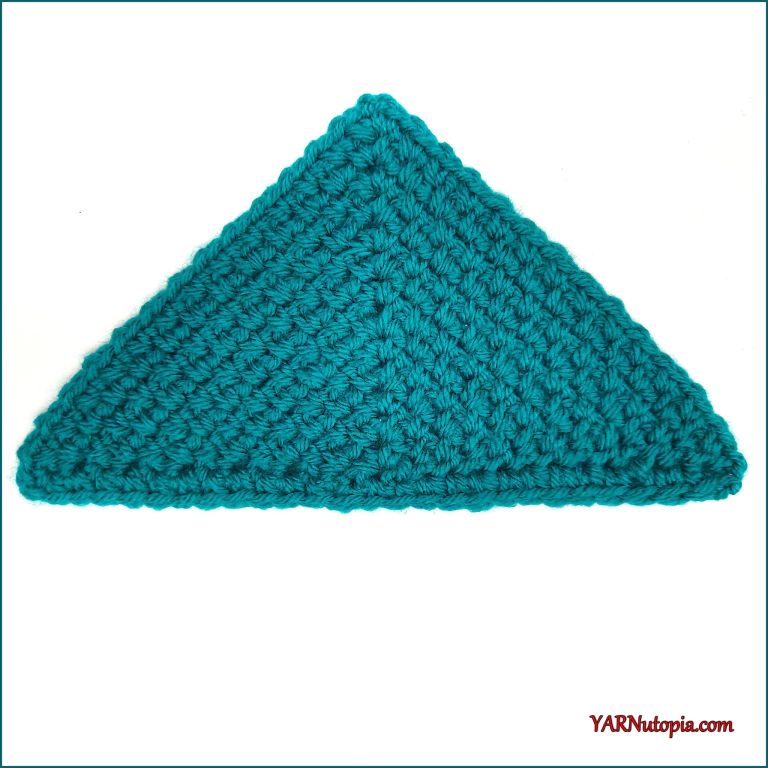
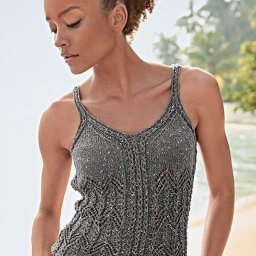
Make 6 Triangles (Using Marina)
Use a color that you have ONE skein of. I picked Marina.
Each triangle has the dimensions 7.5 (long side) x 5.5 (both short sides) (if stretched it could also be 6 inches). Try to make sure your measurements match that.
Start with a Magic Ring (or Ch 4, sl st in first ch to form a ring).
Triangle Rows Instructions using Marina
Row 1: Ch 1, [SC, Ch 2, SC] into Ring, Ch 1, Turn.
Row 2: SC in first SC, Ch 1, [SC, Ch 2, SC] in ch 2 sp, Ch 1, SC in last st, Ch 1, Turn.
Row 3: SC in first st, Ch 1, SC in next Ch 1 Sp, Ch 1, [SC, Ch 2, SC] in Ch 2 sp, Ch 1, SC in next Ch 1 sp, Ch 1, SC in last st, Ch 1, Turn.
Row 4: SC in first st, *Ch 1, SC in next ch sp, repeat from * until Ch 2 sp, Ch 1, [SC, Ch 2, SC] in ch 2 sp, **Ch 1, SC in next ch 1 sp, repeat from ** until last st, Ch 1, and SC in last St. Ch 1, Turn.
Rows 5-14: Repeat Row 4 until your triangle is big enough, SC along the LONG side of your triangle 24 sts evenly. Fasten off and weave in all your ends.
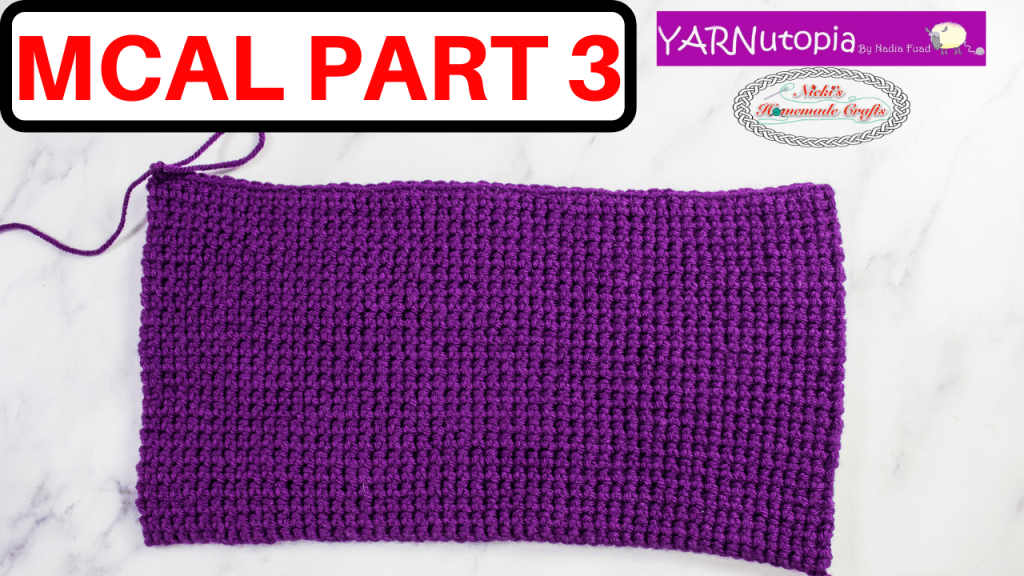
Make 1 Rectangle
Crochet with a color you have TWO skeins of. But you will likely use only one of the skeins for this rectangle. The color Mulberry is in the photo above, I used Asphalt Heather for mine.
The rectangle needs to measure 7.5 x 15 inches at the end.
Remember, measurement is more important than row or stitch count!
Rectangle Rows Instructions
Ch 53.
Row 1: Starting from the 2nd ch, 1 thermal stitch in each ch, turn.
Rows 2-46: Ch 1, 1 thermal stitch in each st, turn.
*Remember that you need to count each side to know the full number of rows.
*If you need to do more or fewer rows to get the measurement correctly, then do that.
Fasten off and weave in your ends.
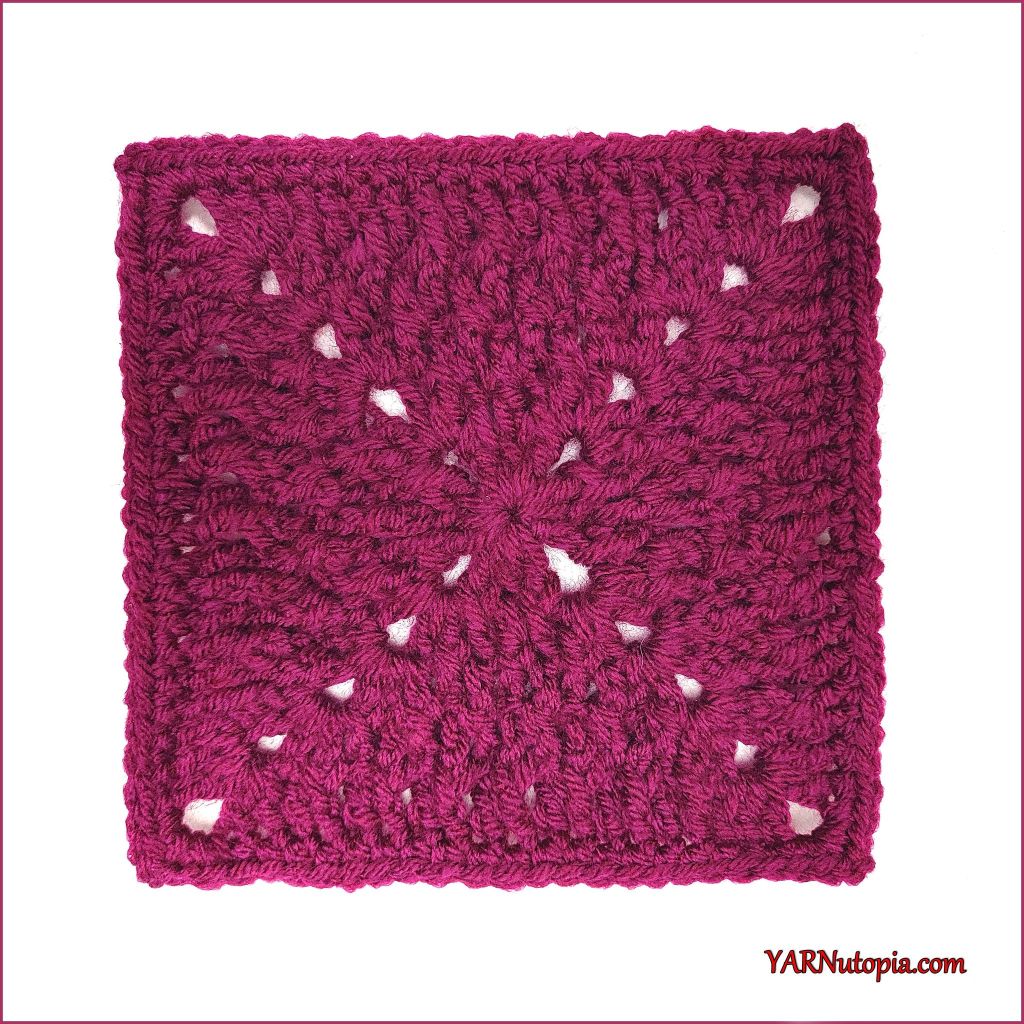
Make 6 Squares
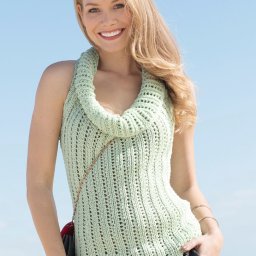
Crochet with a color you only have TWO of (not the same as the rectangle).
I used the color Fairy Tale (used a little more than 1 skein). The squares need to measure 5.5 x 5.5 inches at the end.
Magic ring or Ch 4, Sl st to first ch to form a ring.
Square Rows Instructions
(RS) Rnd 1: Ch up 3 (Counts as DC), 2 DC into ring, [Ch 2, 3 DC into ring] 3 times, Ch 2, sl st to beg ch up 3 st, ch 1, do NOT turn.
(RS) Rnd 2: FPDC on first st, *DC in next, FPDC on next, [2 DC, ch 2, 2 DC] in corner, FPDC on next st, repeat from * around, ending with corner sts, Sl st to first FPDC, ch 1, TURN.
(WS) Rnd 3: DC in same st you sl st’d into, [BPDC on next st, DC in next st] until corner, *[2 DC, ch 2, 2 DC] in corner, [DC in next st, BPDC on next st] until corner, repeat from * around, ending with BPDC on last st, Sl st to 1st DC. Ch 1. Do NOT turn.
(WS) Rnd 4: BPDC on same st you sl st’d to, [DC on next st, BPDC on next st] until corner, *[2 DC, ch 2, 2 DC] in corner, [BPDC on next st, DC on next st] until next corner, repeat from * around, ending with DC in last st, Sl st to 1st BPDC, ch 1, turn. (If your square is large enough at this point, just skip round 5 and work a single crochet round like round 6 – just be sure to SC around while looking at the RS of your work)
(RS) Rnd 5: DC in same st you sl st’d into, [FPDC on next st, DC in next st] until corner, *[2 DC, Ch 2, 2 DC] in corner, [DC in next st, FPDC on next st] until next corner, Repeat from * around, ending with FPDC on last st, sl st to 1st DC, ch 1, do NOT turn.
(RS) Rnd 6: SC around entire square putting [2 sc, Ch 2, 2 SC] in each corner, sl st to first SC. Fasten off. Weave in all your ends.
Assembly and Straps
Make 2 Straps
Start with a long strand of yarn for sewing before making your slip knot.
Strap Rows Instructions
Round 1: Ch 12 (or any number that is double the width of the strap you would like), SC in the first ch to form a ring and continue to SC around the whole chain (12).
Work in continuous rounds.
Rounds 2-50: SC in each st around (you can make your strap shorter by doing fewer rounds or longer by doing more rounds depending on your liking).
Attaching the Triangles, Squares, and Rectangle
Using your rectangle as the base, you will sew that on last.
Line up your squares as diamonds and place the triangles with their short sides touching the squares and their long sides facing out.
Using the Single Crochet method, single crochet your pieces together in a zig-zag direction. When all your squares and triangles are attached, line up the rectangle to the bottom and single crochet around the whole piece attaching it to your triangles.
Top Brim: Single crochet around the whole top of the bag. Continue to SC around the top of the bag until your desired height is achieved. I did 10 rounds around the top of the bag.
Sew your straps on the inside of the bag for a more sturdy hold.
Add a button and a loop to clasp onto the button (optional).

