Crochet Granny Square Tote Bag

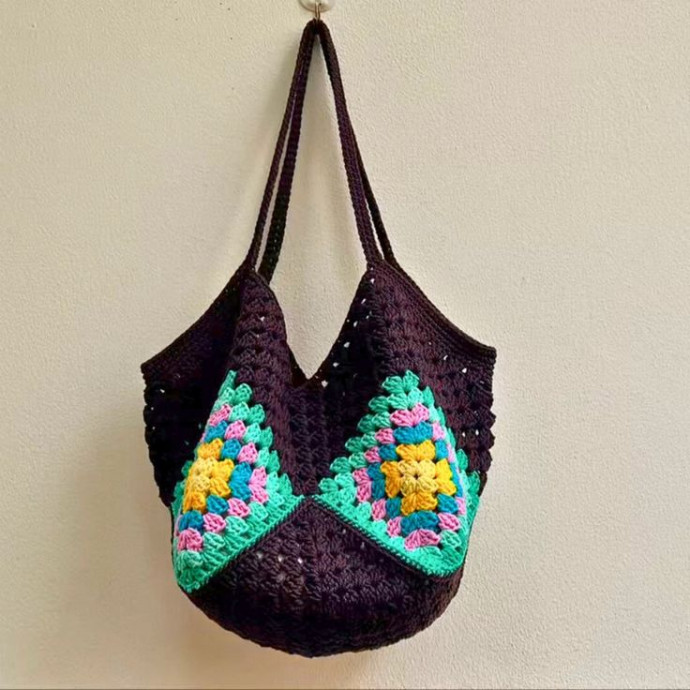
If you're looking to add a touch of handmade charm to your accessories collection, a Crochet Granny Square Tote Bag is the perfect choice! Not only is it a fun and easy project for crochet enthusiasts, but it also provides a practical and stylish way to carry your essentials. With its colorful granny square design, this tote bag is sure to turn heads and add a pop of personality to any outfit. Whether you're heading to the beach, farmer's market, or simply out for a stroll, this trendy bag will be your new favorite companion. Happy crocheting!
Materials and Preparation
To make the Granny Square Tote Bag, you'll need:
- Yarn: Soft bleached rope or yarn
- Yarn Color: Four different colors for granny squares, and dark brown for the bag bottom
- Yarn Thickness: 2 mm
- Crochet Hook: Size 5/0 (3.00 mm)
- Scissors: For cutting yarn
- Tapestry Needle: For weaving ends
Tip: Ensure that your yarn is lightweight but sturdy (such as cotton or acrylic) for a durable tote.
Abbreviations and Notes
Crochet Abbreviations:
- CH: Chain
- SC: Single Crochet
- DC: Double Crochet
- SL ST: Slip Stitch
Notes Before Starting:
- The tutorial repeats a simple granny square pattern, ideal for learning the technique.
- Ensure consistent tension to achieve uniform granny squares.
- Leave extra yarn tails when finishing each piece for easier sewing.
- If you’re new to joining pieces, pause the video tutorial for clarity.
Gauge, Approximate Size, and Pattern Notes
- Gauge: Not critical, but aim for tight, neat stitches.
- Finished Size: Depends on the granny square and bag size you choose; general dimensions are customizable.
- Special Technique: Magic Ring (used to begin granny squares).
- Gauge Swatch: Optional, but recommended to ensure desired square size matches your design.

Step-by-Step Pattern
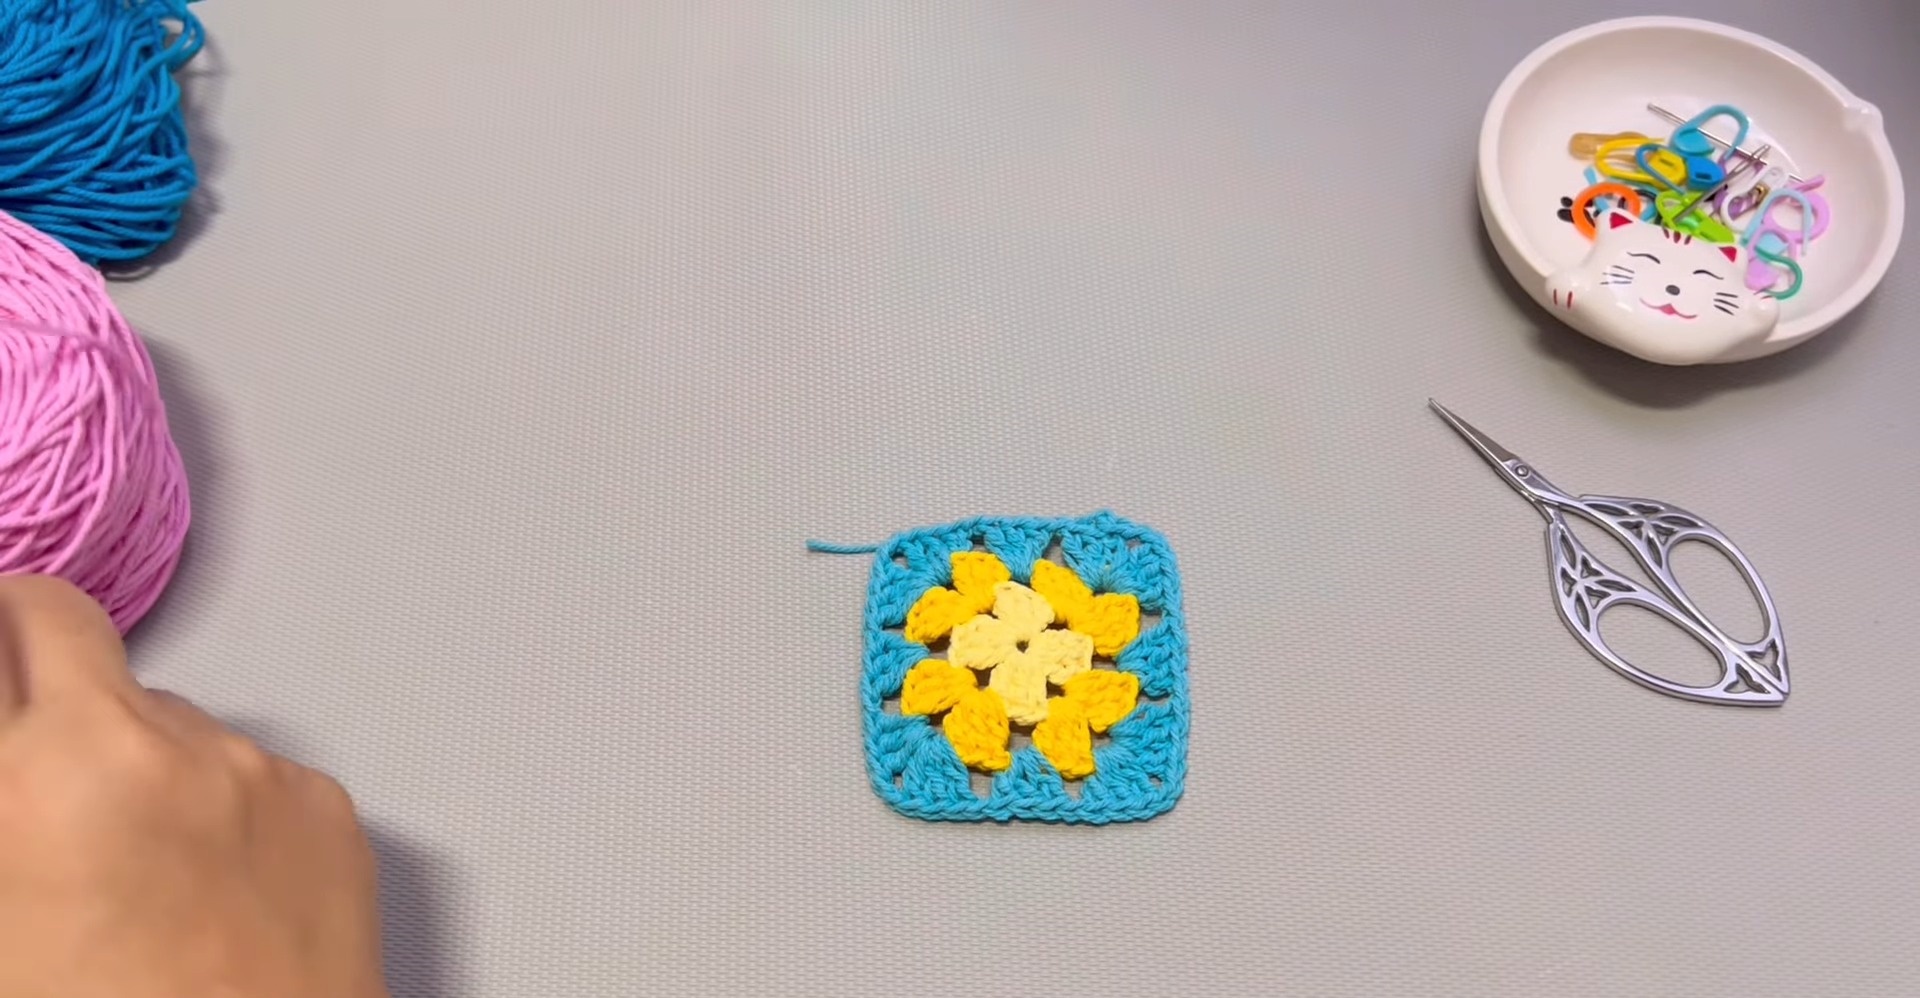
Step 1: Making Granny Squares
Round 1:
- Create a Magic Ring.
- CH 3 (counts as first DC).
- DC 2 times, then CH 2.
- Repeat (DC 3, CH 2) three more times.
- Join with SL ST to the CH 3 from the start.
Round 2:
- Start with CH 3, then DC 2 into the same corner.
- CH 1. In the corners, crochet DC 3, CH 2, DC 3. Repeat all four corners.
- Between corners, crochet DC 3.
Rounds 3-6:
- Follow the same pattern, increasing the number of DC between corners.
- Use DC 3, CH 1 between each corner.
- In corners, repeat DC 3, CH 2, DC 3.
Complete 4 granny squares in alternating colors for the bag panels. For the bottom, use dark brown yarn and repeat the pattern for 12 rounds.
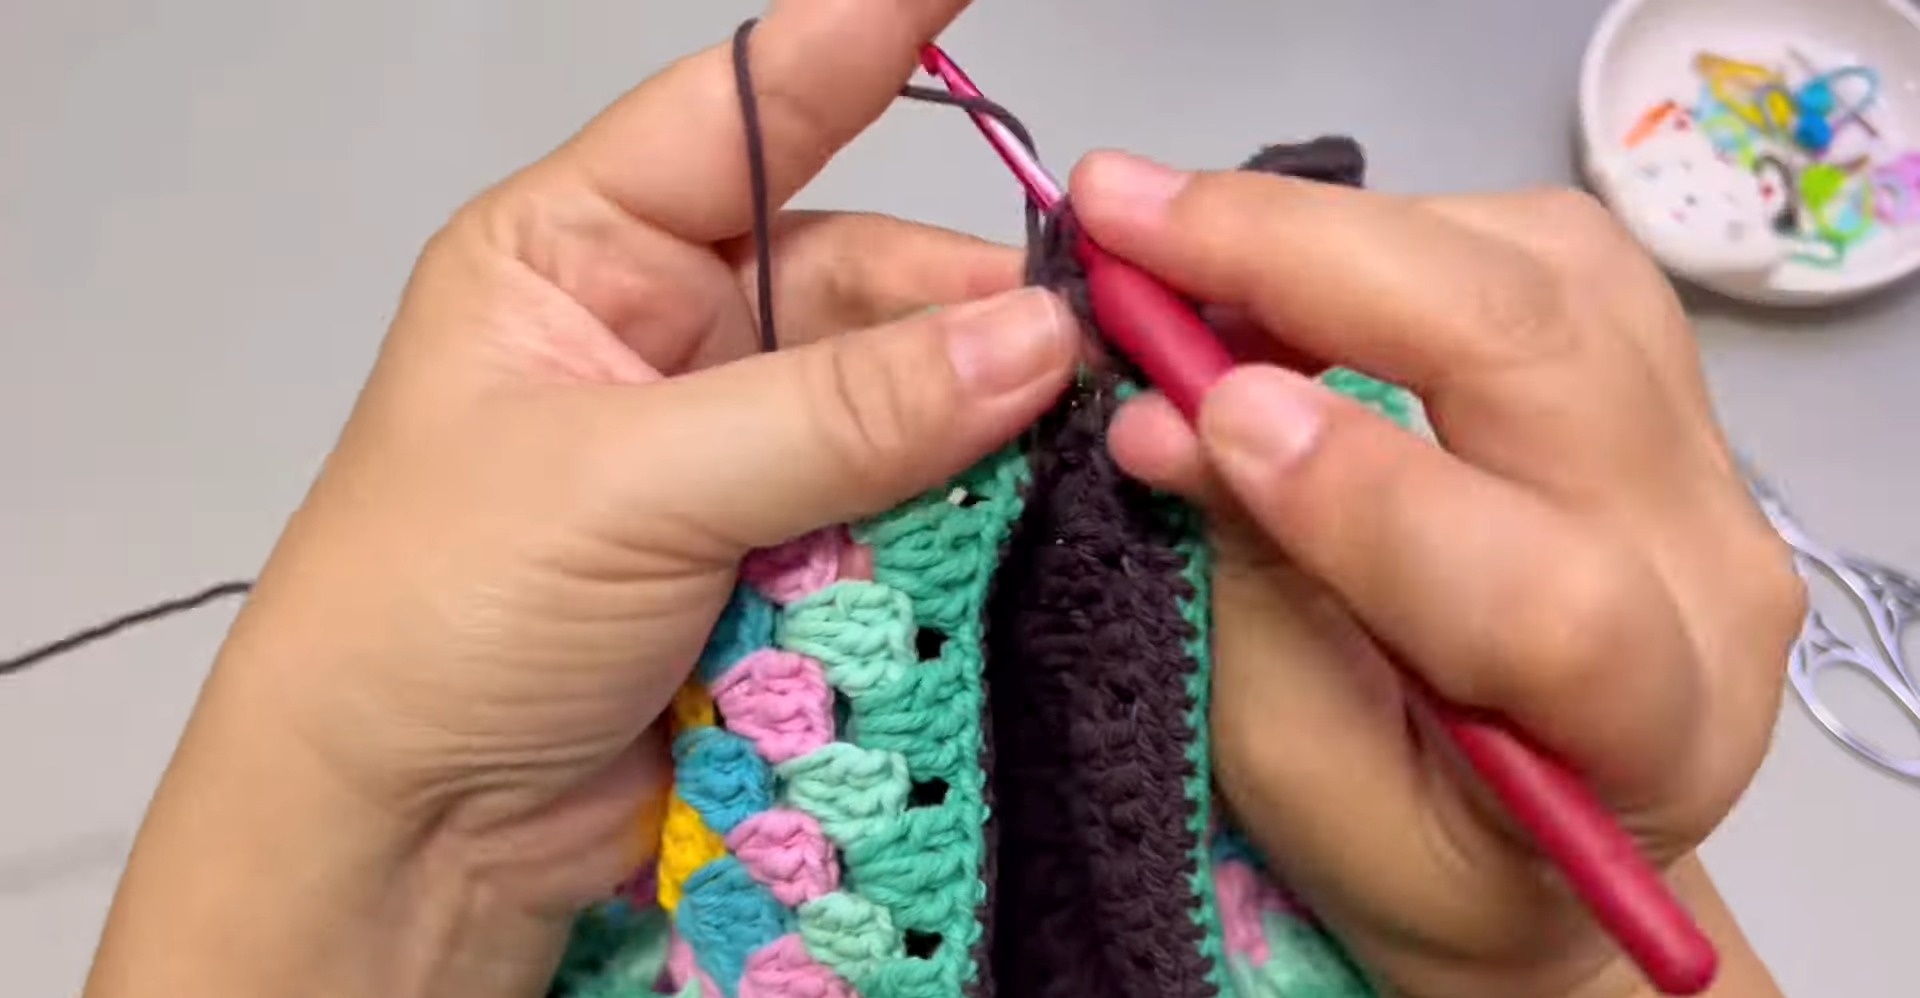
Step 2: Connecting Granny Squares
Arrange the 4 granny squares to form a rectangle. Sew along the edges with leftover yarn tails, using slip stitching or whip stitching. Sew the dark brown bottom piece to your granny squares, creating a full bag shape.
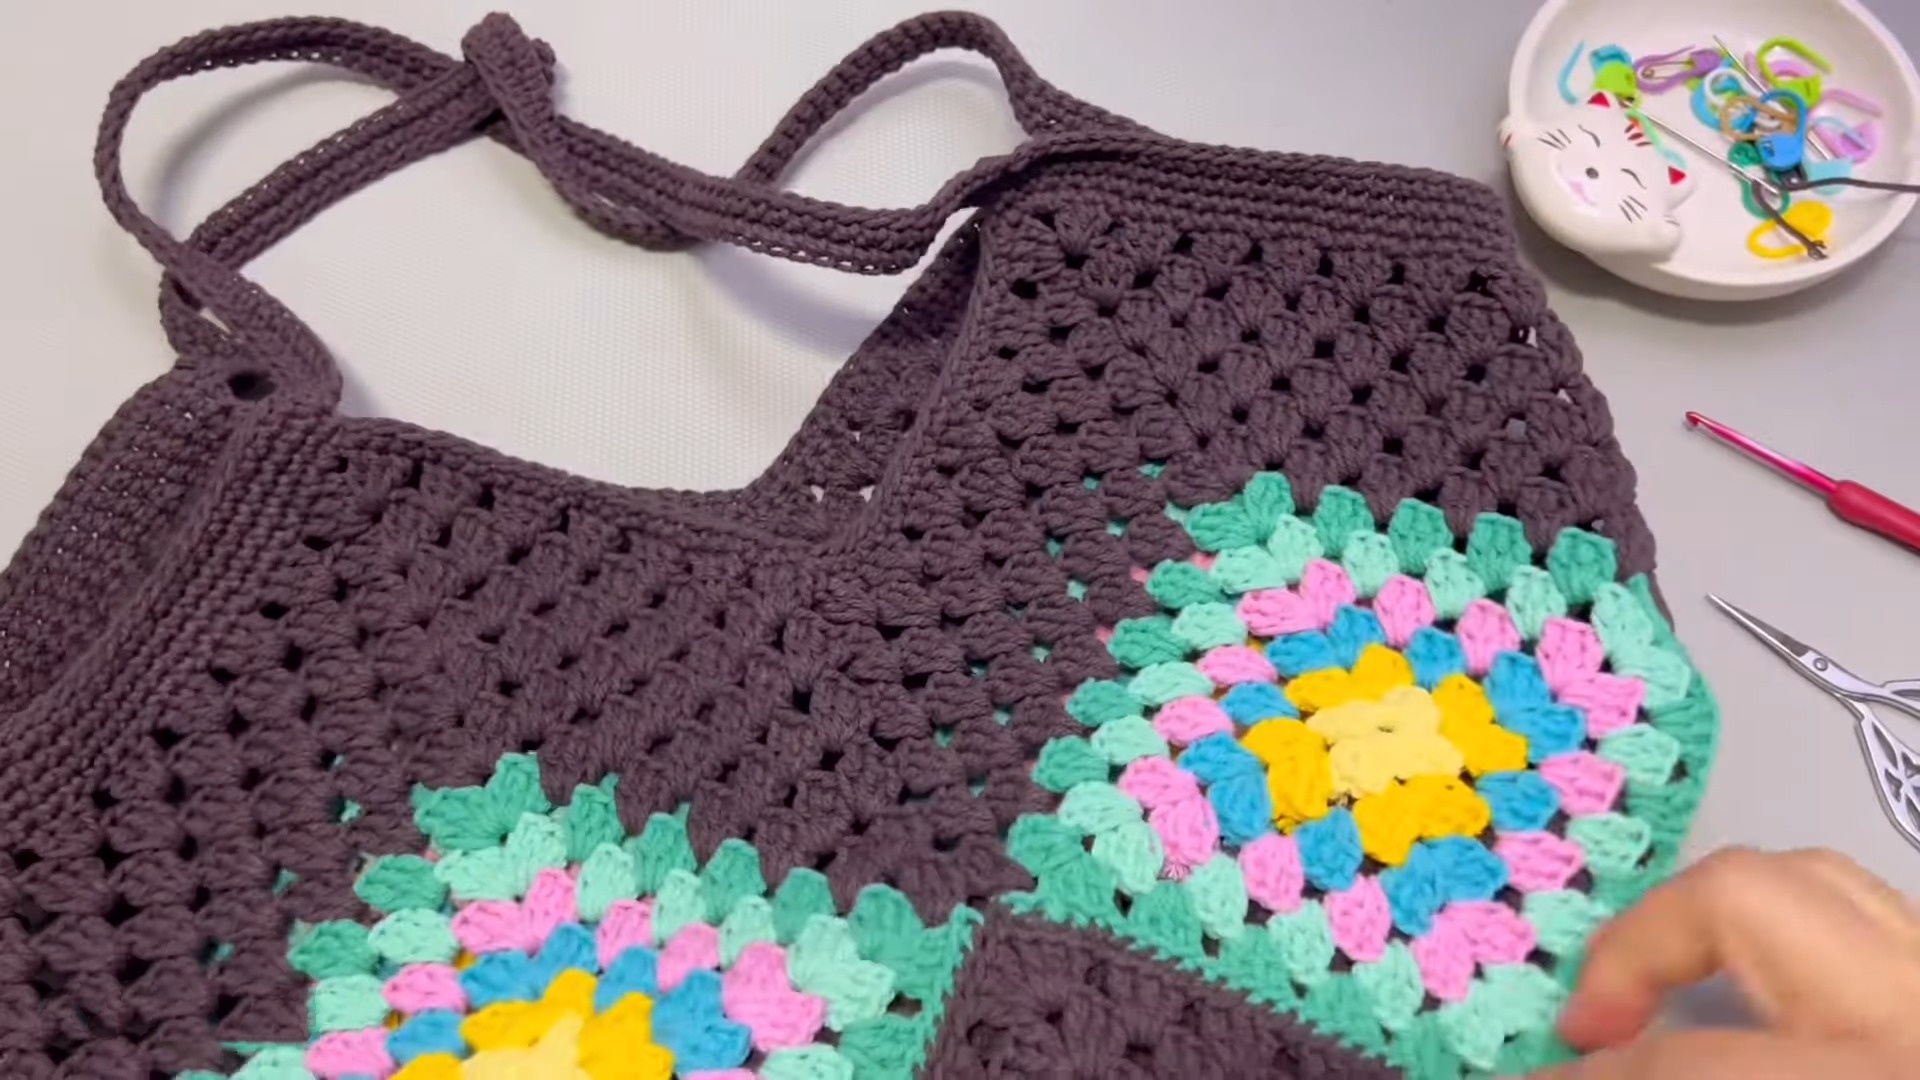
Step 3: Adding Straps
- Strap Base: Crochet CH 80 for each strap.
- Work SC across each strap for 2 rounds for added durability.
- Sew the straps securely to the sides of the bag.
Step 4: Finishing Touches
- Weave in all remaining yarn ends with a tapestry needle.
- If desired, block the bag to give it a more polished look.
- Celebrate your crochet artistry—your tote bag is complete!
- Funny Pictures
-
 Hilarious Pics for Your Cozy Fall Evening
-
 Memes Filled With Funny Randomness
-
 Typical Thursday Memes to Praise Your Work Life
- Recipes
-
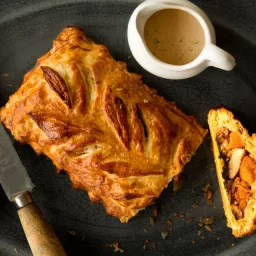 Mushroom Wellington
-
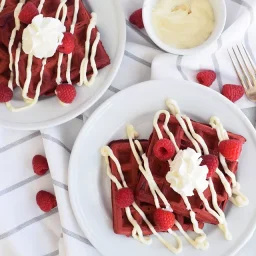 Red Velvet Waffles
-
 Make-Ahead Croissant Breakfast Sandwiches
- Lifehacks
-
 Granny Triangle Crochet Stitch
-
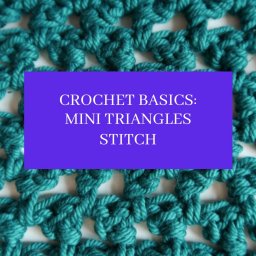 Crochet Basics: Mini Triangles Stitch
-
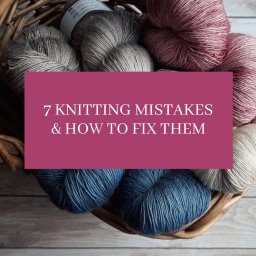 7 Knitting Mistakes & How to Fix them
- Crochet Ideas
-
 Crochet Scrat the Squirrel
-
 Crochet Candy Cane Ornament
-
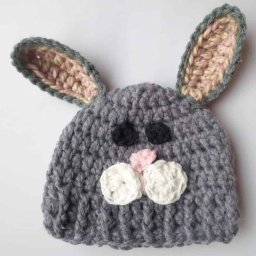 Crochet Bunny Hat
- DIY
-
 DIY Braided Rope Necklace
-
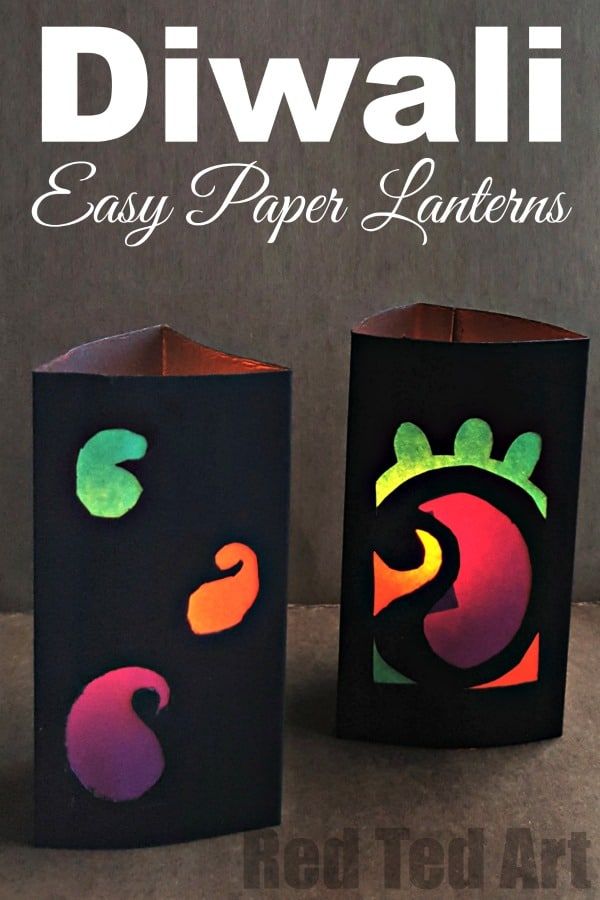 DIY Paper Lanterns
-
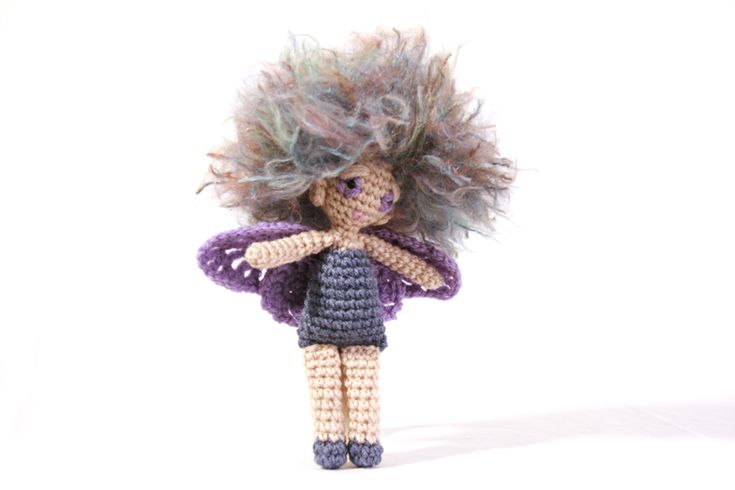 Crochet Fairy Doll
- Knitting Ideas
-
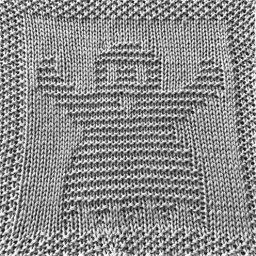 Knitted Ghost Dishcloth
-
 Knitted Crocodilly Mocs for Newborns
-
 Knitted Cats Paw Scarf