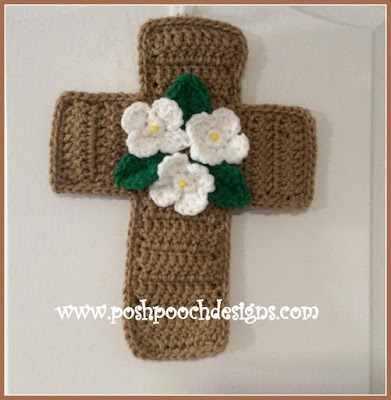
Crochet Granny's Cross Wall Hanging: A Handmade Home Decor Project

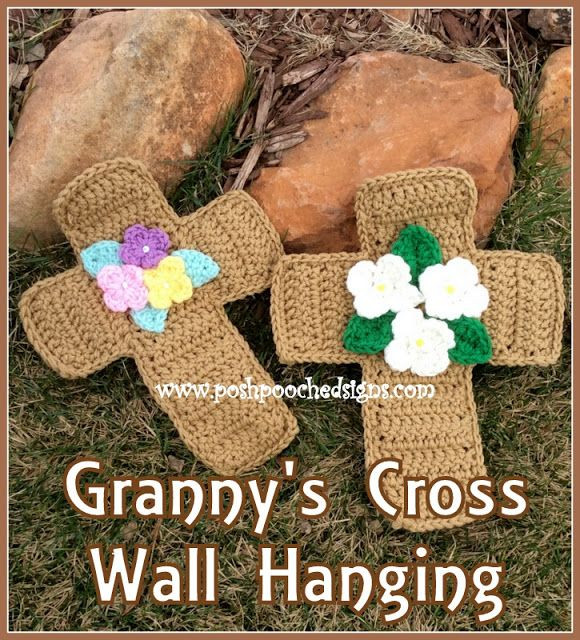
Looking to add a touch of handmade charm to your space? The Crochet Granny's Cross Wall Hanging is just the piece you need! With its intricate design and cozy vibes, this delightful creation is sure to brighten up any room. Whether you're a seasoned crocheter or just starting out, this project is a fun way to get creative and add a personal touch to your decor. Hang it up and let it bring a warm and welcoming feel to your home. Give it a try and let your creativity shine with this lovely wall hanging!
Skill Level
Easy
Materials
- Crochet Hook - K / 6.50 MM
- Yarn – Worsted Weight Yarn (4) Beige 3.5 oz. (2 strands held together)
- Small Amount of 3 colors for Flowers, and green
- I used Red Heart Super Saver so it would stiff and hold its shape
- 3 beads – small white pony beads, or pearls or beads of choice
- Yarn Needle
- 1 Stitch marker
Stitches
- Chain (ch)
- Slip Stitch (slst)
- Single Crochet (sc)
- Double Crochet (dc)
Size
14 X 12 Inches
Notes
- Ch 3 counts as a dc on Cross.
- Cross is stitched holding 2 strands of yarn together.
Patterns
Make 2 Crosses
Cross Stitch Instructions
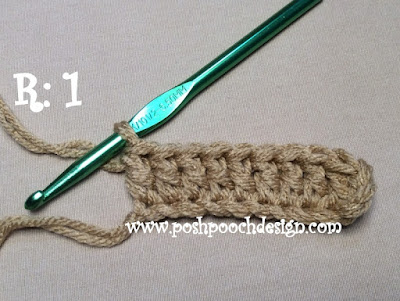
RND 1: Holding 2 strands together, Ch 12, 1 dc in the 4th ch from the hook, 1 dc in each ch across.
Turn, Ch 3 (10 dc)
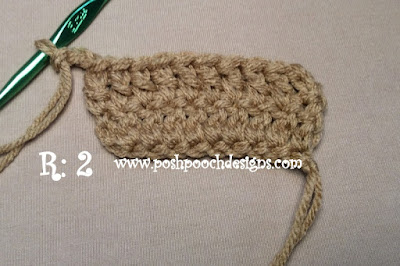
RND 2: 1 dc in each dc across, turn, Ch 3 (10 dc)
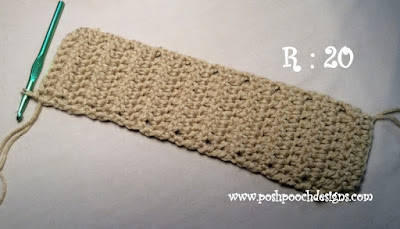
RND 3 - RND 20: Repeat RND 2, Tie Off and weave in the ends.
RND 21: Join yarn to the right side of the Cross at the bottom of the 5th row from the top, ch 3, Evenly crochet 9 dc ending at the bottom of the 10th Row, turn. ch 3 (10 dc)
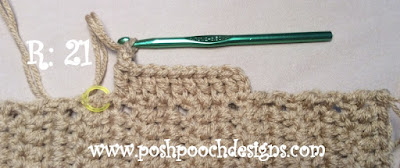
Use the stitch marker to mark where to stop.
RND 22: 1 dc in each dc, turn, ch 3 (10 dc)
RND 23 - RND 25: Repeat RND 22, tie off and weave in the ends.
Repeat RND 21 - RND 25 on the left side of the Cross. Make sure the sides are even.
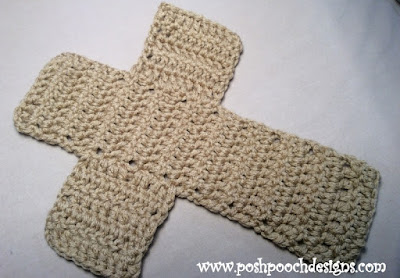
Place the 2 crosses together, with the right sides facing out.
Join yarn to the bottom left side of the cross.

Sc evenly around the crosses, sewing them together, place 3 sc in each of the 8 outside corners.
Join back to the 1st sc, tie off, weave in the ends.
4 Petal Flower Crochet Pattern
Make 3 Flowers
Flower Stitch Instructions
RND 1: With Solid Color - ch 2, 8 sc in the 2nd ch from the hook, join to the first sc.
RND 2: *Ch 2, 3 dc in next sc, ch 2, sl st in the next dc*. Repeat 3 more times for 4 petals.
Join to 1st slst. Tie off leaving a long tail for sewing on the Cross.
Sew a bead to the center of the Flower.
Leaves
Make 3 leaves
Ch 9, 1 sc in the 2nd ch from the hook, 1 sc in the next 2 chs, 1 dc in the next 3 chs, 1 sc in the next 2 chs, ch 1.
Turn, working in the opposite or other side of the ch, 1 sc in the next 2 ch, 1 dc in the next 3 chs, 1 sc in the next 2 chs, slst in the last ch, join to the 1st slst. Tie off leaving a 10-inch tail of yarn for sewing on cross. Weave in the other end.
Place the 3 leaves in the cross and sew in place.
Place the 3 flowers and sew them in place.
Hanger
Make a hanger by chaining 10, tie in a knot and attach to the back of the Cross.
- Funny Pictures
-
 Hilarious Memes for Those Bored to Tears
-
 Weekly Treat of Funniest Parenting Memes for Good Laugh out Loud Right Now
-
 Really Funny Pics to End These Weekend Perfectly
- Recipes
-
 Crispy Baked Avocado Fries
-
 Scrambled Chickpea and Spinach Pitas
-
 Cinnamon Pancakes
- Lifehacks
-
 Crochet Basics: Aligned Cobble Stitch
-
 Brick Stitch Crochet Tutorial
-
 Crochet Basics: Wattle Stitch
- Crochet Ideas
-
 Crochet Snorlax Plushie Doll
-
 Crochet Beautiful Penguin Toy
-
 Crochet Tiny Snowman
- DIY
-
 DIY Santa Craft For Kids
-
 Paper Plate Angel Craft
-
 Upcycled Mason Jar Chicken Vase
- Knitting Ideas
-
 Knitted Bridger Cowl
-
 Knitted Keepsake Bag
-
 Knitted Cutie Cupcake Dolls