Crochet Tulip Granny Square Pattern Guide

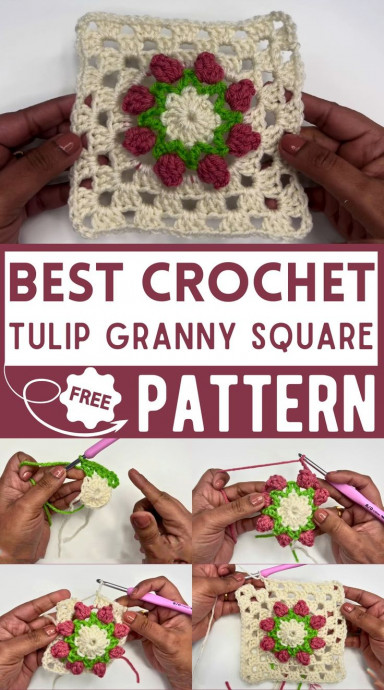
Crochet Tulip Granny Square is such a delightful pattern to work on! The combination of the intricate tulip design with the classic granny square makes for a charming and eye-catching finished piece. Whether you're a beginner or an experienced crocheter, this pattern is a fun and rewarding project to try out. The vibrant colors and textured stitches really bring the tulips to life, adding a touch of springtime to any crochet project. So grab your yarn and hook, and let's create some beautiful tulip granny squares together!
Materials
- Yarn in three colors
- Crochet Hook (5mm recommended)
- Scissors
- Yarn needle
Abbreviations You Must Know
- ch: Chain
- dc: Double Crochet
- sl st: Slip Stitch
- sc: Single Crochet
- st: Stitch
- yo: Yarn Over
- sk: Skip
- rnd: Round
Instructions
Step 1: Magic Circle or Ring
Magic Circle
Wrap the yarn around two fingers to form an “X.”
Pinch the intersection and pull out a loop.
Insert the hook into this loop, yarn over, and pull through.
Adjust the loop on the hook so it’s not too tight or loose.
Yarn over and pull through the loop on the hook.
Alternate Start:
Step 2: Round 1
Chain 1 (Does not count as a stitch).
Work 16 double crochets (dc) into the magic circle.
Pull the magic circle tail to close the ring.
Slip stitch into the first double crochet to join.
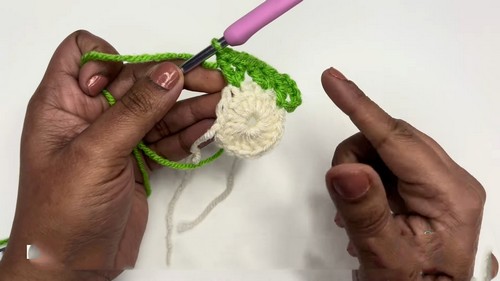
Step 3: Round 2
Join green yarn with a slip stitch in any stitch from Round 1.
Chain 3 (counts as a dc), chain 1, dc in the same stitch.
Skip the next stitch.
Repeat Pattern: 1 dc in the next stitch, chain 1, 1 dc in the same stitch, skip the next stitch.
Repeat this pattern all the way around.
Join with a slip stitch into the top of the chain 3.
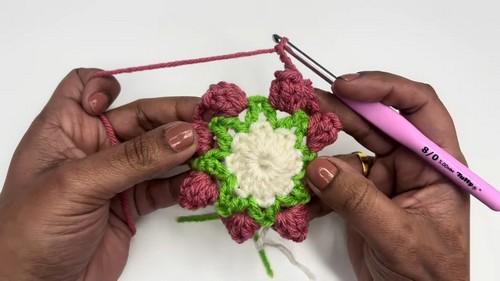
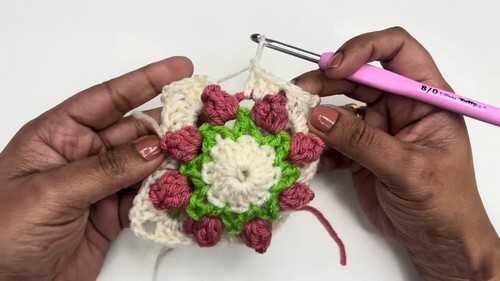
Step 4: Round 3 – Flower Formation
Chain 3 (counts as a dc).
Work 4 more dc in the same space (total 5 dc including chain 3).
Remove the hook from the loop, insert it into the first of these dcs (third chain of chain 3).
Pull the dropped loop through this stitch to form a popcorn stitch.
Chain 4.
Repeat Pattern: Popcorn stitch in the next chain 1 space, chain 4.
Repeat this pattern all the way around.
Slip stitch into the first popcorn stitch to join.
Step 5: Round 4 – Forming the Square
Join off-white yarn to any chain 4 space with a slip stitch.
Chain 3 (counts as a dc), work 2 more dc in the same space.
Chain 3, work 3 dc in the same space (corner formed).
Chain 1.
Repeat Pattern: 3 dc in the next chain 4 space, chain 1, 3 dc, chain 3, 3 dc in the next chain 4 space (corner).
Repeat until you have a square shape.
Slip stitch on top of the starting chain 3.
Step 6: Round 5
Chain 3 (counts as a dc), 2 more dc in the same space.
Chain 3, 3 more dc in the same space, chain 1.
Repeat Pattern: 3 dc in each chain 1 space, chain 1.
For Corners: 3 dc, chain 3, 3 dc in each chain 3 space corner.
Slip stitch on top of the starting chain 3.
Step 7: Round 6
Chain 3 (counts as a dc), work 2 more dc in the same space.
Chain 3, 3 dc in the same space, chain 1.
Repeat Pattern: 3 dc, chain 1 in each chain 1 space.
For Corners: 3 dc, chain 3, 3 dc in each chain 3 space corner.
Slip stitch on top of the starting chain 3.
Fasten off the yarn.
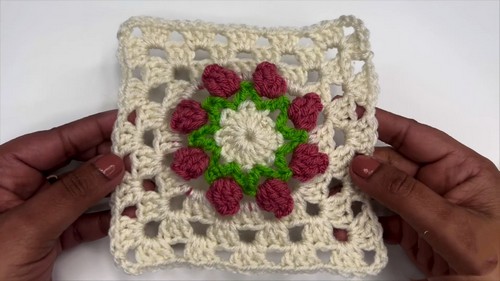
Finishing the Granny Square
Notes
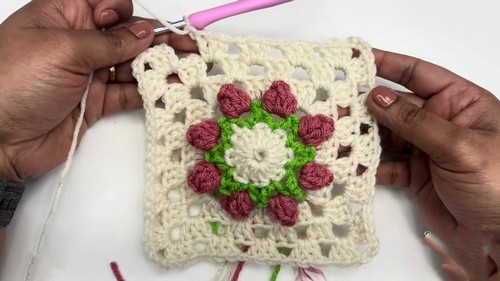
Each round builds upon the previous one; following the instructions carefully will help in achieving the desired Tulip Granny Square with a 3D flower effect.
By following these steps, you will have a beautiful Tulip granny square with a lovely 3D flower in the center. Enjoy crocheting!
- Funny Pictures
-
 So Funny and Relatable Memes You Will Laugh out Loud
-
 These Holiday Cat Memes Will Get You in the Christmas Spirit
-
 Some Memes That Just Speak Truth About You
- Recipes
-
 Cheesy Sausage Cornbread Quiche
-
 Homemade Potato and Cheese Pierogies
-
 Crispy Beer Battered Fish
- Lifehacks
-
 Crochet Q&A: Yarn Substitutions
-
 7 Toilet and Bathroom Cleaning Hacks
-
 Bedroom Tips for Comfortable Sleep
- Crochet Ideas
-
 Crochet Vanilla Ice Cream Sandwich
-
 Crochet Watermelon Amigurumi
-
 Crochet Ruby the Dragon
- DIY
-
 Yarn Wrapped Christmas Wreath Ornaments
-
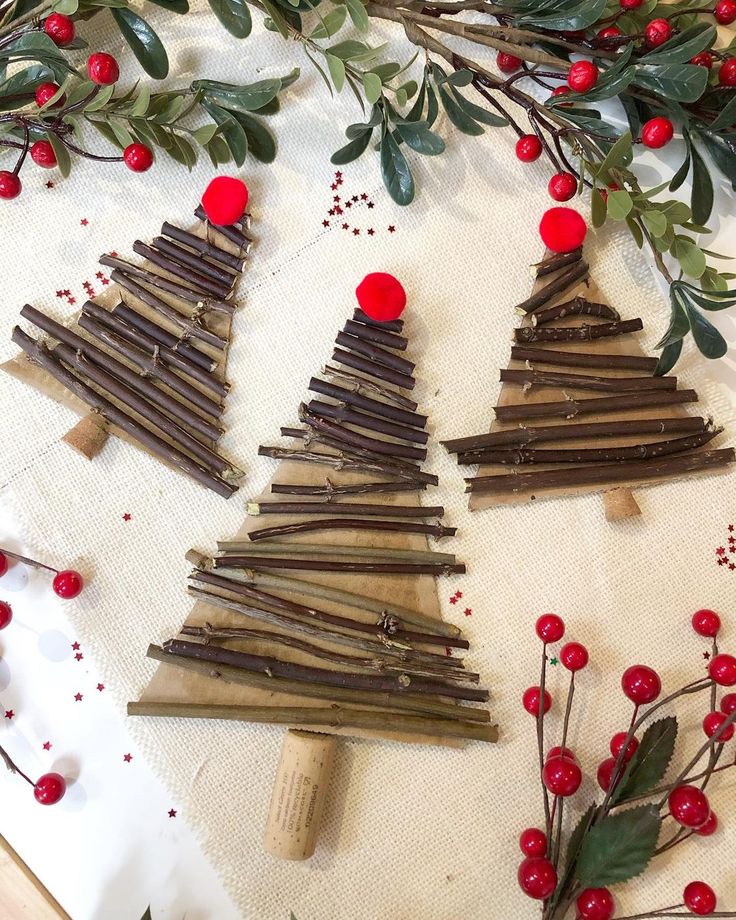 Easy Stick Trees
-
 Egg Carton Snowman Ornament
- Knitting Ideas
-
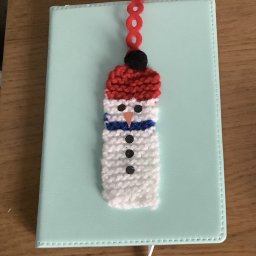 Knitted Trailing Snowman Bookmark
-
 Knitted Heart-Shaped Pillow
-
 Knitted Chocolate Easter Bunny