How to Crochet a Beautiful Tulip Flower

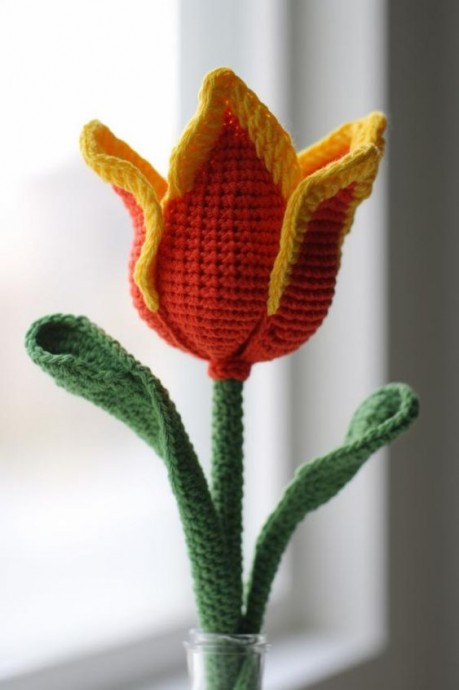
Create a beautiful tulip using the art of crocheting. Crafted with yarn and a crochet hook, this project allows you to showcase your creativity and attention to detail. By following a pattern or using your own design, you can customize the size, color, and style of the tulip to suit your preferences. Crocheting a tulip is a relaxing and rewarding activity that can be enjoyed by beginners and experienced crocheters alike. Whether you are making a single tulip as a decorative piece or a bouquet of tulips for a special occasion, this project is sure to bring joy and satisfaction.
Materials Needed
Worsted weight yarn in desired tulip color (such as red or pink)
Green worsted weight yarn for stem and leaves
3.5 mm crochet hook
Fiberfill stuffing
Yarn needle
Scissors
Note: This pattern is worked in continuous rounds. Use a stitch marker to keep track of the first stitch in each round.
Creating the Tulip
Round Instructions
Round 1: Using tulip color yarn, make a magic ring and work 6 single crochets into the ring. Join with a slip stitch to the first single crochet. (6 stitches)
Round 2: Chain 1. Work 2 single crochets into each stitch around. Join with a slip stitch to the first single crochet. (12 stitches)
Round 3: Chain 1. Work 1 single crochet in the next stitch, work 2 single crochets in the next stitch. Repeat from * to * around. Join with a slip stitch to the first single crochet. (18 stitches)
Round 4: Chain 1. Work 1 single crochet in each of the next 2 stitches, work 2 single crochets in the next stitch. Repeat from * to * around. Join with a slip stitch to the first single crochet. (24 stitches)
Round 5: Chain 1. *Work 1 single crochet in each of the next 3 stitches, work 2 single crochets in the next stitch*. Repeat from * to * around. Join with a slip stitch to the first single crochet. (30 stitches)
Round 6: Chain 1. Work 1 single crochet in each of the next 4 stitches, work 2 single crochets in the next stitch. Repeat from * to * around. Join with a slip stitch to the first single crochet. (36 stitches)
Round 7: Chain 1. Work 1 single crochet in each of the next 5 stitches, work 2 single crochets in the next stitch. Repeat from * to * around. Join with a slip stitch to the first single crochet. (42 stitches)
Round 8-10: Chain 1. Work 1 single crochet in each stitch around. Join with a slip stitch to the first single crochet. (42 stitches)
Round 11: Chain 1. Work 1 single crochet in each of the next 5 stitches, decrease 1 stitch. Repeat from * to * around. Join with a slip stitch to the first single crochet. (36 stitches)
Round 12: Chain 1. Work 1 single crochet in each of the next 4 stitches, decrease 1 stitch. Repeat from * to * around. Join with a slip stitch to the first single crochet. (30 stitches)
Round 13: Chain 1. Work 1 single crochet in each of the next 3 stitches, decrease 1 stitch. Repeat from * to * around. Join with a slip stitch to the first single crochet. (24 stitches)
Round 14: Chain 1. Work 1 single crochet in each of the next 2 stitches, decrease 1 stitch. Repeat from * to * around. Join with a slip stitch to the first single crochet. (18 stitches)
Round 15: Chain 1. Work 1 single crochet in the next stitch, decrease 1 stitch. Repeat from * to * around. Join with a slip stitch to the first single crochet. (12 stitches)
Round 16: Chain 1. Decrease in each stitch around. Join with a slip stitch to the first single crochet. (6 stitches)
Fasten off and weave in ends. Stuff tulip with fiberfill stuffing before closing the opening.
Crafting the Stem and Leaves
Row Instructions
Row 1: Using green yarn, chain 30. Starting from the second chain from the hook, work 1 single crochet in each chain. Chain 1 and turn. (29 stitches)
Row 2: Work 1 single crochet in each stitch across. Chain 1 and turn.
Row 3: Work 1 single crochet in each stitch across. Chain 15 and turn.
Row 4: Starting from the second chain from the hook, work 1 single crochet in each chain and in each stitch across. Fasten off and weave in ends.
Assembling the Tulip
Using the yarn needle, sew the stem and leaves to the bottom of the tulip. Adjust the position of the leaves to your desired shape.
Congratulations! You’ve now crocheted a lovely 15-inch tulip flower. I hope you enjoy making and displaying it.
- Funny Pictures
-
 So Funny and Relatable Memes You Will Laugh out Loud
-
 These Holiday Cat Memes Will Get You in the Christmas Spirit
-
 Some Memes That Just Speak Truth About You
- Recipes
-
 Cheesy Sausage Cornbread Quiche
-
 Homemade Potato and Cheese Pierogies
-
 Crispy Beer Battered Fish
- Lifehacks
-
 Crochet Q&A: Yarn Substitutions
-
 7 Toilet and Bathroom Cleaning Hacks
-
 Bedroom Tips for Comfortable Sleep
- Crochet Ideas
-
 Crochet Vanilla Ice Cream Sandwich
-
 Crochet Watermelon Amigurumi
-
 Crochet Ruby the Dragon
- DIY
-
 Yarn Wrapped Christmas Wreath Ornaments
-
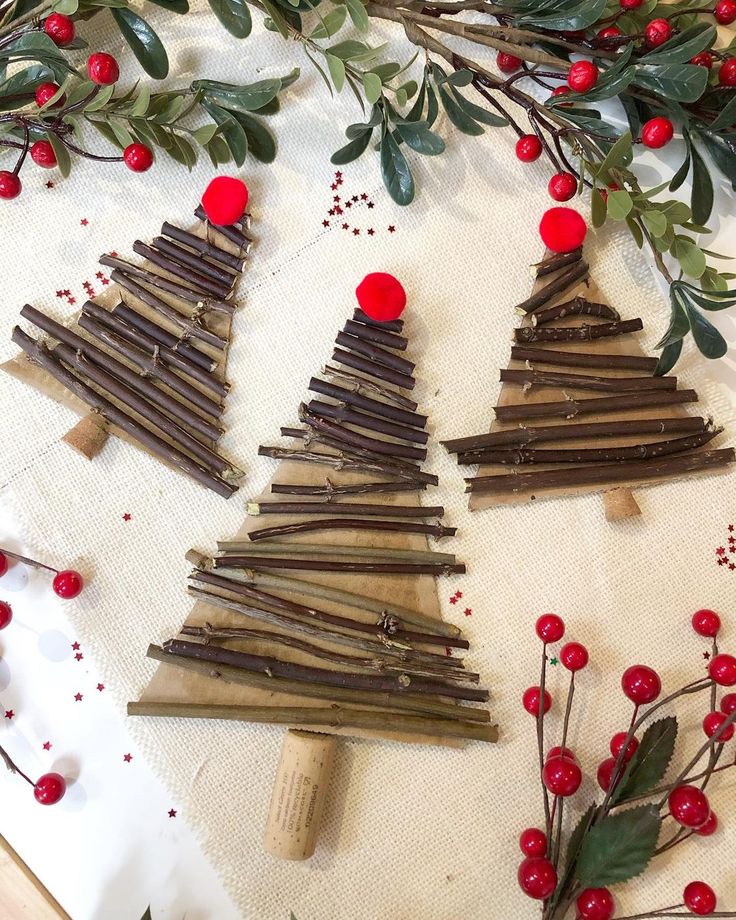 Easy Stick Trees
-
 Egg Carton Snowman Ornament
- Knitting Ideas
-
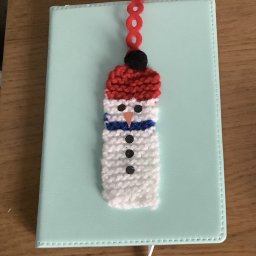 Knitted Trailing Snowman Bookmark
-
 Knitted Heart-Shaped Pillow
-
 Knitted Chocolate Easter Bunny