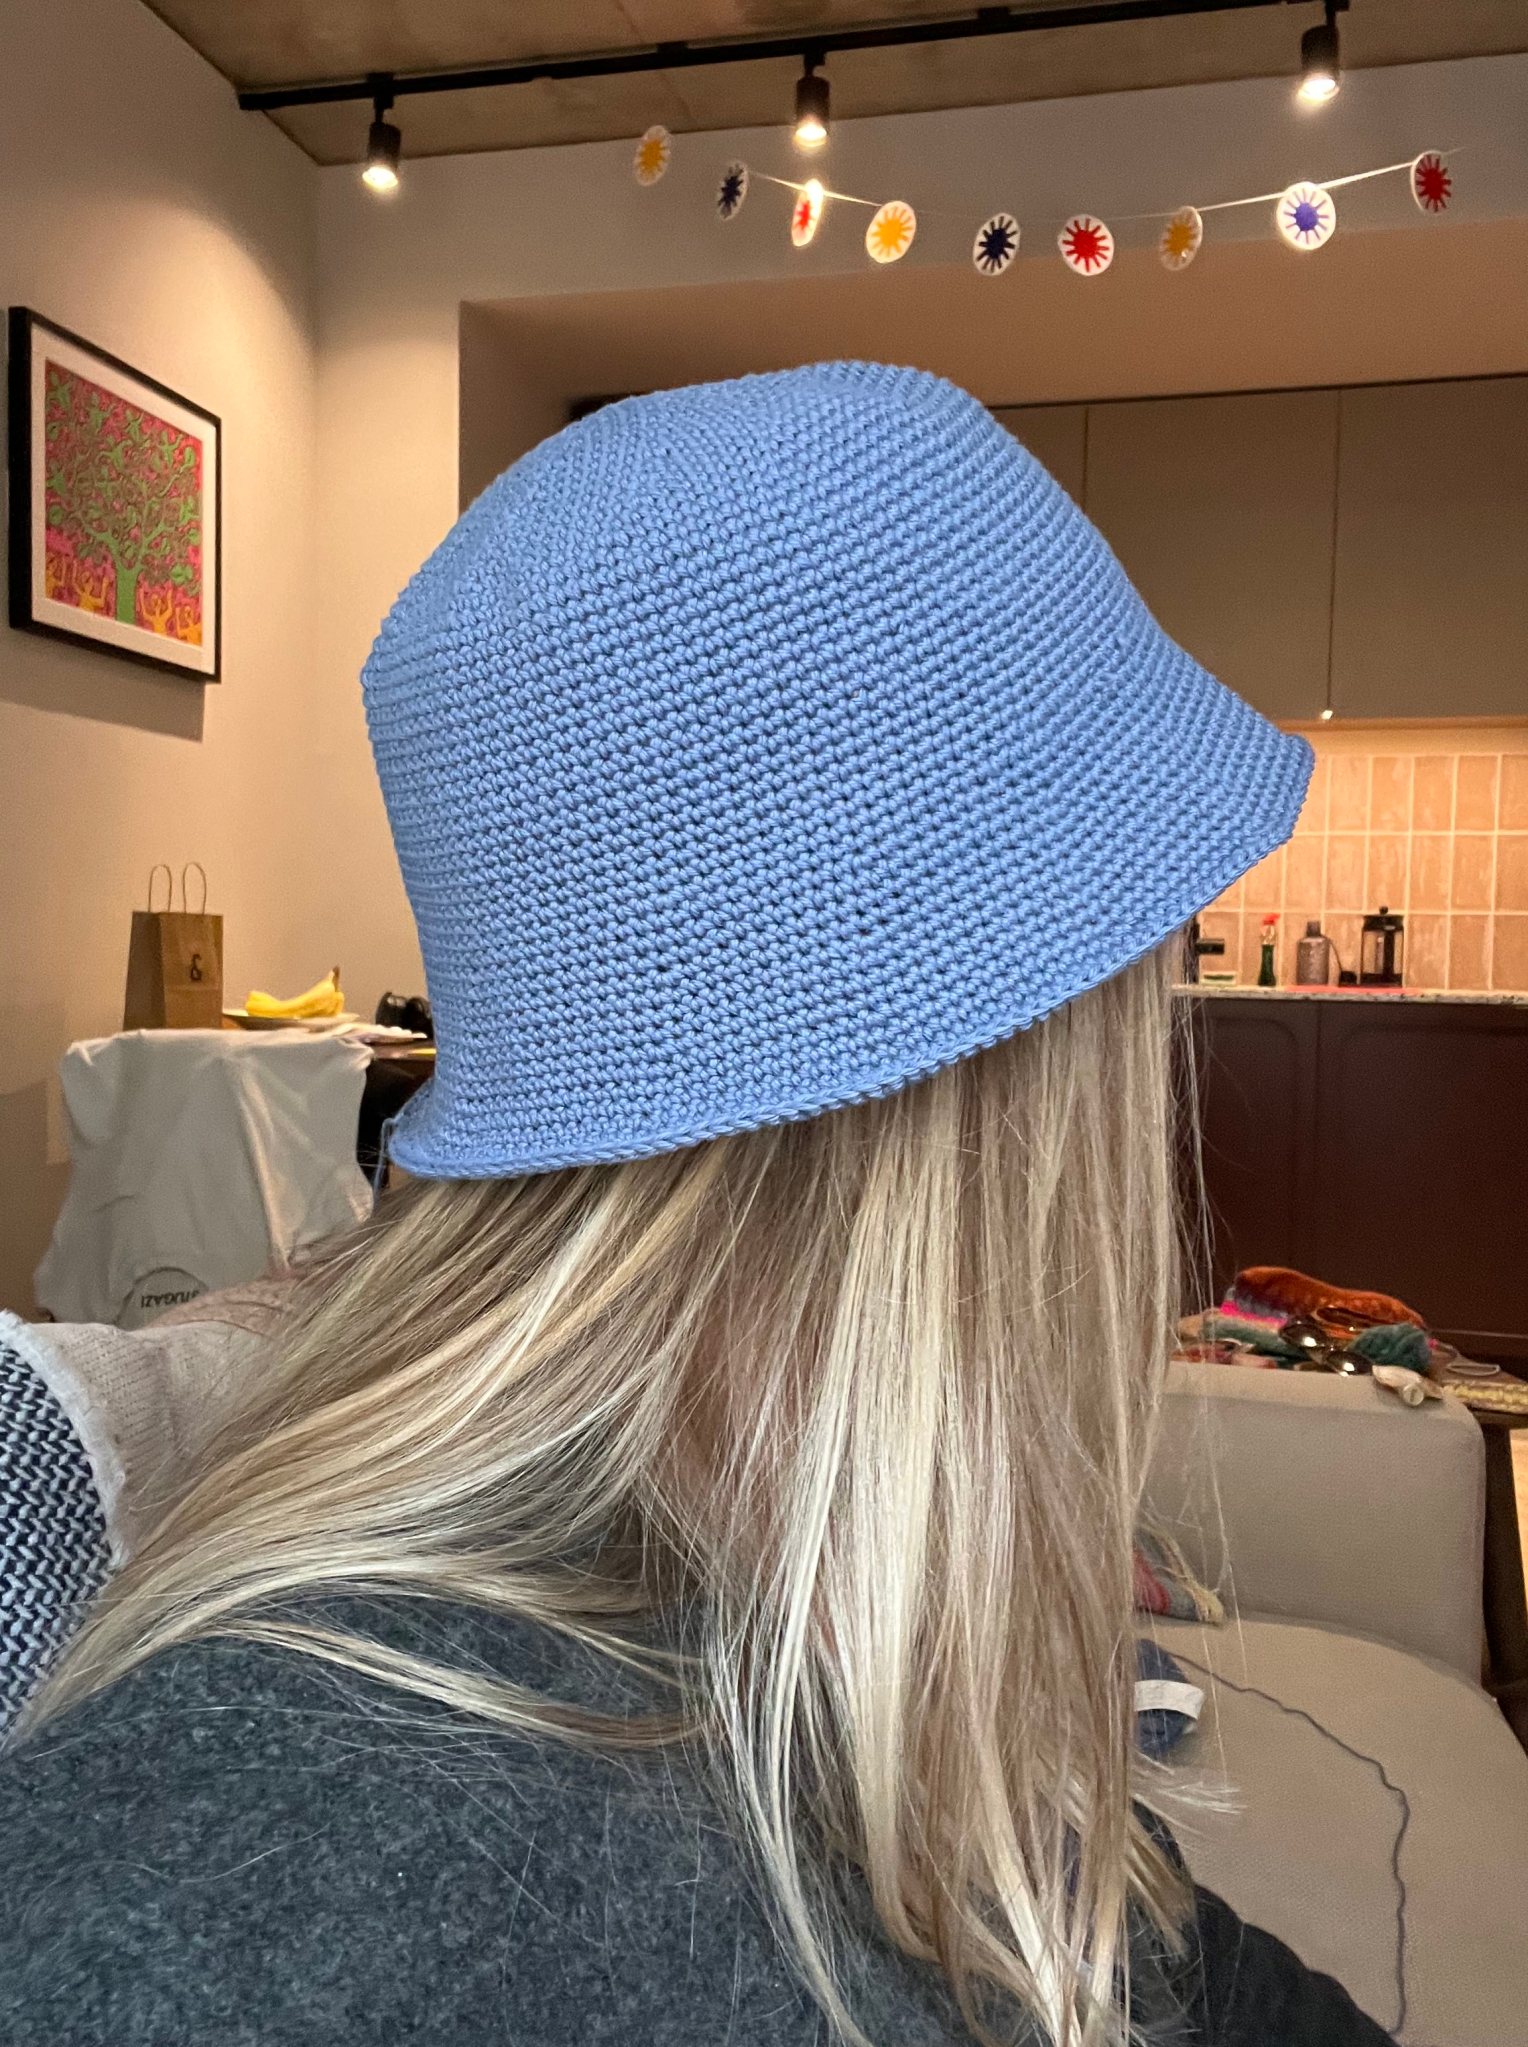
DIY Crochet Bucket Hat Tutorial

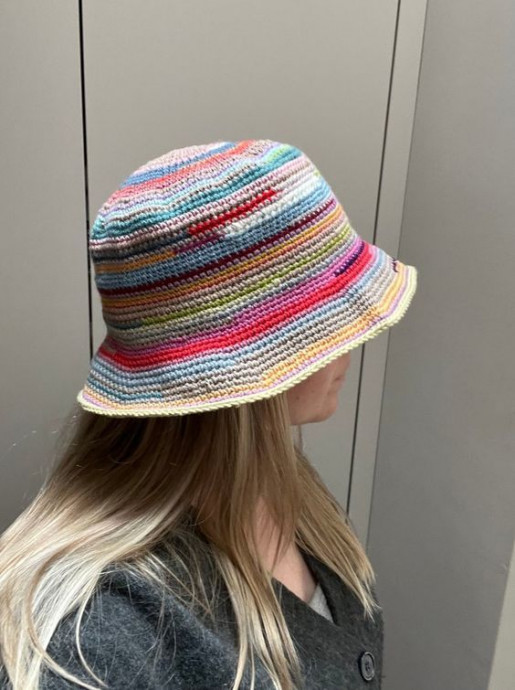
Crochet bucket hats are all the rage right now - they're the perfect blend of style and functionality! With their cozy, handmade charm, these hats are great for adding a touch of personality to any outfit. Whether you're heading to the beach, going for a stroll in the park, or simply running errands, a crochet bucket hat is a fun and trendy accessory to throw on. Plus, they come in so many colors and patterns, making it easy to find one that suits your unique style. So go ahead and rock that crochet bucket hat with confidence - you'll be turning heads wherever you go!
What You Will Need
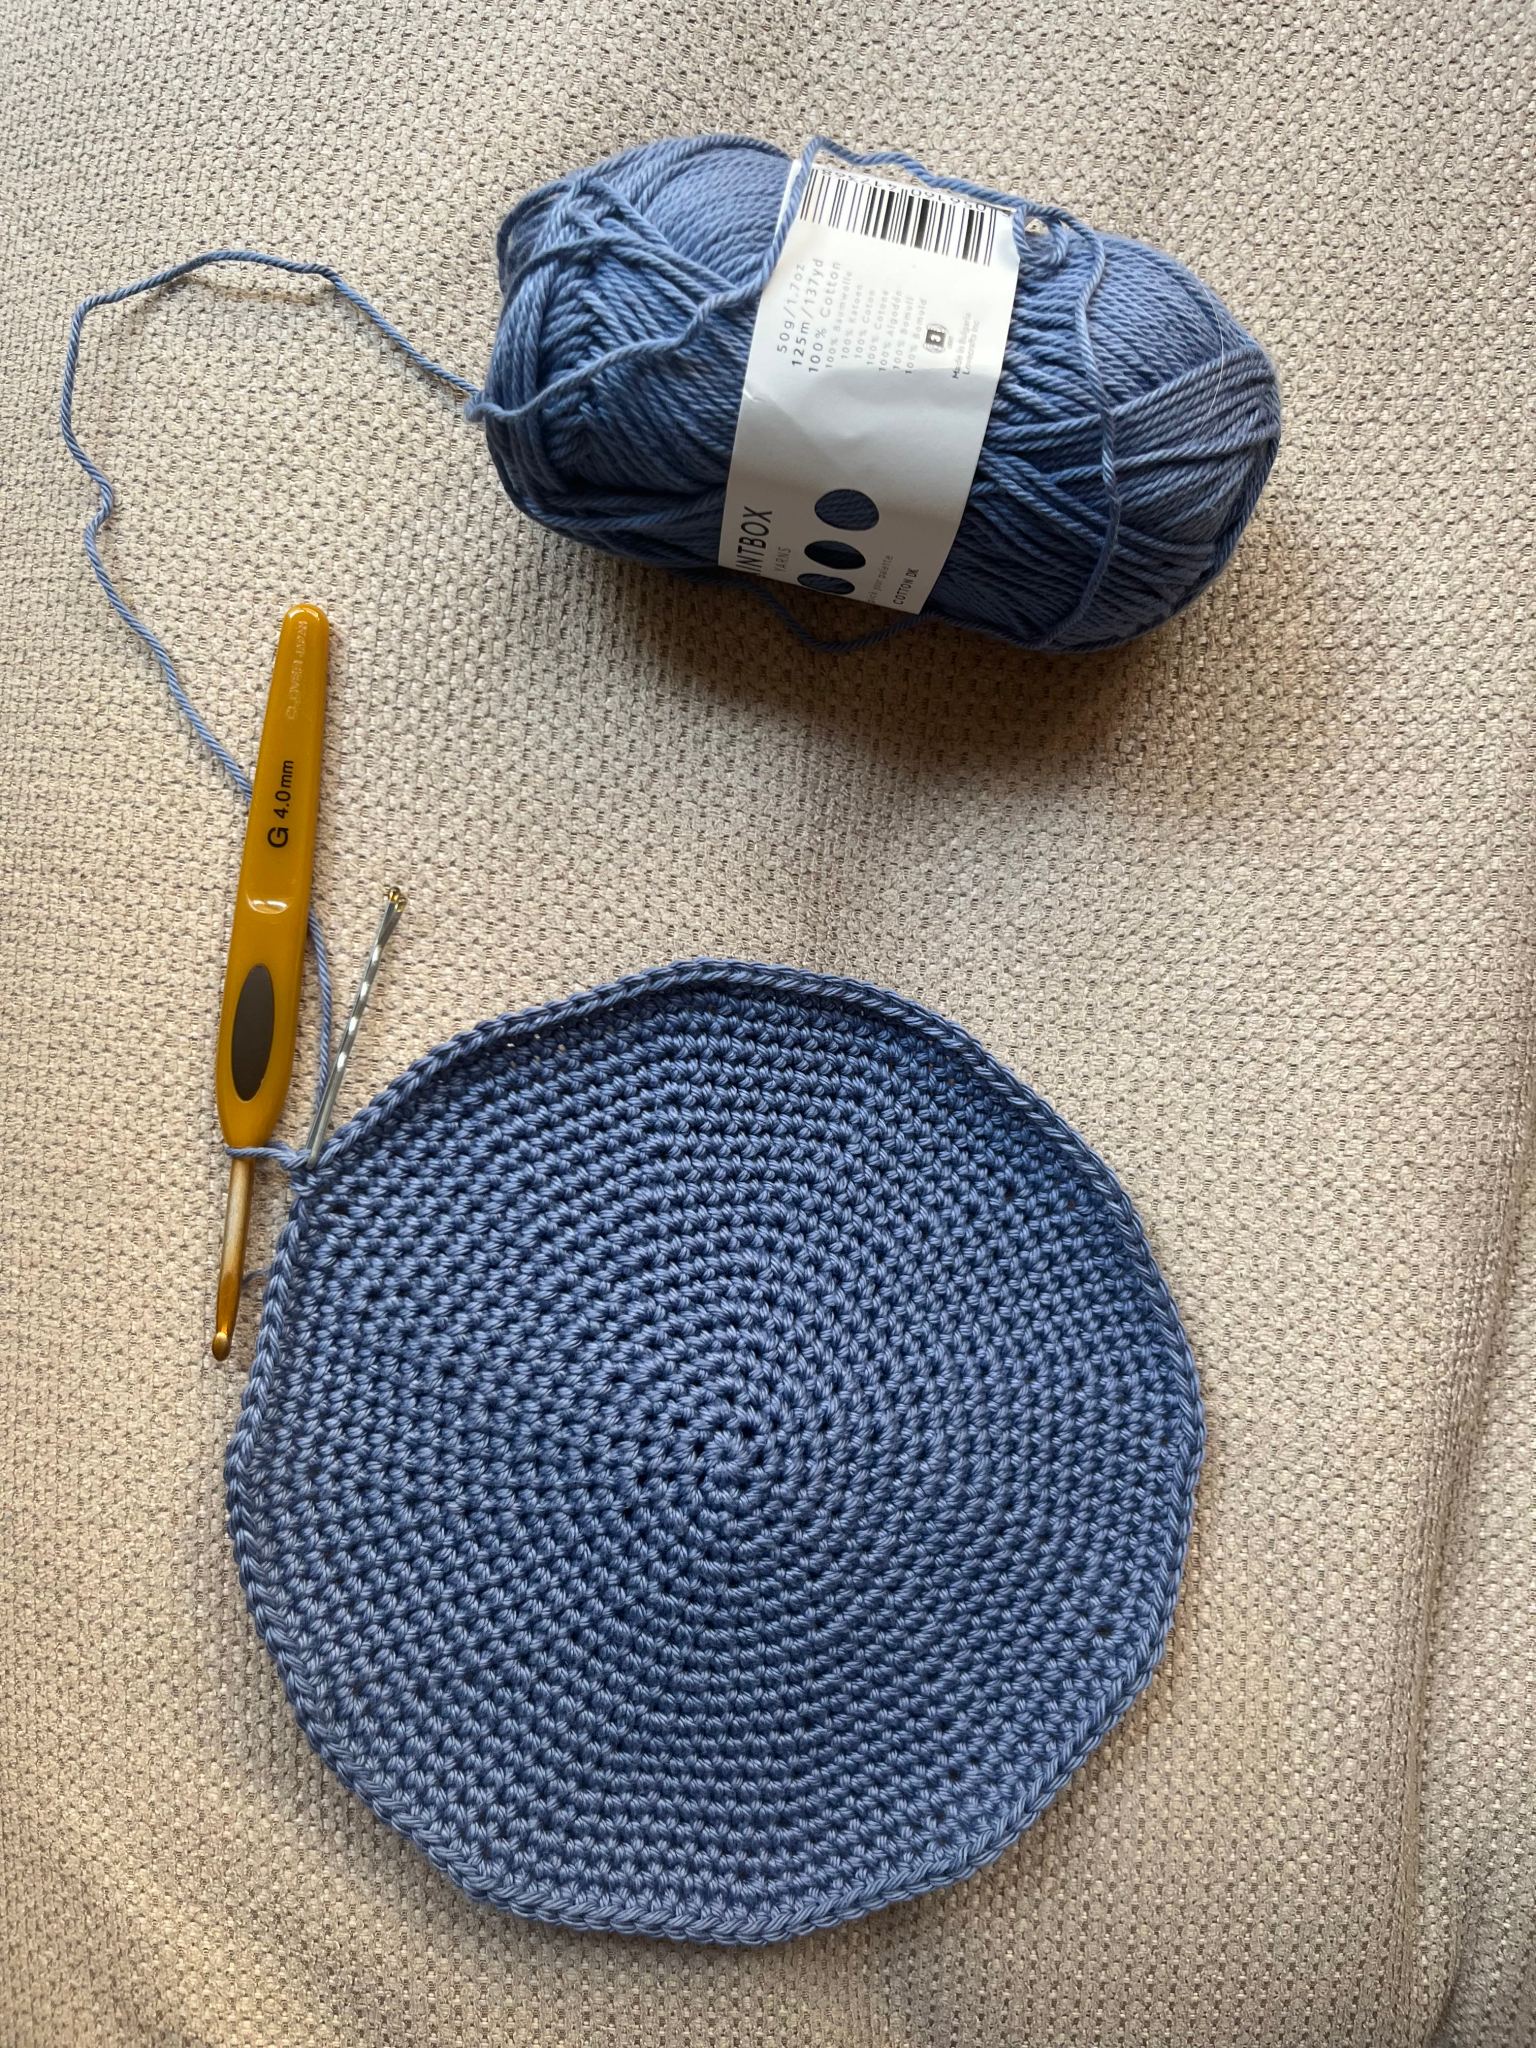
- Cotton DK yarn. I recommend both Paintbox Yarns cotton DK, and King Cole Bamboo Cotton blend. Or, this project is perfect for using up scraps!
- A 4mm crochet hook.
- A stitch marker.
- Scissors.
- An embroidery needle to weave in ends.
Creating the Crown of the Hat
The whole hat will be worked in the round in spirals. Use a stitch marker to keep track of your rows.
Begin with the Crown
Create a magic ring, SC 6. Pull magic ring closed. (6)
Inc. in each st. (12)
*Inc, SC* repeat 6 times. (18)
*SC, Inc, SC* repeat 6 times (24)
*Inc, SC3* repeat 6 times. (30)
*SC2, Inc, SC2* repeat 6 times (36)
*Inc, SC5* repeat 6 times. (42)
*SC3, Inc, SC3* repeat 6 times (48)
*Inc, SC7* repeat 6 times. (54)
*SC4, Inc, SC4* repeat 6 times (60)
*Inc, SC9* repeat 6 times. (66)
*SC5, Inc, SC5* repeat 6 times (72)
*Inc, SC11* repeat 6 times. (78)
*SC6, Inc, SC6* repeat 6 times (84)
*Inc, SC13* repeat 6 times. (90)
*SC7, Inc, SC7* repeat 6 times (96)
If you have a bigger head, keep increasing by 6 each row following the same pattern above, and keep note of the number of sts between increases to continue from here when we get to the brim.
Adding Length to the Hat
Next we stop increasing to give some length to the hat.
17 – 32. SC the whole way around. Repeat for all 16 rows. (120)
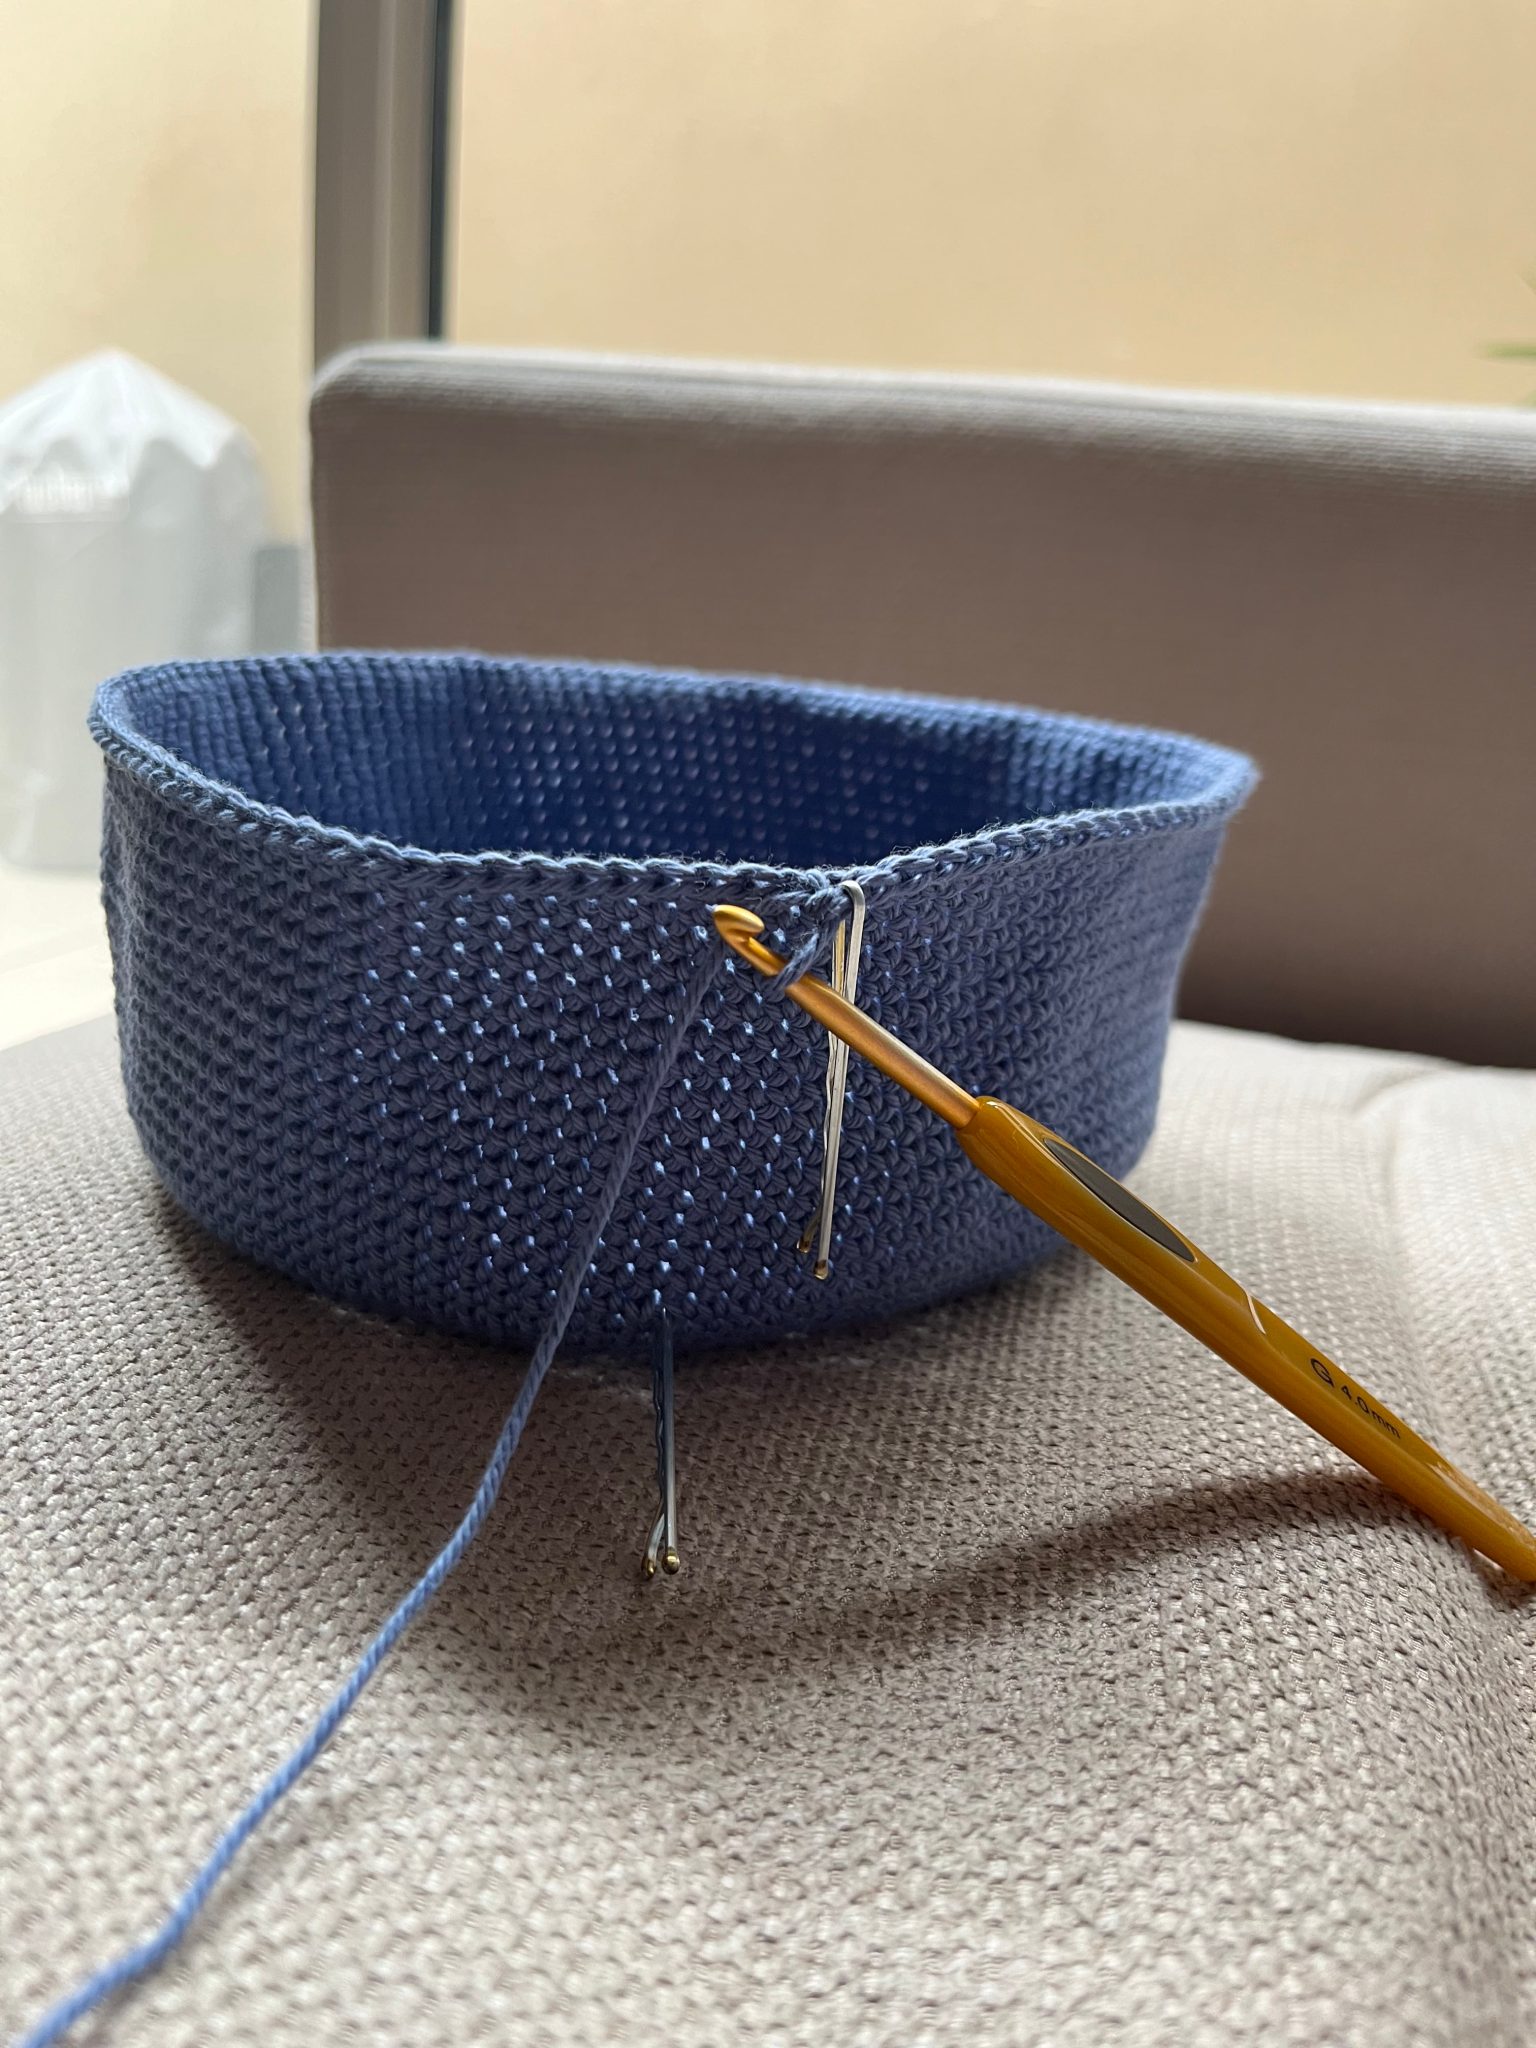

You can try your hat on at this point. If you need more length before the brim, continue with the above for a few more rows.
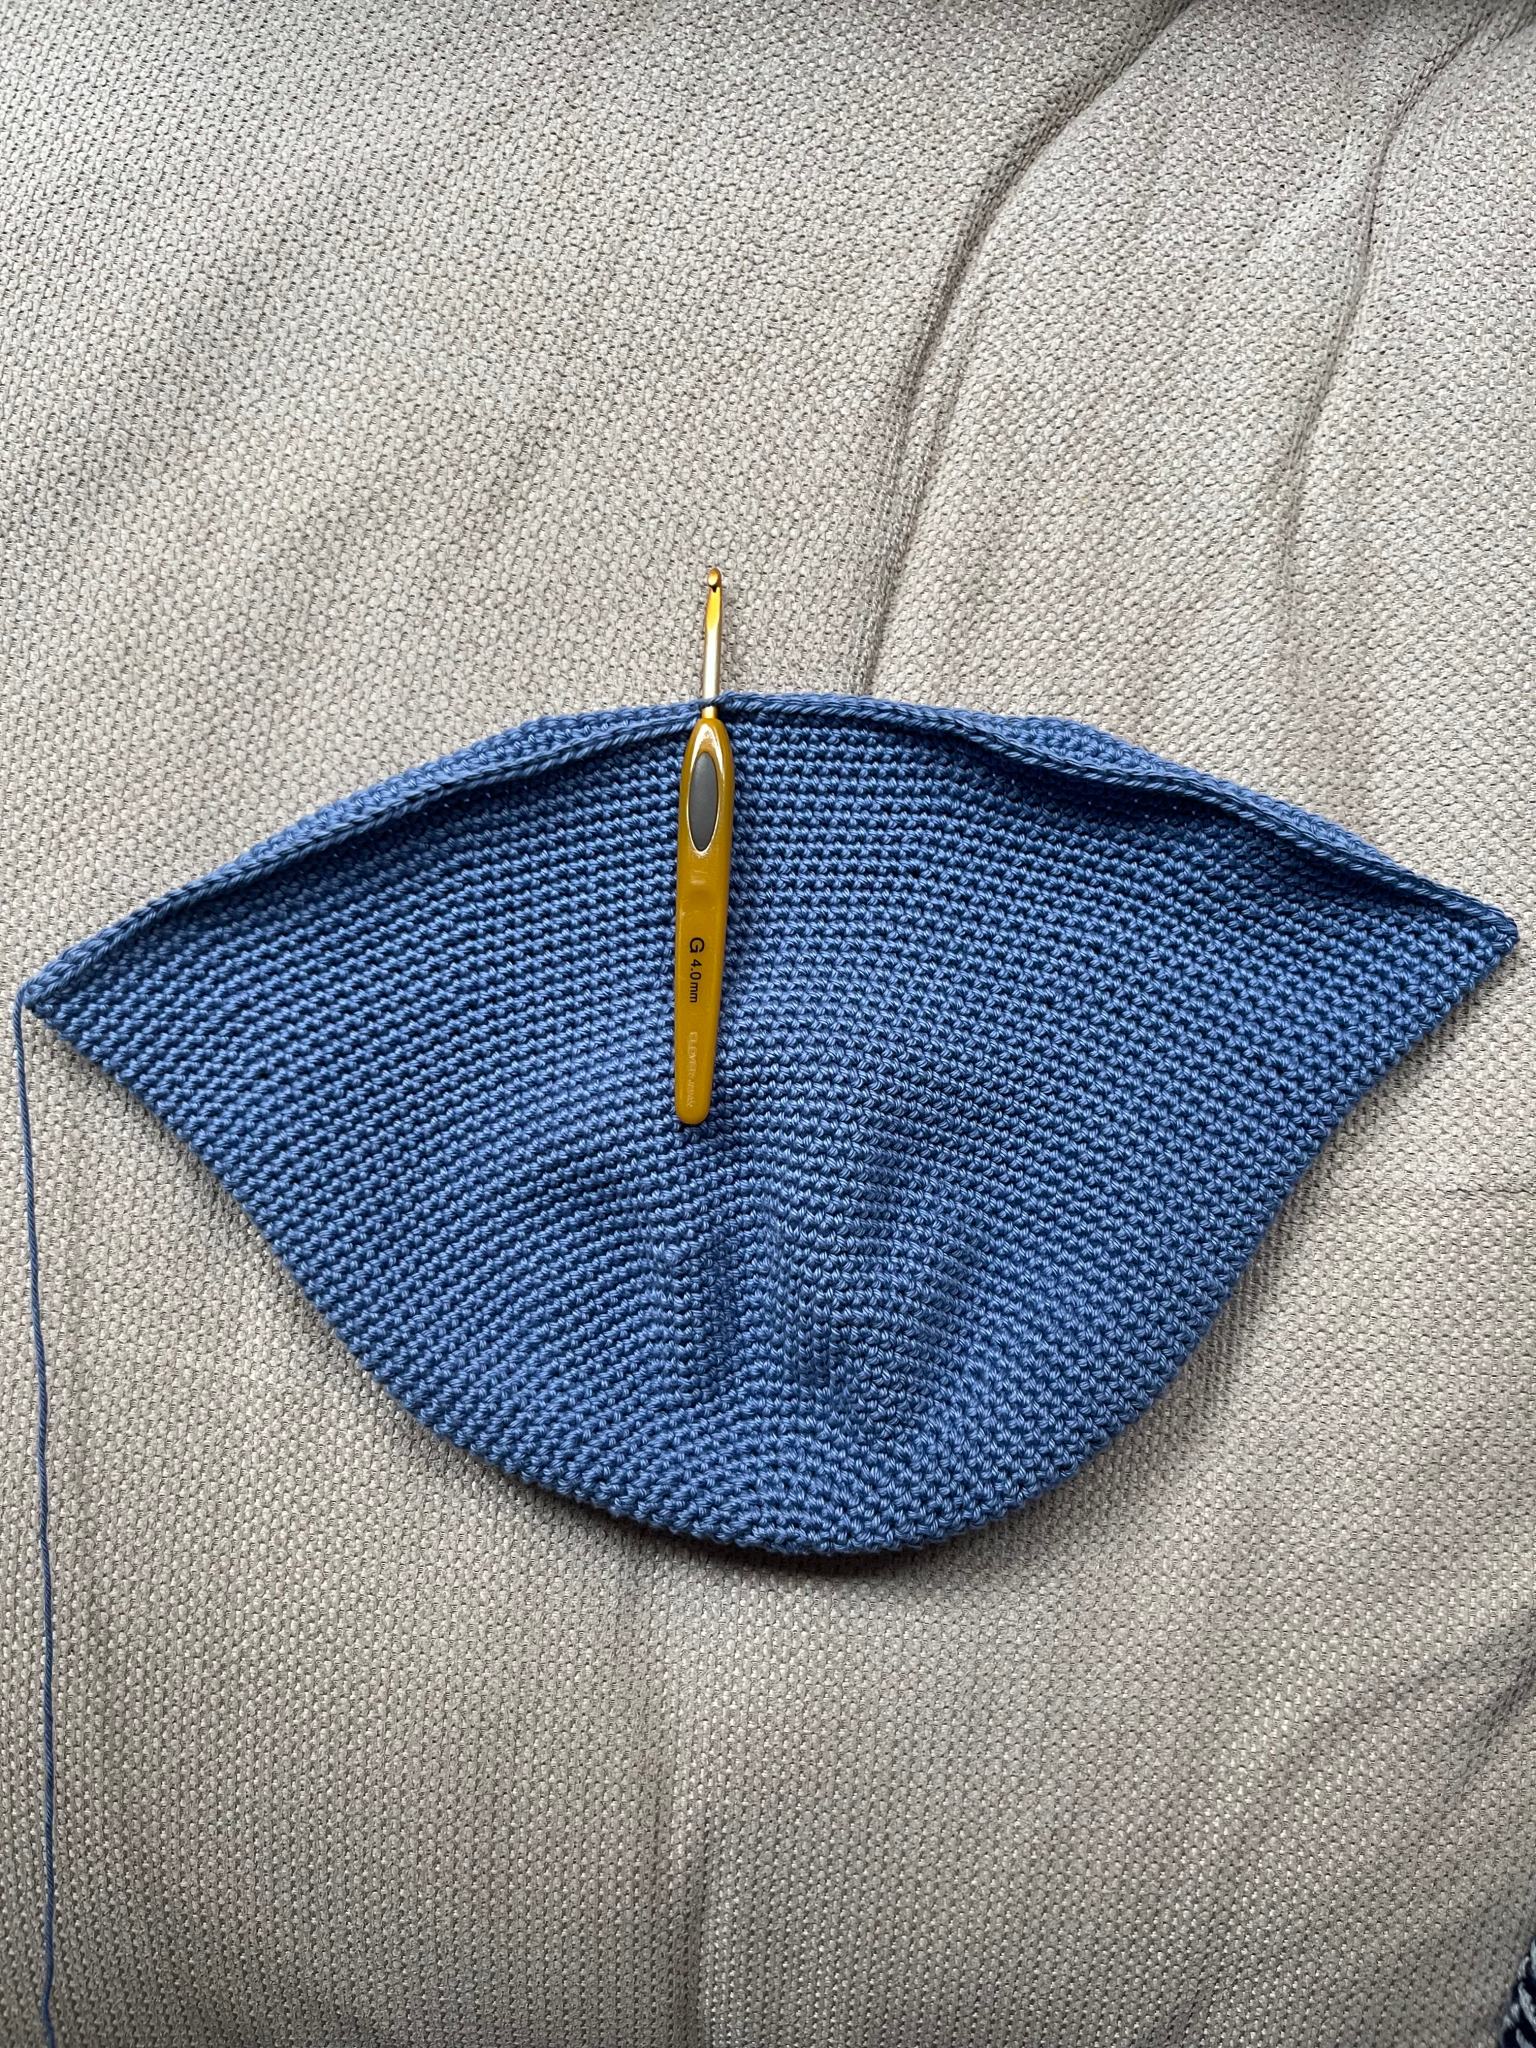
Creating the Brim of the Hat
Now we start increasing again to create the brim of the hat.
33. *Inc, SC15* repeat 6 times. (102)
34. SC the whole way around (102)
35. *SC8, Inc, SC8* repeat 6 times. (108)
36. SC the whole way around (108)
37. *Inc, SC17* repeat 6 times. (114)
38. SC the whole way around (114)
39. *SC9, Inc, SC9* repeat 6 times. (120)
40. SC the whole way around. (120)
41. *Inc, SC19* repeat 6 times. (126)
42. SC the whole way around. (126)
43. *SC10, Inc, SC10* repeat 6 times. (132)
44. SC the whole way around. (132)
45. *Inc, SC21* repeat 6 times. (138)
46. SC the whole way around. (138)
47. *SC11, Inc, SC11* repeat 6 times. (144)
48. SC the whole way around. (144)
49. *Inc, SC23* repeat 6 times. (150)
50. SC the whole way around. (150)
51. *SC12, Inc, SC12* repeat 6 times. (156)
52. SC the whole way around. (156)
53. *Inc, SC25* repeat 6 times. (162)
54. SC the whole way around. (162)
Slip stitch into the first stitch in this round, fasten off and weave in your ends. (If you need a longer brim, continue in the same pattern, increasing by 6 every other row.)
- Funny Pictures
-
 Hilarious Memes for Those Bored to Tears
-
 Weekly Treat of Funniest Parenting Memes for Good Laugh out Loud Right Now
-
 Really Funny Pics to End These Weekend Perfectly
- Recipes
-
 Crispy Baked Avocado Fries
-
 Scrambled Chickpea and Spinach Pitas
-
 Cinnamon Pancakes
- Lifehacks
-
 Crochet Basics: Aligned Cobble Stitch
-
 Brick Stitch Crochet Tutorial
-
 Crochet Basics: Wattle Stitch
- Crochet Ideas
-
 Crochet Snorlax Plushie Doll
-
 Crochet Beautiful Penguin Toy
-
 Crochet Tiny Snowman
- DIY
-
 DIY Santa Craft For Kids
-
 Paper Plate Angel Craft
-
 Upcycled Mason Jar Chicken Vase
- Knitting Ideas
-
 Knitted Bridger Cowl
-
 Knitted Keepsake Bag
-
 Knitted Cutie Cupcake Dolls