Create Lovely Crochet Mini Pinecones for Home Decor

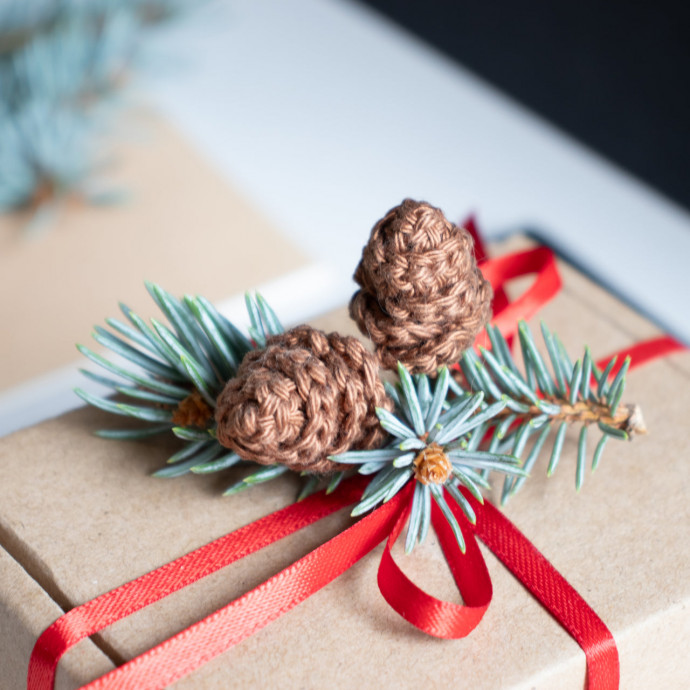
Crochet mini pinecones are a delightful and fun crafting project that can bring a touch of coziness to your home decor. These charming little creations add a whimsical touch to any space, whether you scatter them on a mantel, string them into a garland, or use them as cute ornaments. With just some yarn, a crochet hook, and a bit of creativity, you can create a whole forest of these adorable pinecones to enjoy throughout the year. Plus, they make fantastic handmade gifts that are sure to bring a smile to your loved ones' faces. So grab your supplies and get ready to crochet away - before you know it, you'll have a collection of mini pinecones that will brighten up any room with their charm and warmth. Happy crafting!
Materials
It doesn't matter what yarn weight you use for this pattern. Made from sport weight yarn, the pinecone turns out a size of 2-3 cm. The mini larch cones in the photos were made from yarn leftovers of Scheepjes - Catona, Yarn and Colors - Must Have, Schachenmayr - Catania worked on a 2.25 mm crochet hook.
Abbreviations (US Terms)
Common Crochet Terms
slst = slip stitch
ch = chain stitch
sc = single crochet stitch
hdc = half double crochet stitch
dc = double crochet stitch
x = repeat instruction as many times as given with the x
°.° = stitches between ° and ° have to be worked all into the same stitch
Crochet Pattern
Make a foundation chain of 20 ch.
Crochet along the chain, starting in the 3rd ch from hook:
°dc 2° 2x, °dc 3° 4x, °dc 3 + ch 2 + slst 1 + ch 2° 7x, °dc 3°, °dc 1 + hdc 1 + sc 1 + slst 1°
Ch 1, cut the yarn, pull the end through the last st completely and tighten down the ch stitch to finish off.
Even though the cone curls up naturally (especially its bottom part), you need to pull the upper dc stitches into shape. Next, arrange the scales evenly along the spiral, so that they are staggered one above the other. Push and squeeze a bit to bring the cone into the right shape.
Thread a needle with the remaining yarn end and run it top down through the cone. Cut off the length at the bottom. The remaining yarn tail from the beginning can be cut off, or used to tie the cone onto a branch, or on top of a gift.
- Funny Pictures
-
 Memes for Doggos Having a Ruff Day
-
 Fluffy Memes to Make Fun of Your Furry Friends
-
 Too Relatable to be True
- Recipes
-
 Cappuccino Brownies
-
 Chicken Mushroom Tortellini Bake
-
 Spinach Pie
- Lifehacks
-
 8 Necessary Tips for Baking Bread
-
 Tips & Hacks for Clean Carpets
-
 10 Uses For Old TV Armoires
- Crochet Ideas
-
 Crochet Flower Hat for your Pet
-
 Crochet Sophia and Bennet Love Birds
-
 Crochet Reversible Ghost
- DIY
-
 DIY Beaded Christmas Tree
-
 Dolls from Party Cups
-
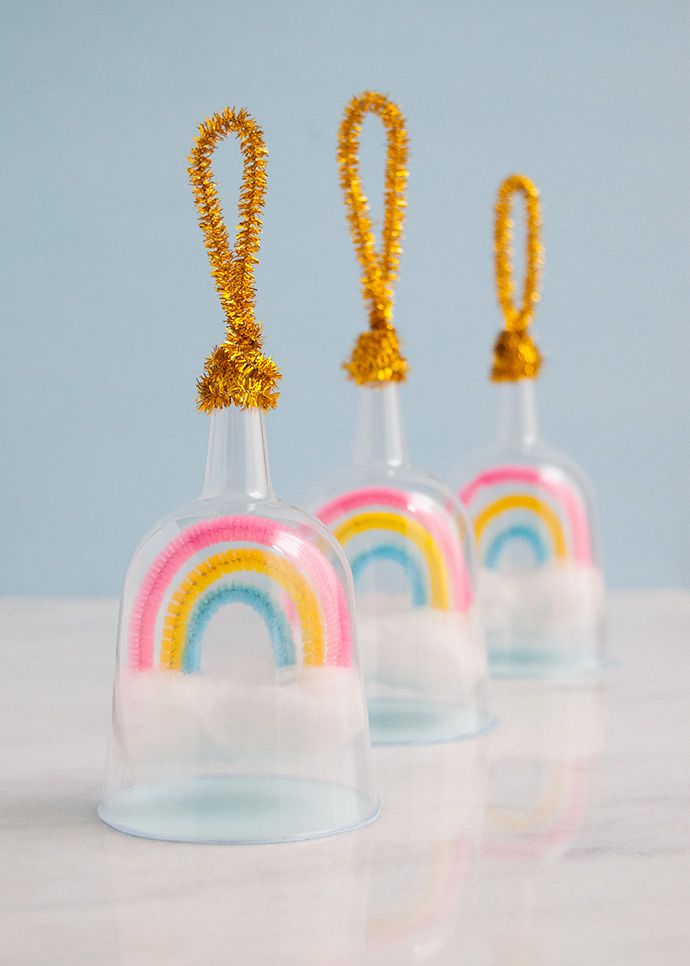 Rainbow Snow Globe Charms
- Knitting Ideas
-
 Knitted Star Square Dishcloth
-
 Knitted Free 2025 Year Dishcloth
-
 Knitted Ribbed Adult Hat