Crochet Twelve Star Throw: A Guide to Creating a Stunning Blanket

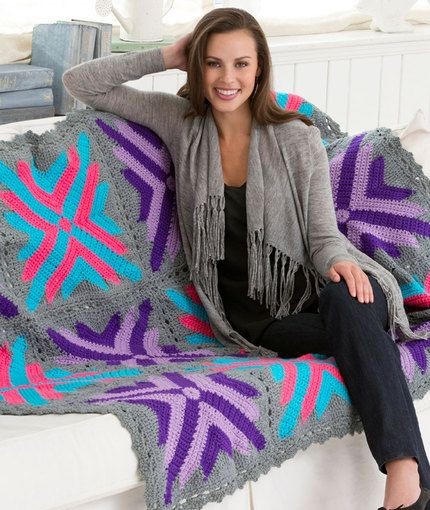
Create your very own Crochet Twelve Star Throw and add a touch of elegance to your home decor. This stunning throw blanket features twelve beautifully crafted stars that will surely catch the eye of anyone who sees it. The intricate crochet work gives it a unique and intricate look, making it a true work of art. Made with high-quality yarn, this throw blanket is perfect for snuggling up on chilly evenings or adding an extra layer of warmth to your bed. The stars add a whimsical touch to the overall design, making it a perfect accent piece for any room in your home. Whether you choose to display it on your couch, drape it over your favorite armchair, or use it as a bedspread, the Crochet Twelve Star Throw is sure to become a cherished item in your home. So grab your crochet hook and get ready to create a stunning piece that will impress everyone who sees it.
Skill Level
Intermediate
Required Supplies
- RED HEART Classic: 8 skeins 401 Nickel A; 3 skeins each 513 Parakeet B, 596 Purple C, and 584 Lavender D; 2 skeins 730 Grenadine E
- Susan Bates Crochet Hook: 5.00 mm [US H/8]
Crochet just 12 squares to make this spectacular throw! The construction may be a bit unusual, so just trust the directions and you’ll soon have a starring throw.
Gauge/Tension
GAUGE: Center square = 1¾” square; Center Strip = 1¾” wide x 9″ long, completed block = 16″ square. CHECK YOUR GAUGE. Use any size hook needed to obtain the gauge given.
Dimensions
Throw measures 51” x 67”
Special Abbreviations
sc2tog: [Draw up a loop in next st] twice, yarn over and draw through all 3 loops on hook.
dtr dec: Yo (3 times), insert hook in specified st and in next st, yo and draw through 3 loops, [yo and draw through 2 loops] 3 times.
shell: 5 dc in same space.
Squares are made in 2 color combinations. Directions are given for Square 1 color combination; changes for Square 2 colors are in parentheses. Make and join 6 Squares in each color combination following Assembly Diagram for placement.
First Square
Center Square
To begin center square: With E (D), ch 4; join with a slip st in first ch to form a ring.
Round 1: Ch 1, 8 sc in ring, join with slip st in first sc – 8 sc.
Round 2: Ch 1, (sc, ch 2, sc) in first sc, sc in next sc, *(sc, ch 2, sc) in next sc, sc in next sc; repeat from * around, join with slip st in first sc – 4 ch-2 spaces. Fasten off.
Center Strip (work a long strip across each side of Center Square).
With right side facing, join B (C), with slip st in any ch-2 space on Center Square.
Row 1: Ch 1, sc in same space, sc in next 3 sc, sc in next ch-2 space, turn – 5 sc.
Rows 2-26: Ch 1, sc in each sc across, turn.
Row 27: Ch 1, sc2tog in first 2 sts, sc in next sc, sc2tog in next 2 sts, turn – 3 sts.
Row 28: Ch 1, sc in first sc, skip next sc, sc in last sc, turn – 2 sc.
Row 29: Ch 2, slip st in next sc. Fasten off.
Repeat Center Strip across each remaining side of Center Square.
Large V-Strip
(work one Large V-Strip on all 4 sides of each Square).
With right side facing, leaving a 5” tail to begin, join E (D) with slip st in end of row 18 on left-hand edge of any Center Strip.
Row 1: Ch 1, sc in same row, sc in next 17 rows, sc in next 18 rows of strip to the left, turn – 36 sc.
Row 2: Ch 1, 2 sc in first st, sc in each st across to center 2 sts, skip next 2 sts, sc in each st across to last st, 2 sc in last st, turn – 36 sc.
Rows 3-5: Repeat Row 2. At end of row 5, fasten off leaving a 5” tail.
Note: There will be 18 sc on each side of Large V-Strip.
Repeat Large V-Strip across each remaining side of Square.
Small V-Strip
(work one Small V-Strip on all 4 sides of each Square).
With right side facing, leaving a 5” tail to begin, join B (C) with slip st in 9th st from top right-hand corner of Large V-Strip.
Row 1: Ch 1, sc in same sc, sc in next 9 sc to point of V, sc in next 10 sc on next side of V, turn – 20 sc.
Rows 2-5: Repeat Rows 2-5 of Large V-Strips. At end of Row 5, fasten off leaving a 5” tail.
Note: There will be 10 sc on each side of Small V-Strip.
Fill-In Row
(work one Fill-In Row across each side of Square).
Row 1: With right side facing, join A with slip st in end of Row 26 on left-hand side of any Center Strip, ch 1, *sc in end of next row, hdc in end of next row, dc in end of next 2 rows, tr in end of next 2 rows, dtr in end of next row*, slip st in end sc of next Large V-Strip; repeat from * to * once, slip st in end sc of next Small V-Strip; repeat from * to * once, dtr in end of next row, dtr dec worked over next 2 rows, dtr in end of next row, ** dtr in end of next row, tr in end of next 2 rows, dc in end of next 2 rows, hdc in end of next row, sc in end of next row, slip st in end of next row; repeat from ** twice, ending with slip st in end of Row 26 of next Center Strip. Fasten off.
Repeat Fill-In Row across each remaining side of Square. At end of last Fill-In Row, do not fasten off.
Square Edging
Round 1: Ch 1, sc in end of Rows 27 and 28 of same Center Strip, *(sc, ch 2, sc) in corner ch-2 space, sc in each st (including slip sts) across to next corner; repeat from * around; join with slip st in first sc – 57 sc on each side.
Round 2: Ch 1, sc in first sc, ch 1, skip next sc, sc in next sc; **ch 1, (sc, ch 2, sc) in corner ch-2 space, *ch 1, skip next sc, sc in next sc; repeat from * across to next corner; repeat from ** 3 times, ch 1, join with slip st in first sc – 29 ch-1 spaces on each side.
Round 3: Slip st in next ch-1 space, ch 1, (sc, ch 2, sc) in same space, skip next sc, **(sc, ch 4, sc) in corner ch-2 space, *(sc, ch 2, sc) in next ch-1 space, sc in next ch-1 space, repeat from * to across to next corner; repeat from ** 3 times; join with slip st in first sc. Fasten off.
Note: Round 3 is joining round. Complete Round 3 around first square, then join remaining squares together while completing Round 3 as follows:
To join: Work in pattern of Round 3, joining at ch-2 spaces and corner ch-4 spaces. To join at ch-2 spaces, ch 1, drop loop from hook, draw dropped loop under to over through corresponding ch-2 space on adjacent square, ch 1 and continue. To join at corners, ch 2, drop loop from hook, draw dropped loop under to over through corresponding ch-4 space on adjacent square, ch 2 and continue.
When joining on 2 sides, where 4 corners meet, work: ch 2, drop loop from hook, draw dropped loop under to over through opposite ch-4 space, ch 1, drop loop from hook, skip next corner space, draw dropped loop under to over through next corner ch-4 space, ch 2 and continue.
Border
Round 1: With right side facing, join A in 9th ch-2 space to the right of any corner ch-4 space, ch 1, sc in same ch-2 space, *ch 3, sc in next ch-2 space (or in next corner space at seams)*; repeat from * to * across to next corner, ch 3, (sc, ch 4, sc) in corner ch-4 space; repeat from ** 3 times, repeat from * to * to beginning, ch 1, hdc in first sc to join and form last ch 3 space – 48 ch-3 spaces on short sides and 64 ch-3 spaces on long sides.
Round 2: Ch 1, sc in same space, ** *ch 1, shell in next ch-3 space, ch 1, sc in next ch-3 space*; repeat from * to * across to space before center sc, ch 1, shell in next ch-3 space, ch 1, sc in next sc (this adjustment produces a shell at each end of side); repeat from * to * to next corner, ch 1, (sc, ch 1, shell, ch 1, and sc) in corner ch-4 space; repeat from ** 3 times; repeat from * to * to beginning, join with slip st in first sc.
Round 3: *Ch 3, (slip st, ch 3, slip st) in center dc of next shell, ch 3, slip st in next sc *; repeat from * to * around; join with slip st in first slip st. Fasten off.
Weave in ends. Block with wrong side facing.
Abbreviations
A, B, C, D, E = colors A, B, C, D, E;
ch = chain;
dc = double crochet;
mm = millimeters;
sc = single crochet;
[ ] = work directions in brackets the number of times specified;
* or ** = repeat whatever follows the * or ** as indicated.

- Funny Pictures
-
 Cool Memes to Take a Rest
-
 Memes That Describe Parenting the Best
-
 Hilarious and Cute Animals to Upper Your Mood
- Recipes
-
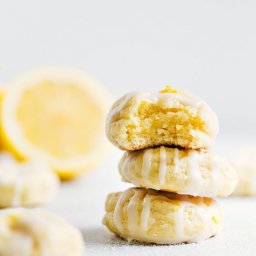 Lemon Cheesecake Cookies (Soft-Baked)
-
 Instant Pot Cabbage Soup
-
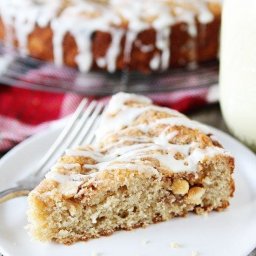 Eggnog White Chocolate Streusel Cake
- Lifehacks
-
 8 Necessary Tips for Baking Bread
-
 10 Uses For Old TV Armoires
-
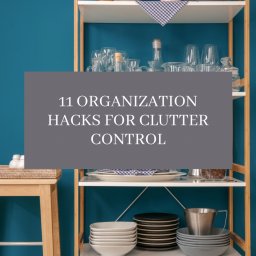 11 Organization Hacks for Clutter Control
- Crochet Ideas
-
 Crochet Sophia and Bennet Love Birds
-
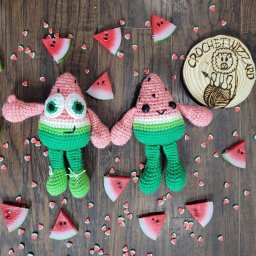 Crochet Watermelon Buddies Toys
-
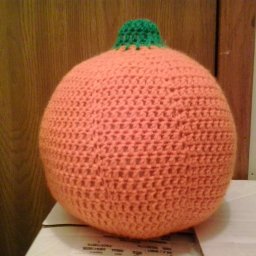 Crochet Large Pumpkin
- DIY
-
 DIY Beaded Christmas Tree
-
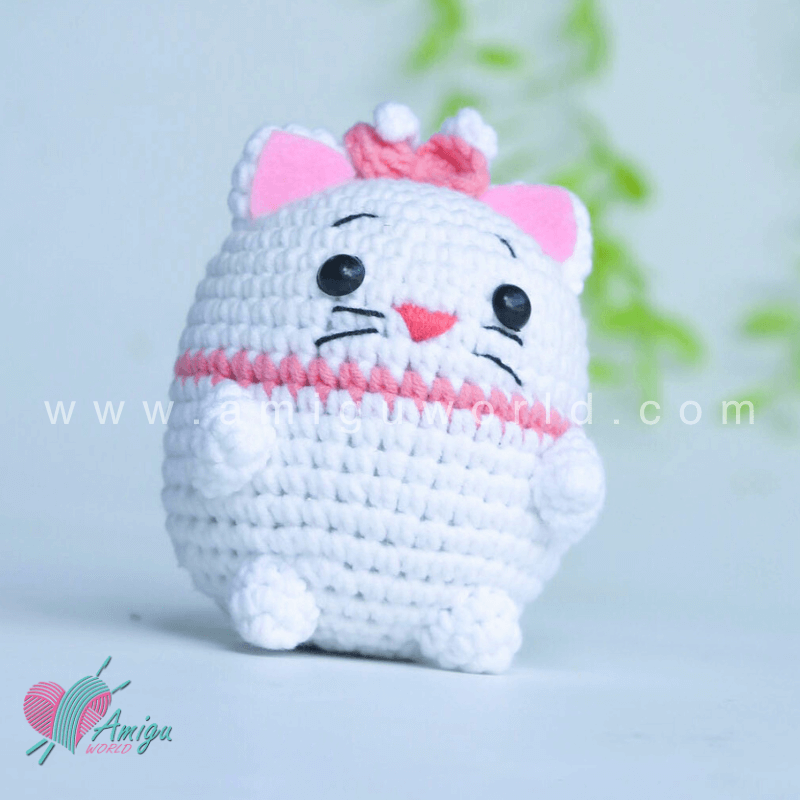 Crochet Chibi Marie Cat Amigurumi
-
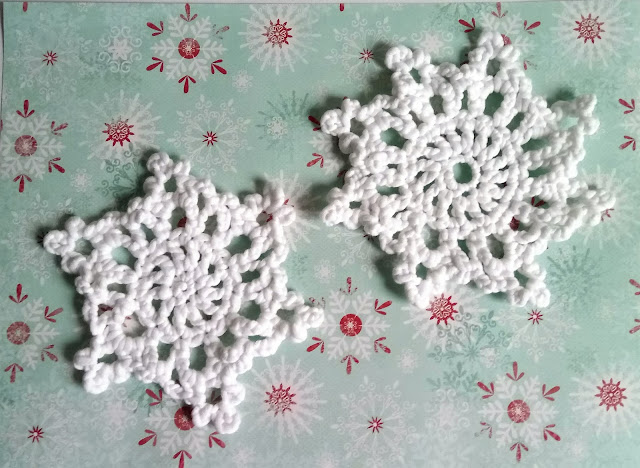 Crochet Beautiful Snowflakes
- Knitting Ideas
-
 Knitted Free 2025 Year Dishcloth
-
 Knitted Ribbed Adult Hat
-
 Knitted Checkers Blanket