How to Create a Charming Crocheted Dish Mat

Create a Charming and Practical Dish Mat
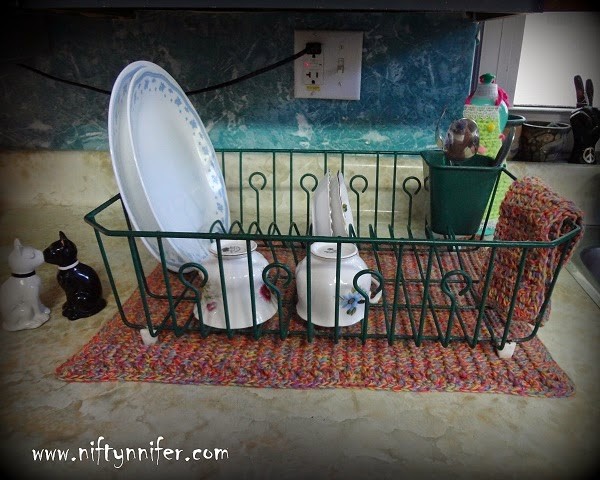
Create a charming and practical dish mat using the art of crocheting. This handmade piece will not only protect your countertops from scratches and spills but also add a touch of warmth and personality to your kitchen decor. By using different colors and stitches, you can customize the dish mat to match your kitchen's color scheme and style.
Crocheting a dish mat is a fun and relaxing project that allows you to unleash your creativity while also creating a useful item for your home. Whether you're a beginner or an experienced crocheter, making a dish mat is a rewarding and enjoyable project that will bring a handmade touch to your kitchen.
Materials Used
I used:
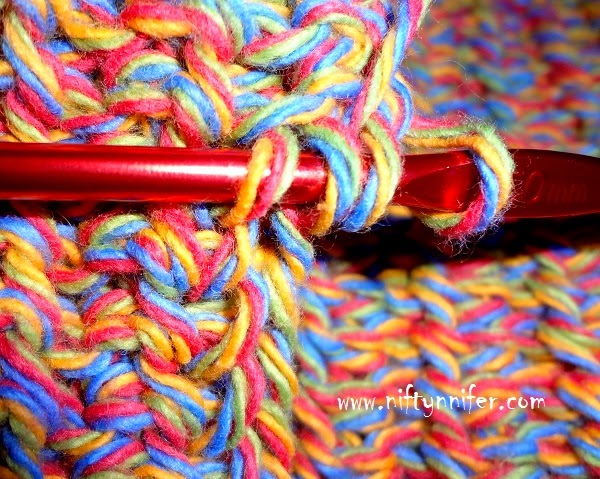
Bernat Handicrafter Cotton (4 ply, worsted weight). Color is 'Twisted Melon'.
4.5 MM hook.
Gauge
Approximately 20 Rows = 6 inches.
Approximately 22 sts = 6 inches
Note: 2 rows will almost appear to look like 1 row.
Finished Measurements
Approximately 18 1/2 inches x 13 inches.
Special Abbreviations
- ch...chain
- dc...double crochet
- st...stitch
- bl...back loop
- bl's....back loops
- ea....each
- yo...yarn over
- sc....single crochet
- ss....slip stitch
Instructions
Row 1:
Ch 47, dc in 4th ch from hook. Dc in ea st across. Ch 3. Turn
Row 2:
*Yo, insert hook into bl of next st and bl of foundation ch, yo, pull through both bl's, yo, pull through 2 loops on hook, yo, pull through last 3 loops on hook.* Repeat from * to * across.
Rows 3-60:
Repeat Row 2 working into the back of ea dc and dc of previous row.
You will be working down the sides of Rows
Row 61:
Ch 1. Turn. *Insert hook into bl of next st and bl of bl of previous rows dc, yo, pull through both bl's and loop on hook. Repeat from * to * across.
Border
Round 1:
Ch 1. Turn, Sc evenly around, place 2 sc in ea corner. Ss to join end.
Round 2:
Ch 1. Turn, Sc evenly around, place extra sc in ea corner as necessary to avoid curling of project. Ss to join end. Fasten Off.
- Funny Pictures
-
 Feline Memes to Feel Better
-
 Best Funny Pics of the Day Especially for You
-
 Pictures That Have No Right to be This Funny
- Recipes
-
 Strawberry Banana Bread
-
 Kraut-Tots
-
 Chocolate Delight Dessert
- Lifehacks
-
 7 Crochet Tips & Tricks
-
 Raspberry Crochet Stitch
-
 Crochet Tutorial: Popcorn Stitch + Printed PDF
- Crochet Ideas
-
 Crochet Snorlax Plushie Doll
-
 Crochet Cat in 1 Row
-
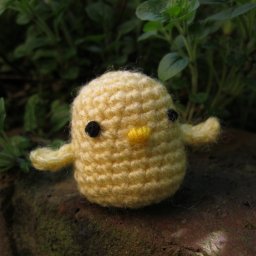 Crochet Tiny Chick Amigurumi
- DIY
-
 Popsicle Stick and Jingle Bell Christmas Tree Ornament
-
 Upcycled Mason Jar Chicken Vase
-
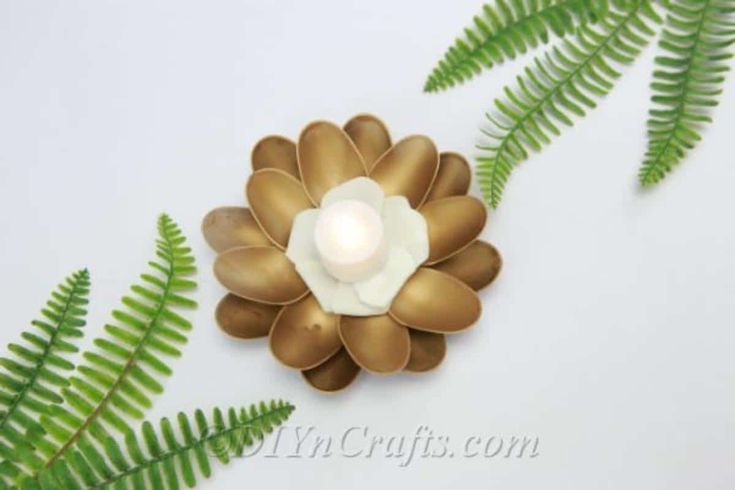 Make A Candle Holder From Plastic Spoons
- Knitting Ideas
-
 Knitted Newborn Striped Beanie
-
 Knitted Chunky Newborn Pixie Hat
-
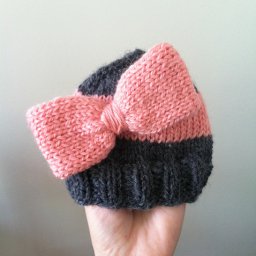 Knitted Big Bow Hat