How to Crochet a Delicate Handbag for Every Occasion

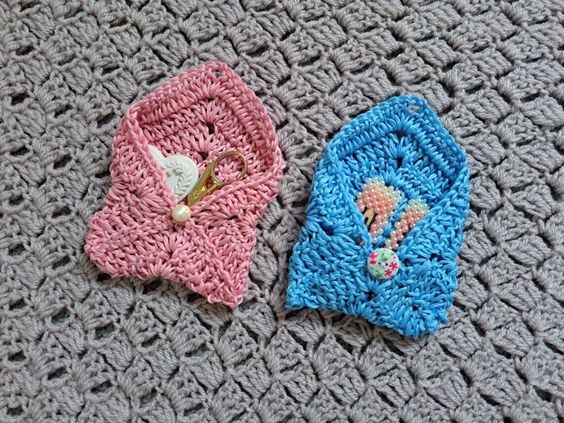
Create a dainty handbag using the art of crocheting. Craft a delicate purse with intricate patterns and designs, perfect for adding a touch of elegance to any outfit. Crocheting allows you to customize the size, shape, and color of the purse, making it a unique accessory that reflects your personal style. Whether you choose to use a fine yarn for a more delicate look or a thicker yarn for a sturdier feel, the possibilities are endless when it comes to crocheting a purse. Embrace the creativity and craftsmanship involved in crocheting a delicate purse.
From selecting the perfect yarn to mastering various crochet stitches, each step in the process adds to the beauty and charm of the final product. Whether you're a seasoned crocheter or a beginner looking to try something new, crocheting a delicate purse is a rewarding project that allows you to showcase your skills and create a timeless accessory that you can cherish for years to come. Let your imagination run wild as you crochet a purse that is as unique and special as you are.
Project Level
Level: Easy +
Gauge
Gauge is not crucial for completion of this project.
Size of Finished Project
4”x4” (10×10 cm)
Notes
I will be using US terms (British terms in brackets).
You can find the video tutorial for this project here:
Materials
- 1 skein each of Drops Muskat yarn in shade 02 Light Blue and shade 06 Desert Rose
- A 4.5 mm crochet hook
- Pair of scissors
- A tapestry needle
- Darning needle and thread
- A 15” floral button or small pearl button
Abbreviations
- Ch: chain
- Sl st: slip stitch
- St: stitch
- SC: Single Crochet (UK Double Crochet)
- DC: Double Crochet (UK Treble Crochet)
- EOR: End of round
Pattern Begins Here
For this project, we will start by crocheting the initial square, before folding it as shown in the photographs below (see pattern).
Once this square is folded, we will be sewing it to seam in the purse. Once this is done, the button will be sewn onto the project.
Begin Pattern Here
To start, make a slip knot.
Ch 4, sl st to form a ring.
Round Instructions
Round 1: Ch 3 (=DC), place 2 DC inside the ring, [ch 2, 3 DC] 3 more times, ch 2, sl st to beginning ch 3 to close off round.
Round 2: Ch 3 (=DC), turn your work; in ch 2 space from previous row (=corner), place [2 DC, ch 2, 2 DC] inside space. *Place a DC into each DC from previous row; once you reach ch 2 sp from previous row (=corner), place [2 DC, ch 2, 2 DC] inside space**.
Repeat from * to ** 2 more times.
Place a DC into each DC from previous row until you reach ch 3 from beginning. Sl st to ch 3 from beginning to close off round.
Round 3: Ch 3 (=DC), DC into each DC from previous round until you reach ch 2 (=corner); *[2 DC, ch 2, 2 DC] inside ch 2 space, place a DC into each DC from previous round **. Repeat from * until **, slip stitch to ch 3 from beginning to close off round.
Round 4-5: Repeat row 3.
Fasten off.
Note: Make sure you count all your DC at each round to ensure you have the right amount of DC for each round.
Sew in your loose end from the center of square (beginning tail of project), so that your square doesn’t unravel.
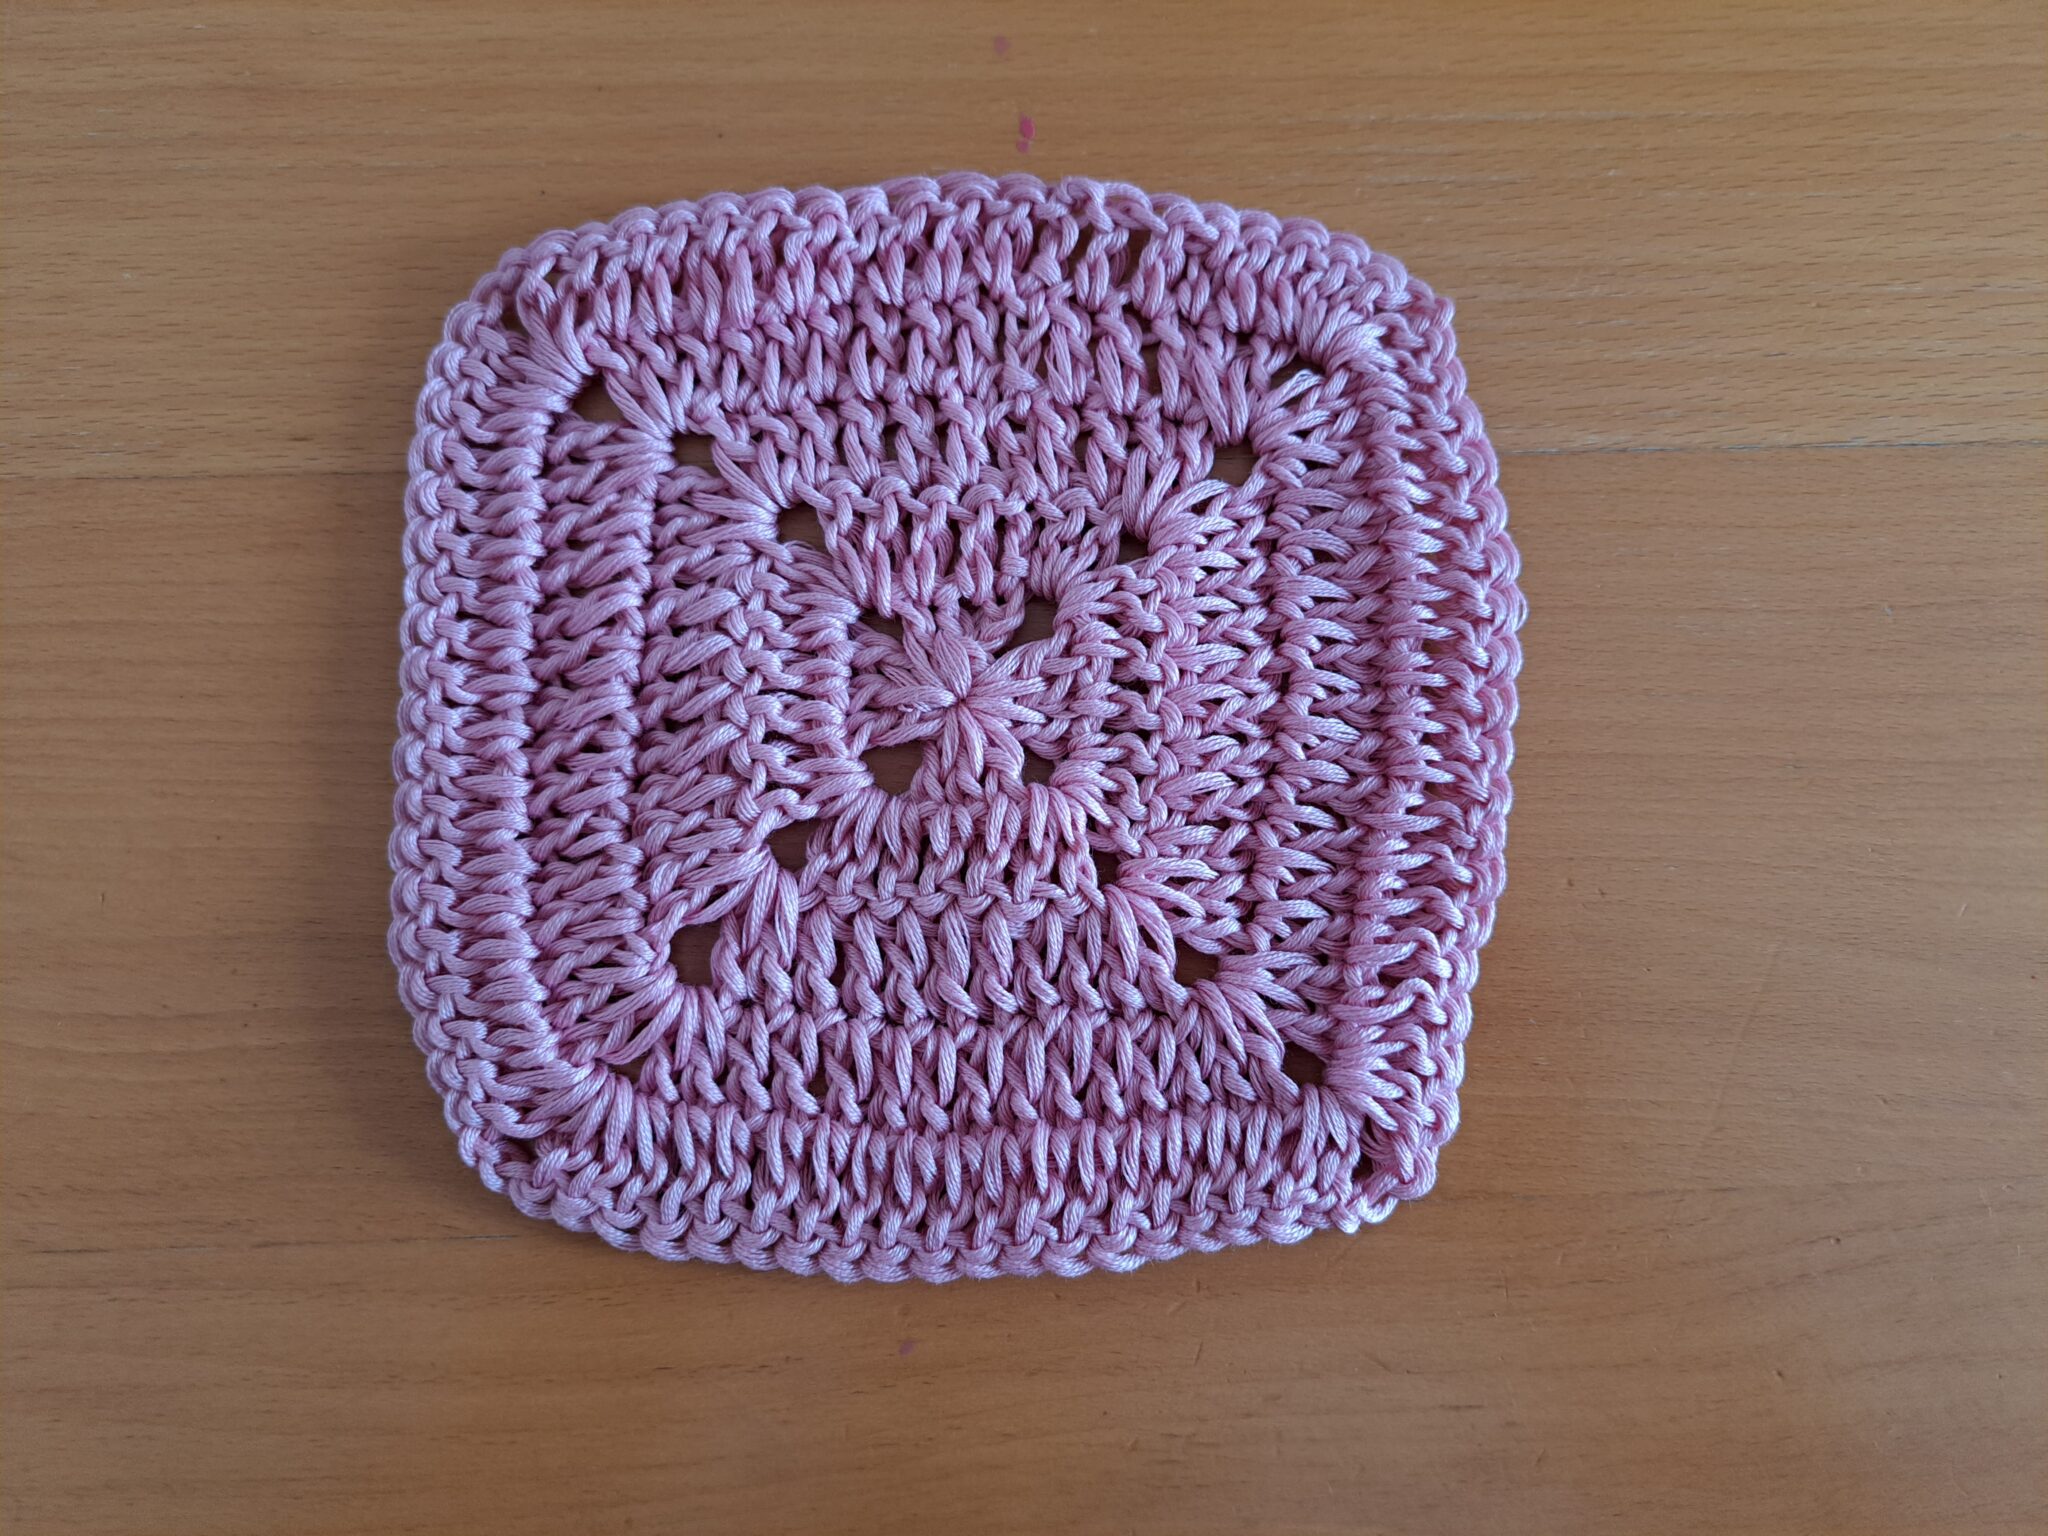
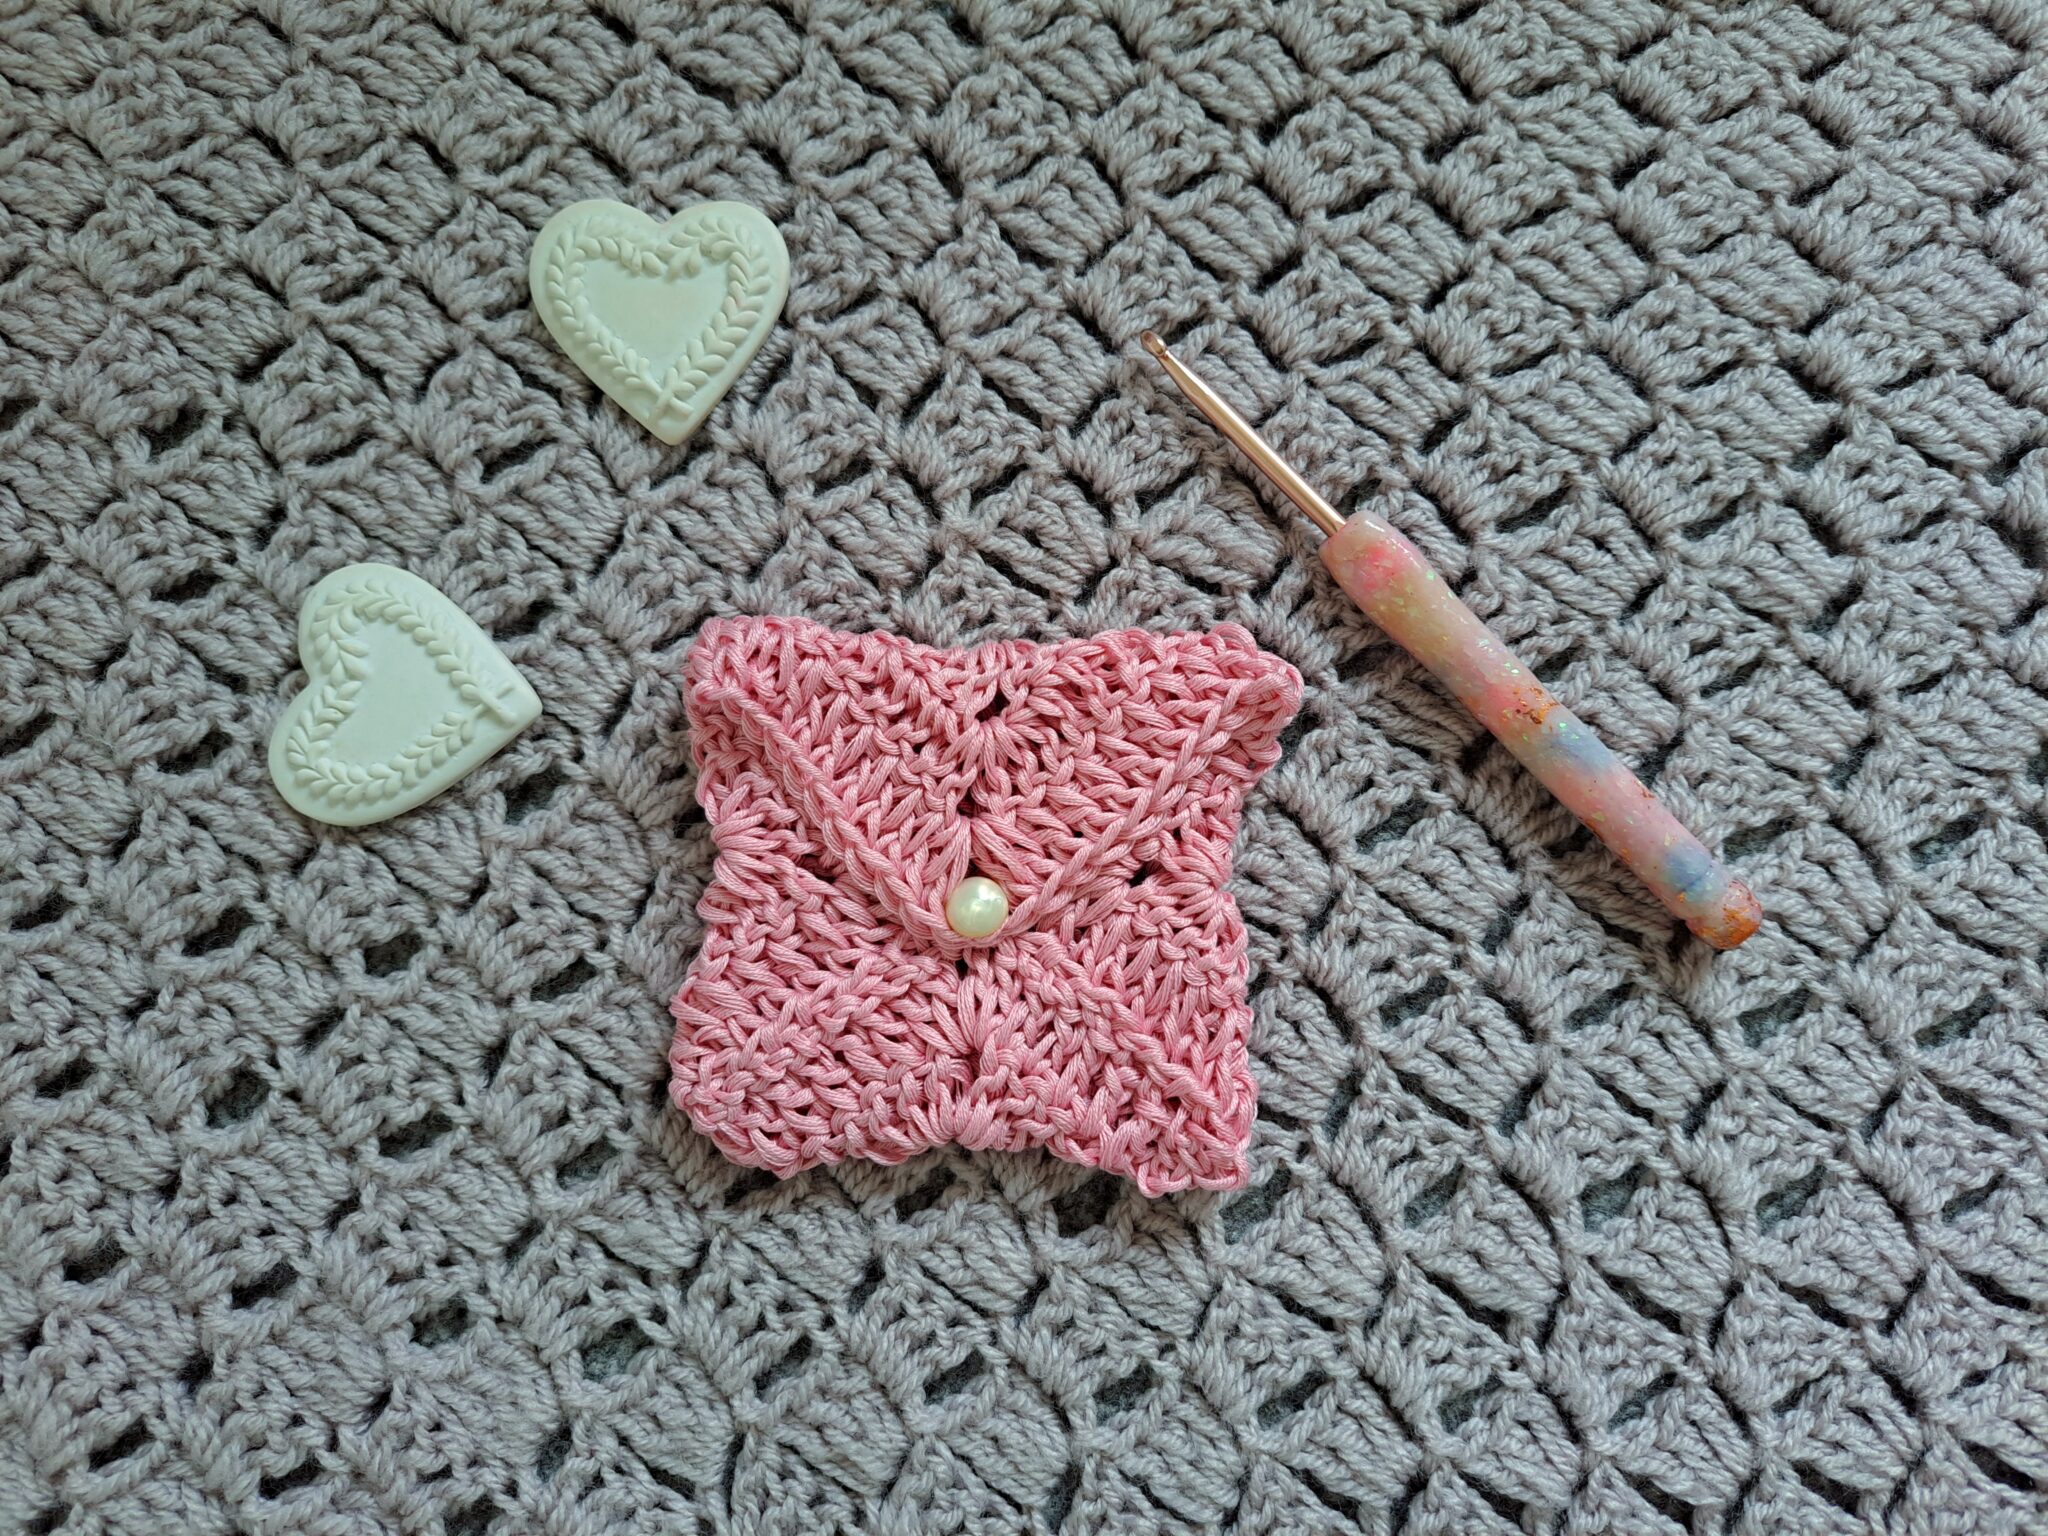
5 rows of full granny square
Fold Project as Shown in Photograph
Place your square on a flat surface. Fold 3 of the sides over as demonstrated in photograph. Sew in the seams to secure the shape of the purse.
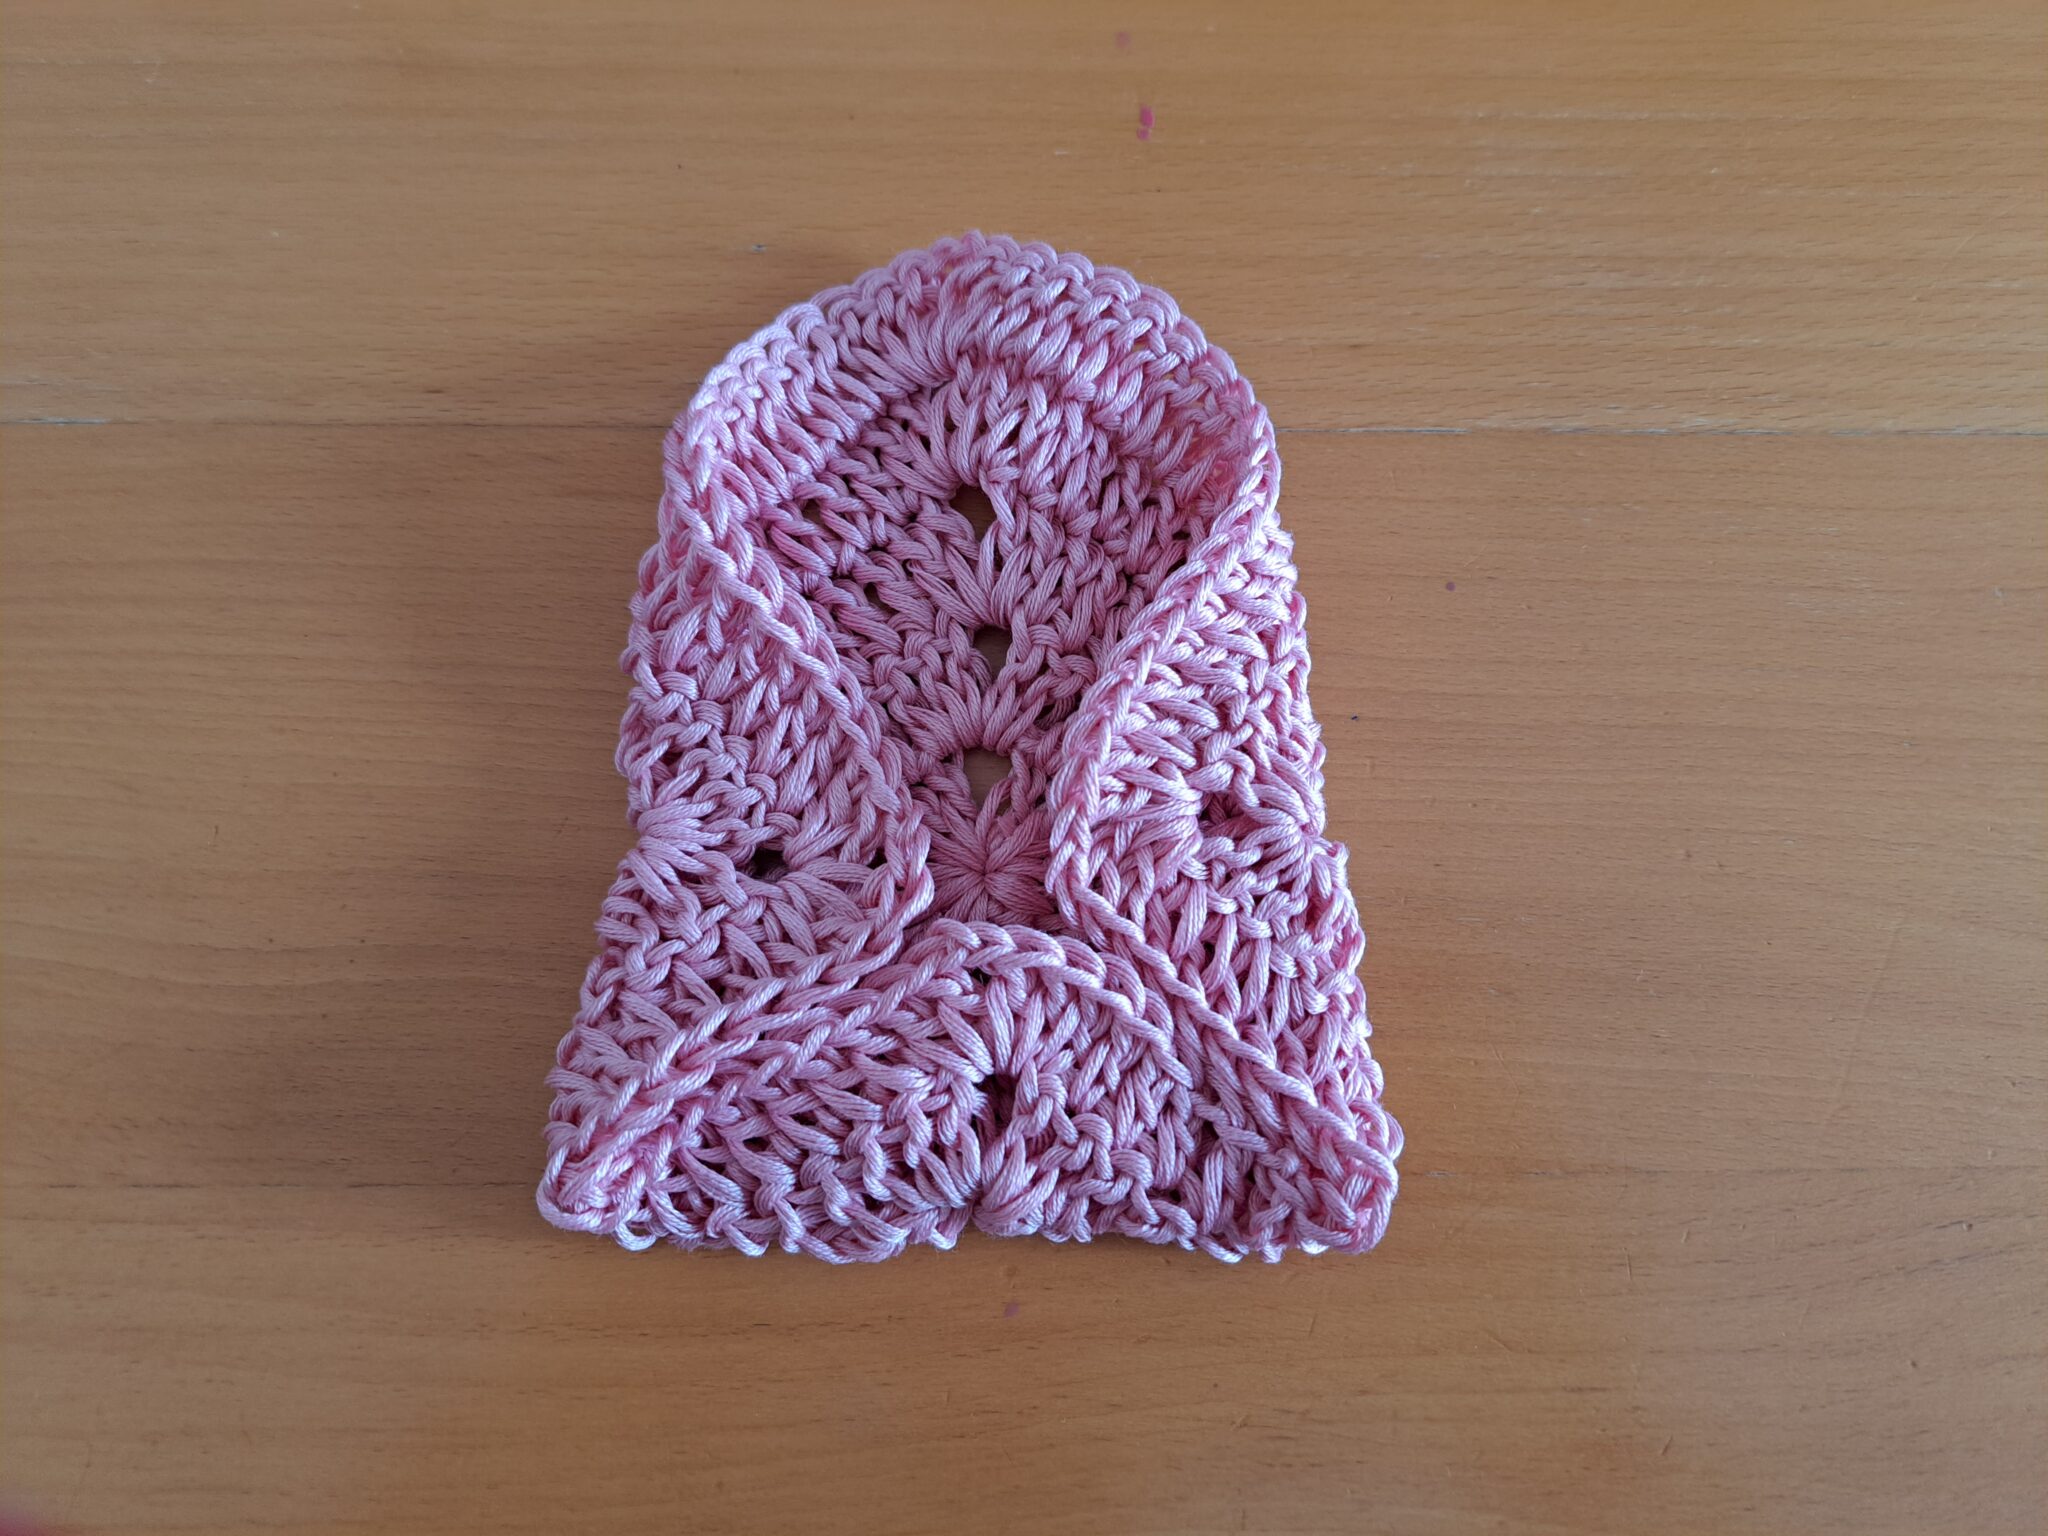
Fold square over and sew in seams.
Sew on the button at the center opening of the purse with darning needle and thread.
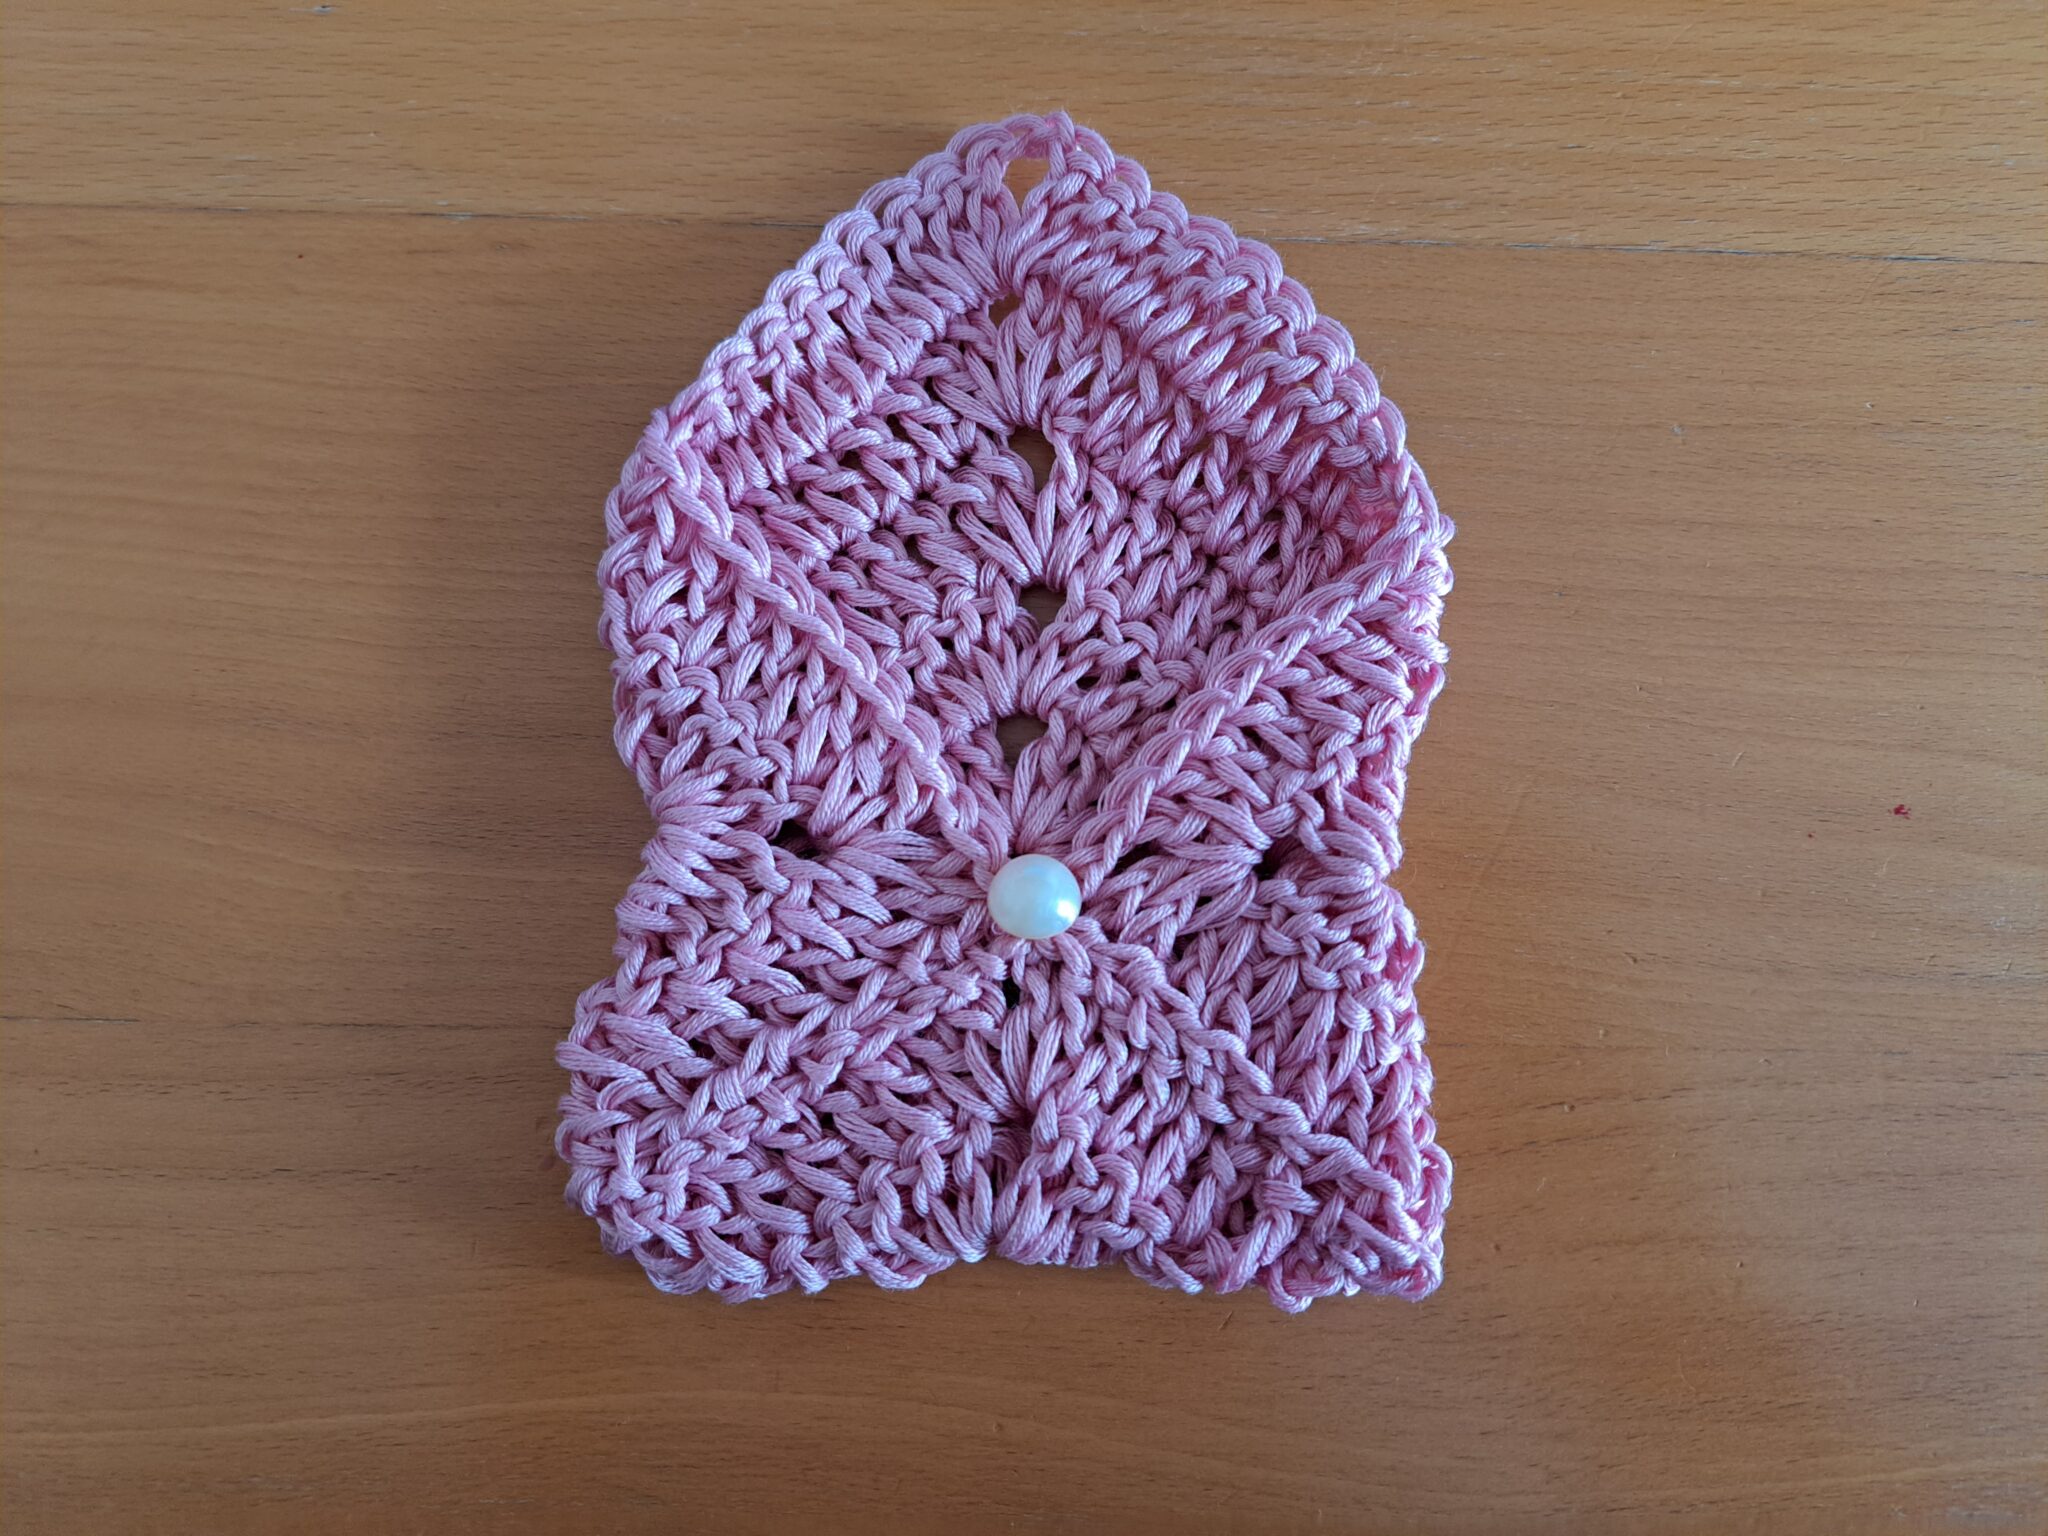
Sew button into project.
Fasten off and tidy up all loose ends.
If you wish to do so, you can line your crochet purse.
This purse is so perfect to store small things.
- Funny Pictures
-
 Hilarious Memes for Those Bored to Tears
-
 Weekly Treat of Funniest Parenting Memes for Good Laugh out Loud Right Now
-
 Really Funny Pics to End These Weekend Perfectly
- Recipes
-
 Crispy Baked Avocado Fries
-
 Scrambled Chickpea and Spinach Pitas
-
 Cinnamon Pancakes
- Lifehacks
-
 Crochet Basics: Aligned Cobble Stitch
-
 Brick Stitch Crochet Tutorial
-
 Crochet Basics: Wattle Stitch
- Crochet Ideas
-
 Crochet Snorlax Plushie Doll
-
 Crochet Beautiful Penguin Toy
-
 Crochet Tiny Snowman
- DIY
-
 DIY Santa Craft For Kids
-
 Paper Plate Angel Craft
-
 Upcycled Mason Jar Chicken Vase
- Knitting Ideas
-
 Knitted Bridger Cowl
-
 Knitted Keepsake Bag
-
 Knitted Cutie Cupcake Dolls