Crochet Casserole Tote: The Perfect Accessory for Dish Transport

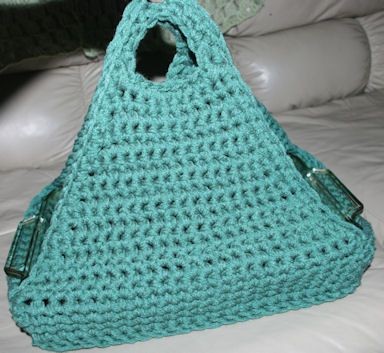
Introducing the Crochet Casserole Tote, a stylish and practical accessory that will revolutionize the way you transport your favorite dishes! This innovative tote is designed specifically for carrying your delicious casseroles with ease and elegance. Made from high-quality crochet material, it not only provides excellent insulation to keep your food warm, but also adds a touch of charm to your culinary adventures.
With the Crochet Casserole Tote, you no longer have to worry about awkwardly balancing your hot dish or using flimsy disposable containers. This tote is not only practical but also environmentally friendly, as it eliminates the need for single-use packaging. Whether you're heading to a friend's house for a dinner party or bringing a homemade casserole to a potluck, this tote will keep your dish warm and secure, ensuring that it arrives in perfect condition. Upgrade your culinary game with the Crochet Casserole Tote and make a statement wherever you go!
Materials
Red Heart Super Saver Yarn
- 4 ply, worsted weight (Dark Spruce-less than 8 ounces)
- Hook: Size P
Stitches Used
- ch
- sl st
- sc
- fp sc
- sc2tog
Techniques
Front Post Single Crochet (FP SC)
Insert hook from the front side of the work right to left around the post of the indicated stitch on a previous row; yo and draw through two lps.
SC2TOG
Insert hook in next st, draw up a lp, (two lps on hk), insert hook in next st, draw up a lp (3 lps on hook), YO and draw through all 3 lps.
Difficulty Level
Difficulty: Medium/Difficult
Pattern Instructions
Note: Entire pattern is worked holding two strands together. I worked from both ends of one skein of yarn for this pattern.
Starting Rows
RND 1: Holding both strands together, Ch24. Sc in the 2nd ch from the hook. Sc in ea rem ch. (23 sc)
ROWS 2-17: Ch1, turn. Sc in ea st.
RND 18: (begin rounds) Ch1, turn. Sc in ea st and in ea row end, placing 2 sc in ea corner st. Join with a sl st in the first st.
- (16 sc in ea end and 25 on the first and last rows for a total of 82 sc)
Continuing Rows
RND 19: Ch1, do not turn. FP SC around ea sc. (82 fp sc) Join with a sl st in the first st.
RND 20: Ch1, turn. Sc in ea st. Join with a sl st in the first st made. (82 sc)
RND 21: Ch1, do not turn. Sc in ea st. Join with sl st in first st made. (82 sc)
ROWS 22-23: Rep R21. (82 sc)
Fasten off.
Handle Construction
Note: Stop here and mark your 4 corner stitches. You should have 23 sc between markers on the long sides and 16 sc between markers on short sides.
Long Sides (Handles - Make 2)
RND 1: Working in ea of the 23 sts between markers on one long side, join w/sc in 1st sc. Sc in ea rem st across.
ROWS 2-4: Ch1, turn. Sc in ea st. (23 sts)
Shaping the Handle
- RND 5: Ch1, turn. Sc2tog. Sc in ea st across to last 2 sts. Sc2tog. (21 sts)
- RND 6: Ch1, turn. Sc in ea st. (21 sts)
- RND 7: Rep R5. (19 sts)
- RND 8: Rep R6.
- RND 9: Rep R5. (17 sts)
- RND 10: Rep R6.
- RND 11: Rep R5. (15 sts)
- RND 12: Rep R6.
- RND 13: Rep R5. (13 sts)
- RND 14: Rep R6.
- RND 15: Rep R5. (11 sts)
- RND 16: Rep R6.
- RND 17: Rep R5. (9 sts)
Finalizing the Handle
RND 18: Ch1, turn. Sc 1 row below first st. Sc in same st. Ch7, sk next 7 sts. Sc in last st. Sc in row below last st. (4 sts and 7 chs)
RND 19: Ch1, turn. Sc2tog. Sc in hump of next 7 chs. Sc2tog.
FASTEN OFF.
Edge Finishing
Work same for opposite side but do not fasten off.
EDGE: Ch1, do not turn. Sc in ea row end down to the first marker.
*Sk marked st. Sc2tog. Sc in ea st across to 2 sts before the next marked st. Sc2tog. Sk marked st. Sc in ea row end and in ea st ** until you get to the next marker.
Rep from * to ** once.
Join with a sl st in the first sc.
Fasten off.
- Funny Pictures
-
 Cat Memes to Make You Smile
-
 Funny Cat Pictures Because Caturday is Almost Here
-
 Funny Work Memes to Take Your Mind off of Emails and Deadlines for Just a Moment
- Recipes
-
 Lemon Cheesecake Cookies (Soft-Baked)
-
 Instant Pot Cabbage Soup
-
 Raspberry Bakewell Cake
- Lifehacks
-
 Russian Join for Crocheting and Knitting
-
 11 Organization Hacks for Clutter Control
-
 Tips for Washing Yellowed Pillows
- Crochet Ideas
-
 Crochet Sophia and Bennet Love Birds
-
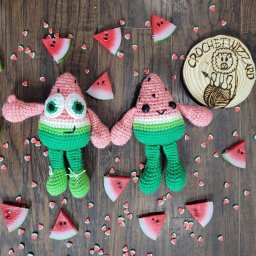 Crochet Watermelon Buddies Toys
-
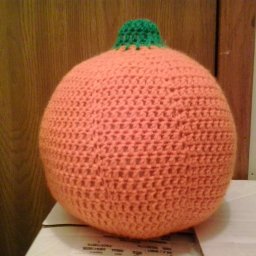 Crochet Large Pumpkin
- DIY
-
 DIY Beaded Christmas Tree
-
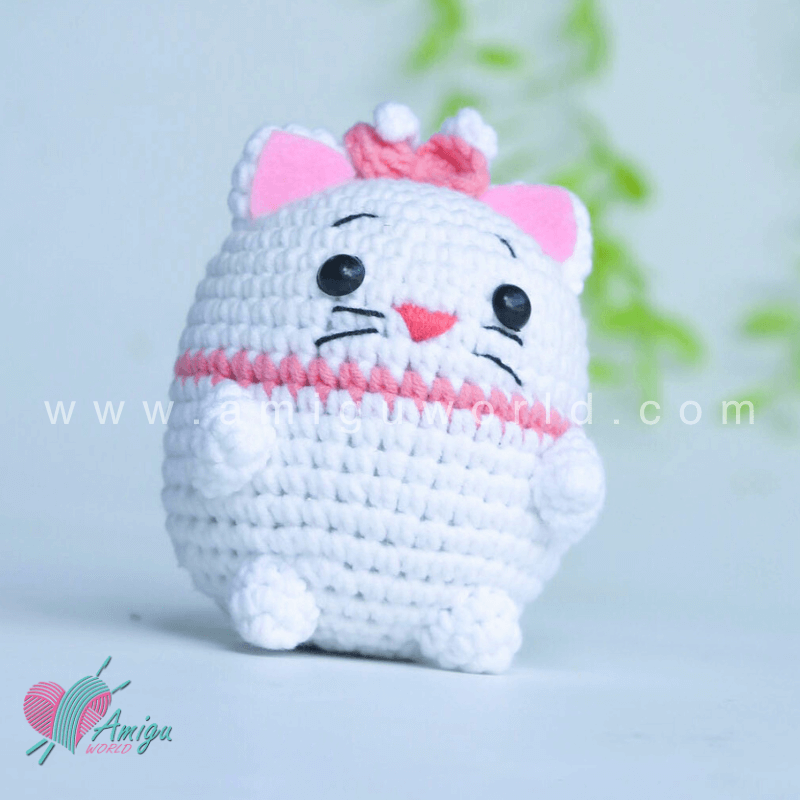 Crochet Chibi Marie Cat Amigurumi
-
 Crochet Beautiful Snowflakes
- Knitting Ideas
-
 Knitted Ribbed Adult Hat
-
 Knitted Checkers Blanket
-
 Knitted Oak Tree Leaf Square Washcloth