

How to Crochet a Stylish Top Using Mélange Tulip Yarn


You’ll Need:
300g of mélange Tulip yarn (100% microfiber; 250m/50g);
Crochet hook 1.8.
Size:
S.Stitches Control:
26 sts = 10 cm.Instructions
Front
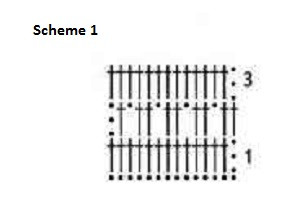
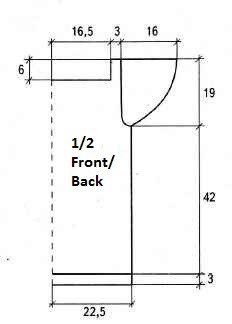
Make a chain of 45 cm long and work according to scheme 1 for 3 rows. Then, make 42 cm of the main pattern. Make decreases for arm-holes, matching with pattern design. The width of arm-hole is 3 cm. Crochet 6 cm straight, then make 3 rows according to scheme 1 and make 1 row of * 3 half crochets, picot of 3 chain sts*; repeat from * to * to the end of row. Cut the yarn.
Back
Make in the same way as front, but after making the arm-hole, crochet straight for 8 cm and then 3 rows according to scheme 1 and 1 row of * 3 half crochets, picot of 3 chain sts*; repeat from * to * to the end of row. Cut the yarn.
Assembly
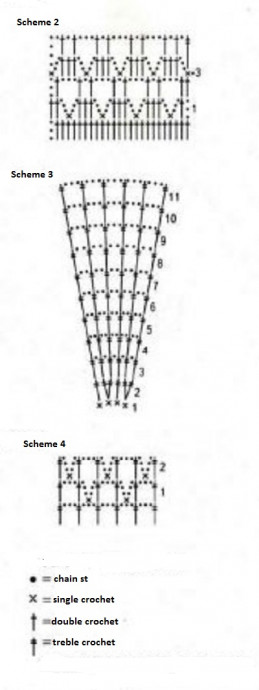
Make 2 straps according to scheme 1 for 12 cm long. Make side seams. Sew straps. Make stitches along the upper edge of arm-hole and sew cap sleeve according to scheme 3. Fasten the edges of sleeve with fringe according to scheme 4.
- Funny Pictures
-
 Fresh Animal Memes to Mix in Your Morning Coffee
-
 The Funniest Tweets of the Day
-
 Hilarious Tweets to Get Your Thoughts Clear
- Recipes
-
 Crispy Bean Tostadas with Smashed Avocado and Jicama-Cilantro Slaw
-
 Mango “Burrito” Bowls with Crispy Tofu and Peanut Sauce
-
 Baklava Granola
- Lifehacks
-
 Crochet Tutorial: Textured Bobble Stitch
-
 Crochet Tutorial: Brick Stitch
-
 Crochet Wheat Stitch Tutorial
- Crochet Ideas
-
 Crochet Pumpkin Bear
-
 Crochet Santa Placemat
-
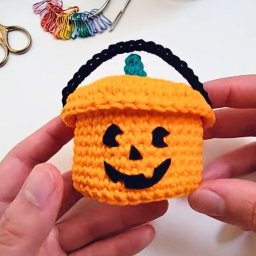 Crochet Mini Boo Bucket for Treats and Decor
- DIY
-
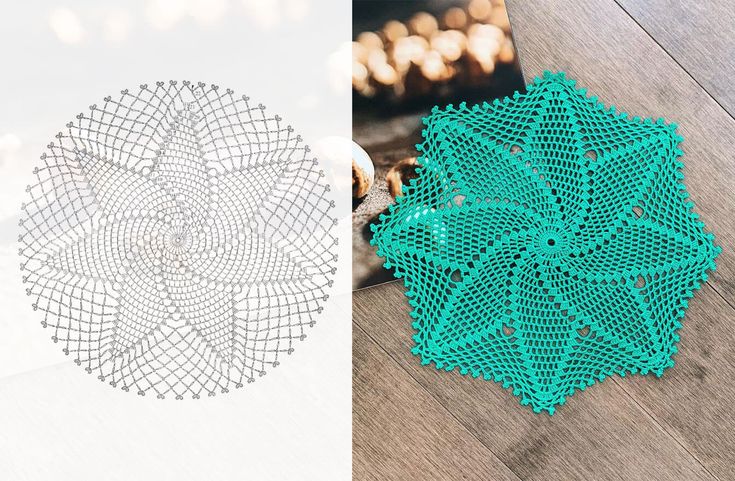 Make a Crochet Spiral Star Doily — Free US-Term Pattern & Tips
-
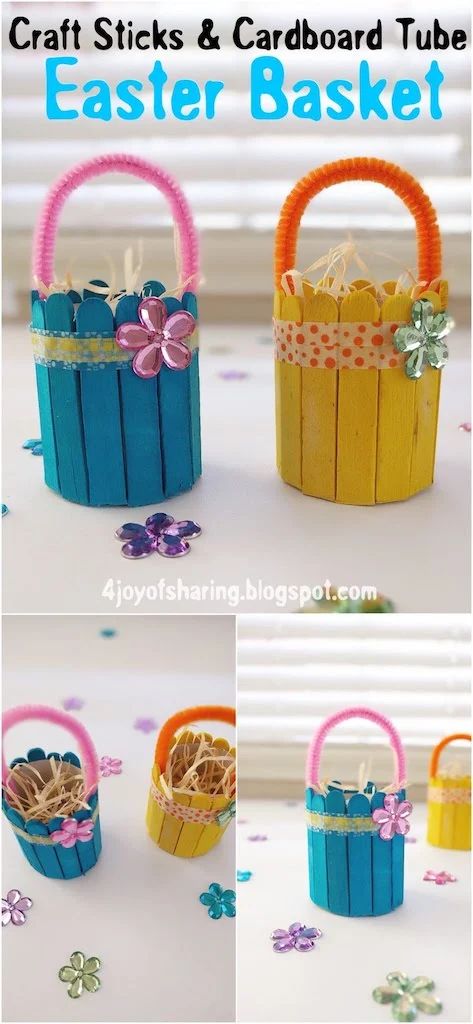 Easy DIY Easter Basket from Craft Sticks and a Cardboard Tube — Step-by-Step
-
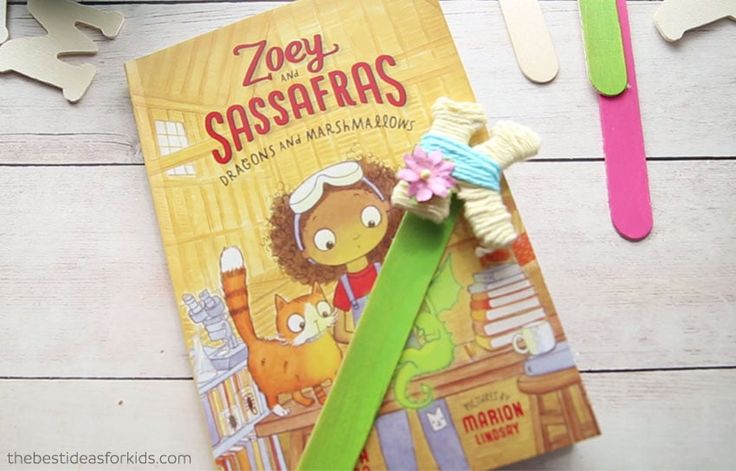 DIY Yarn-Wrapped Letter Bookmarks — Cute Personalized Bookmarks in Minutes
- Knitting Ideas
-
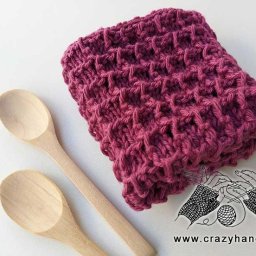 DIY Knitted Waffle Kitchen Towel — Easy Pattern for a Textured, Absorbent Cotton Towel
-
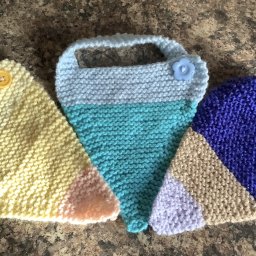 Make an Adorable Knitted Scrappy Bandana Bib — Easy Garter-Stitch Baby Pattern
-
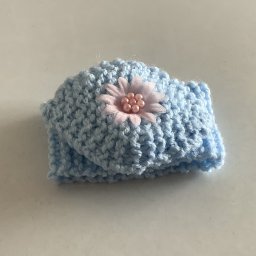 Quick & Cozy Knitted Wrist Pincushion — Easy Pattern and Step‑by‑Step Instructions