How to Crochet Stylish Slippers: A Complete Guide

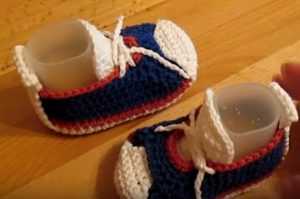
Introduction
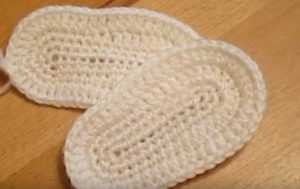
At first, crochet the sole. Cast on 12 ps and make oval detail from 4 circle rows.
Creating the Edge Rows
The work goes to the edge rows, for this they are hooked onto the back side of the base, and vertical sides are obtained. Make 1 BP dc, then one red one and make a smooth transition to blue.
Beginner Tips
Advice for beginners! To change the thread neatly and invisibly, the last two sts on the hook are crocheted with a yarn of a new color.
Reducing Stitches
Count 12 sts from the center of the shoe tip on both sides, then make a smooth reduction of 3 sts to the left and right of the central st.
Creating the Shoe Nose
On the nose of the shoe, 5 sts are not knitted, and instead of them, make 5 ps, which form the desired hole. With a blue yarn, make 5 circular rows, and crochet a cantina with a bright red thread.
Crafting the Rear Tongue
Use 7 base sts for crocheting the rear tongue. Those with free front are taken.
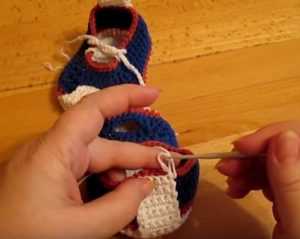
Building the Slipper Height
The slipper is made to the desired height in straight and reverse rows, connected to the sts of the red row, bent and fixed with a needle with a working thread.
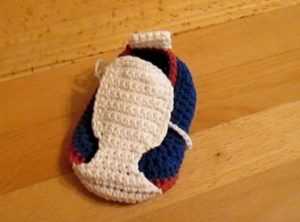
Final Touches
Similarly, the rear part in front fits a slipper 10 sts from the base.
Weave all the ends.