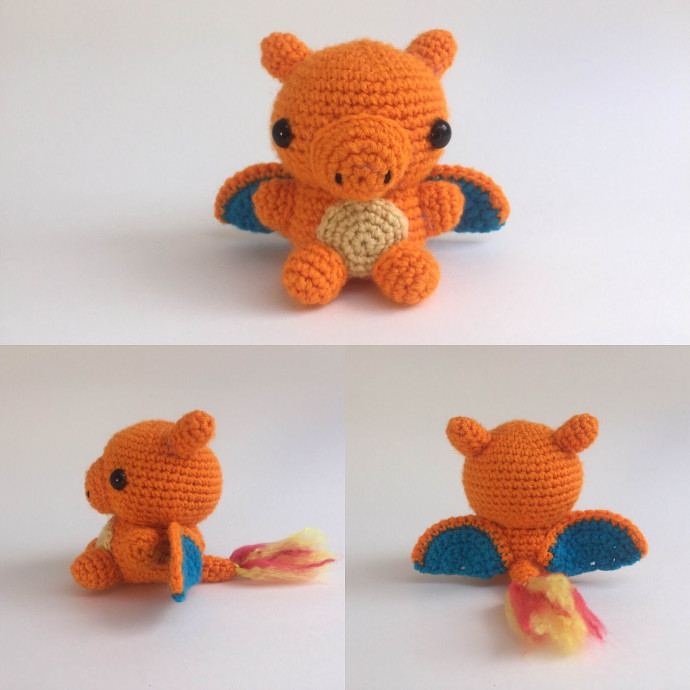
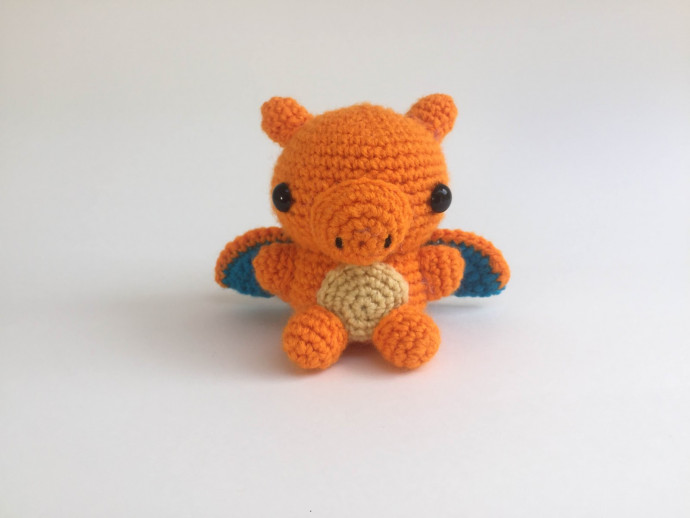
How to Crochet a Colorful 5-Inch Stuffed Animal

You’ll Need:
Lion Brand yarn in yellow, red, orange, black, beige, and teal colors;
Crochet hook 4 mm;
Yarn needle for sewing;
Stitch marker;
Fiberfill for stuffing;
Two 12mm safety eyes;
Pet hair brush.
Size:
5” tall.
Instructions
Head/Body
(Begin in Orange)
RND 1: Magic Ring 6 (6)
RND 2: [Inc] x 6 (12)
RND 3: [Sc, Inc] around (18)
RND 4: [Sc 2, Inc] around (24)
RND 5: [Sc 3, Inc] around (30)
RND 6: [Sc 4, Inc] around (36)
RND 7: [Sc 5, Inc] around (42)
RND 8-14: Sc around (42) *Place eyes in row 12, 3 stitches away from the snout on each side. It might be helpful to sew on the snout so you know where the eyes will look best!*
RND 15: [Sc 5, Dec] around (36)
RND 16: [Sc 4, Dec] around (30)
RND 17: [Sc 3, Dec] around (24)
RND 18: [Sc 2, Dec] around (18)
RND 19: [Inc] around in Front Loop only (36) Begin stuffing head firmly
RND 20-24: Sc around (36)
RND 25: [Sc 4, Dec] around (30)
RND 26: [Sc 3, Dec] around (24)
RND 27: [Sc 2, Dec] around (18)
*You can stuff the body now or wait till the end. Don’t stuff the body as firmly as the head. Let the body be a little squishy so it can sit!*
RND 28: [Sc, Dec] around (12)
Finish off and leave tail to close hole
Snout
(Begin in orange)
RND 1: Magic Ring 6 (6)
RND 2: [Inc] around (12)
RND 3: [Sc, Inc] around (18)
RND 4-5: Sc around (18)
Finish off and leave a long enough tail to attach
Arms (Make 2)
(Begin in orange)
RND 1: Magic Ring 6 (6)
RND 2: [Inc] x 6 (12)
RND 3-4: Sc around (12)
Finish off and leave a long enough tail to attach
Legs (Make 2)
(Begin in orange)
RND 1: Magic Ring 6 (6)
RND 2: [Inc] x 6 (12)
RND 3-5: Sc around (12)
Finish off and leave a long enough tail to attach
Stomach
(Begin in Beige)
RND 1: Magic Ring 6 (6)
RND 2: [Inc] around (12)
RND 3: [Sc, Inc] around (18)
RND 4: [Sc 2, Inc] around (24)
Finish off and leave a long enough tail to attach
Ears (Make 2)
(Begin in orange)
RND 1: Magic Ring 6 (6)
RND 2: [Sc, Inc] around (9)
RND 3-5: Sc around (9)
Finish off and leave a long enough tail to attach
Wings (Make 2)
(Begin in Teal)
RND 1: Magic Ring 8 (8)
RND 2: Ch 1, turn. Sc across (8)
RND 3: Ch 1, turn. [Sc, Inc] across (12)
RND 4: Switch to orange, Ch 1, turn. Sc across (12)
Finish off and leave a long enough tail to attach
Tail
(Begin in orange)
RND 1: Magic Ring (5)
RND 2: [Sc 4, Inc] around (6)
RND 3: Sc around (6)
RND 4: [Sc 5, Inc] around (7)
RND 5: [Sc 6, Inc] around (8)
RND 6: [Sc 7, Inc] around (9)
RND 7: Sc around (9)
Finish off and leave a long enough tail to attach
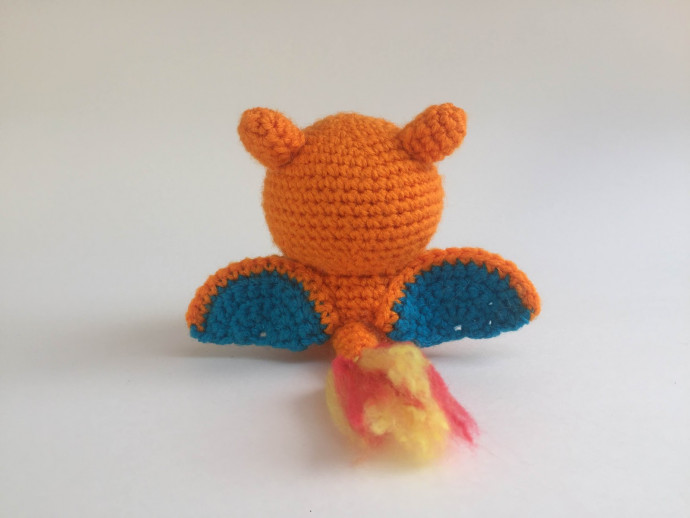
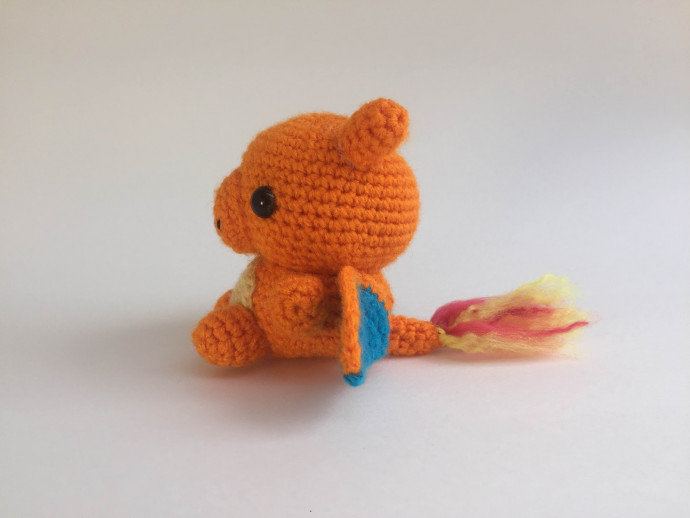
Assembly
Start attaching the arms to the sides, lightly stuffed. Afterward, attach the legs that will also be lightly stuffed. You can either attach them straight forward or slightly going to the side. But make sure to pin them so they will sit! With those limbs attached, you can now sew on the ears to the top of the head, which will also be stuffed. The wings will be attached to the back, but it might be easier to attach the tail first to ensure the wings are centered! The tail will give him support to sit up straight! Now embroider the nostrils with black yarn. For the tail, pull through different strands of red and yellow yarn through the end of the tail. Now that those are in place, take a pet brush and start brushing out the yarn until it looks fluffy!