Create Your Own Cozy Crochet Book Cover

Crochet Book Cover Overview
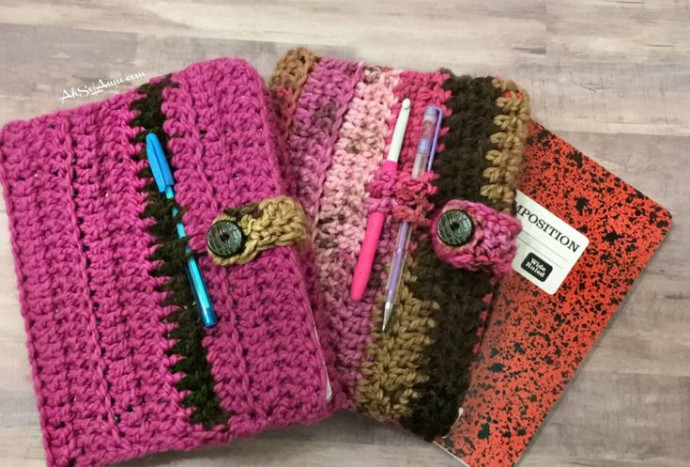
Crochet book covers are a fantastic way to add a touch of charm and creativity to your favorite reads. Not only do they protect your books from wear and tear, but they also showcase your personal style. With endless color and design possibilities, crafting a crochet book cover allows you to tailor it to your liking. Imagine snuggling up with a book wrapped in a cozy, handmade cover that reflects your unique flair. Whether you're embellishing a novel, journal, or textbook, a crochet book cover is sure to make reading even more delightful!
Materials
- 1 skein of 5 bulk yarn, Charisma Yarn - Loops and Thread
- Size 8 mm crochet hook
- Yarn Needle
- Scissors
- Stitch Marker
Abbreviations (US Terms)
- CH - Chain Stitch
- DC - Double Crochet Stitch
- DC BLO - Double Crochet in Back Loop Only
- SL ST - Slip Stitch
- TW - Turn Your Work
- Yarn Color – A - Color 1
- B - Color 2
Pattern Notes
This project uses 1 skein of Charisma Yarn - 5 bulk, but you can use any yarn that is a bulk 5 and the pattern below will work.
If you choose to change colors, then you will need 2 skeins.
If you use a smaller weight yarn (with a smaller size crochet hook), ensure to create your foundation chain to fit the width of the notebook (measuring up and down). You’ll also need to adjust the number of rows to make sure that the crochet fabric will wrap around the book snugly.
Written Instructions
CH 27 (odd number of stitches), Color A.
NOTE: Be sure not to pull your yarn too tight around your hook, or it will be difficult to work the stitches in the foundation chain.
Row 2 – 3rd stitch from hook place DC in each stitch across, CH 3 TW.
Row 3 - DC BLO each stitch across, CH 3 TW. NOTE: CH 3 will count as the first stitch in the row.
Row 4-7 - DC BLO each stitch across, CH 3 TW.
Change Yarn to Color B
Row 8 - Change Yarn B (to create stripe) DC each stitch across, CH 3 TW.
Every 3 Rows, change yarn color, alternating between Color A, then Color B, then Color C.
Row 9 - Change Yarn A (return to original yarn cover) DC BLO each stitch across, CH 3 TW.
Row 10-23 - DC BLO each stitch across, CH 3 TW.
Row 24 - DC BLO each stitch across, fasten off, cut yarn.
NOTE: The CH stitch will NOT count as the first stitch in the row. Be sure to complete a DC in the last turning chain stitch.
Constructing Inner Flaps/Sleeve
Fold the crochet swatch over the front cover to create a flap that is approximately 3 inches or 4 rows.
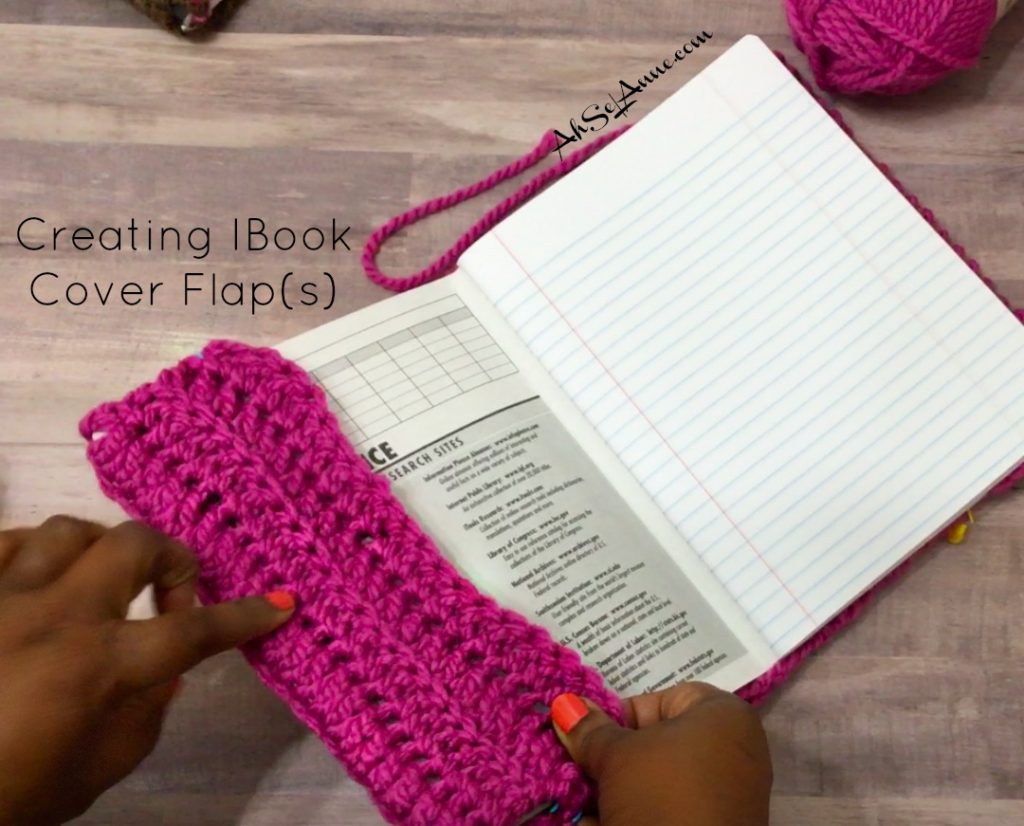
Using stitch markers, secure the flap at the top and bottom to prepare for stitching.
Using the yarn and yarn needle, whip stitch along the bottom and top to close the flap and create a sleeve.
Repeat the above steps to create the back flap.
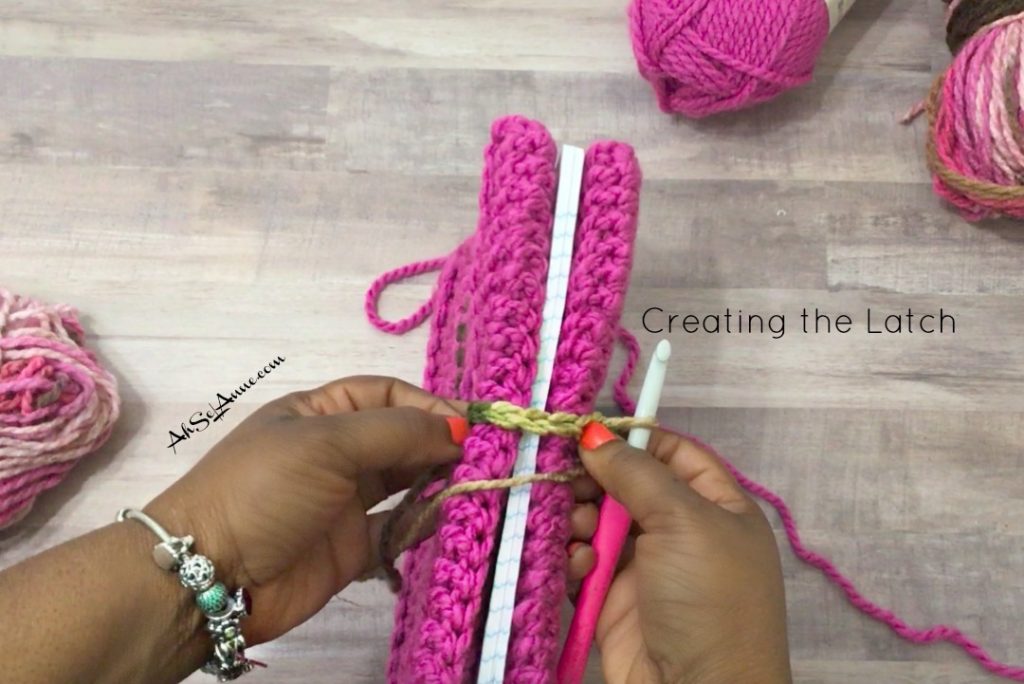
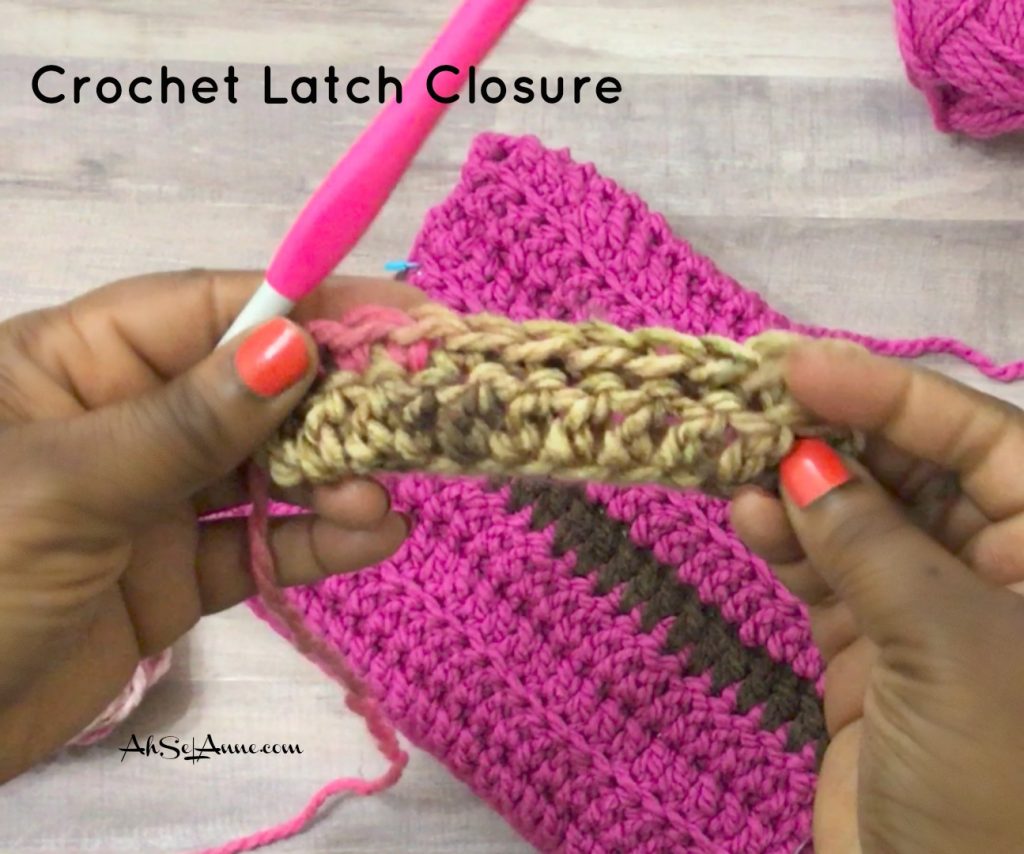
Creating the Latch/Closure (Optional Steps)
CH 10, into 2nd stitch, SC across, CH 1, TW.
Row 2: SC each stitch across, CH 1, TW.
Row 3: SC each stitch across, fasten off, cut yarn.
NOTE: The latch closure may vary in size based on the size of your button. If you use a larger button, you may need to make your closure wider (by adding more rows).
Place closure in the middle of the sleeve and attach using yarn and yarn needle.
Attaching the Button
Align the button with the latch and the center of the front cover. Attach the button to the front cover using yarn and a yarn needle.
NOTE: Buttonholes may be smaller than the yarn; you may need to use standard thread and a needle to attach the button. The crochet stitches in the latch are wide enough for the button to slip through, creating a closure.
Additional Tips
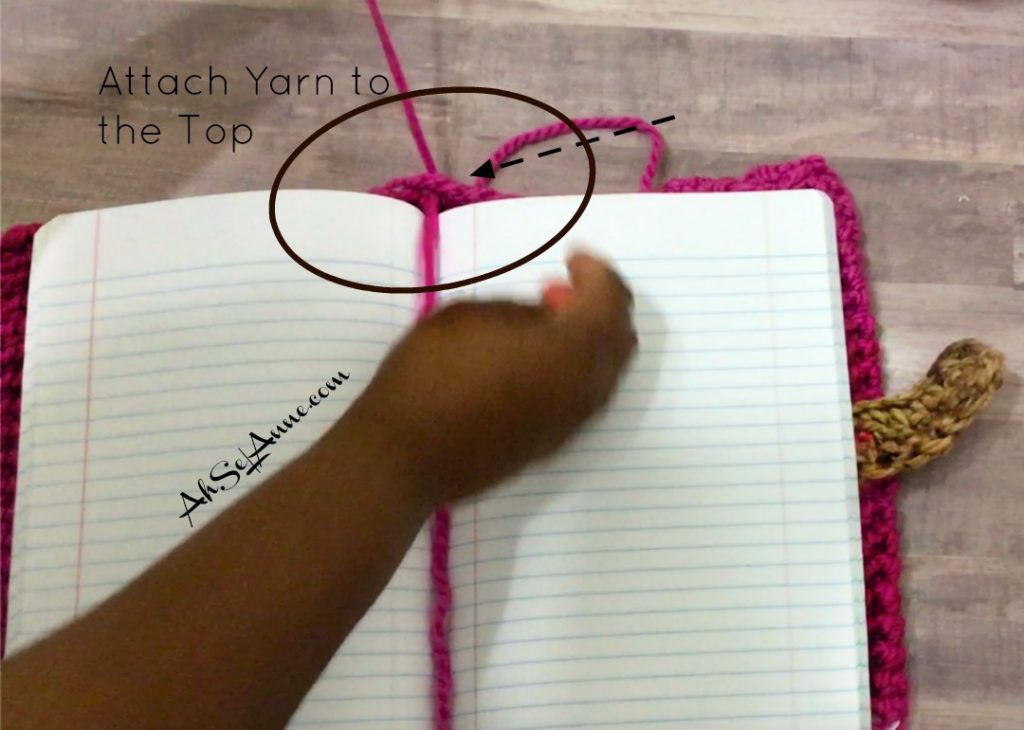
To further secure the cover to the composition notebook, open the book to the middle section.
Measure a piece of yarn, twice the length of the book, approximately 20 inches. Attach the yarn to the bottom of the crochet cover and pull the yarn along the center seam of the notebook until you reach the top.
Secure the yarn to the top of the crochet section of the notebook with a knot. This will secure the cover to the book, and the extra yarn will serve as a bookmark.