Crochet Wedding Cactus Pot

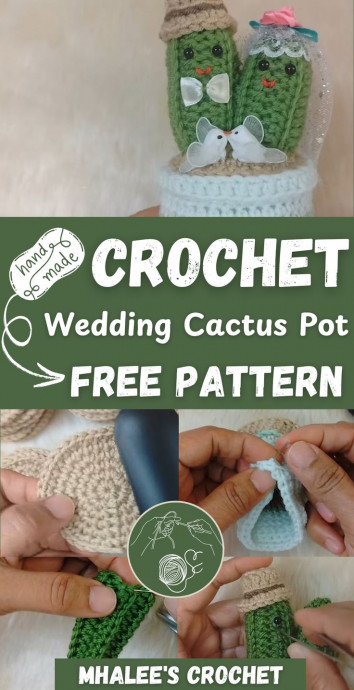
Looking for a unique and charming touch to add to your wedding decor? Look no further than the Crochet Wedding Cactus Pot! This delightful creation combines the beauty of crochet art with the everlasting charm of desert flora. Not only does it make for a whimsical centerpiece or wedding favor, but it also adds a touch of greenery that lasts long after the celebrations are over. With its handcrafted detail and cheerful appeal, the Crochet Wedding Cactus Pot is sure to bring smiles and warmth to your special day.
Materials
- Yarn in light brown, light green, dark green, and brown
- Crochet hook (4 mm)
- Fiberfill
- Scissors
- Darning needle
- Ribbon (for bow tie)
- Decorative flower
- Tulle fabric (approx. 4x5.5 inches)
- Fabric glue
- Galloon bottle cap (optional for base support)
Cactus Pot
Base and Soil (Light Brown Yarn)
Make 3 circles: 2 for the base and 1 for the soil
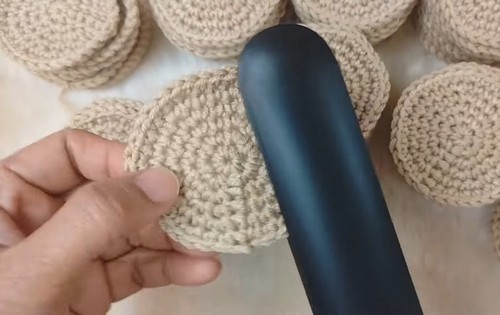
Circle Pattern (make 3):
- Round 1: 6 sc in a magic ring, join. (6 sts)
- Round 2: Ch 1, 2 sc in each st around, join. (12 sts)
- Round 3: Ch 1, sc, 2 sc repeat around, join. (18 sts)
- Round 4: Ch 1, sc in next 2 sts, 2 sc repeat around, join. (24 sts)
- Round 5: Ch 1, sc in next 3 sts, 2 sc repeat around, join. (30 sts)
- Round 6: Ch 1, sc in next 2 sts, 2 sc, sc in next 2 sts repeat around, join. (36 sts)
Fasten off and leave a long tail on the soil circle for sewing.
(Optional: Flatten circles with a hair straightener)
Joining the Base Circles
- Place 2 base circles wrong sides facing.
- Join them together by slip stitching through both circles all around.
- Fasten off and weave in ends.
Pot Body (Light Brown Yarn)
- Round 1: Work into back loops only, sc around. Join. (36 sts)
- Rounds 2-4: Ch 1, sc around. Join. (36 sts)
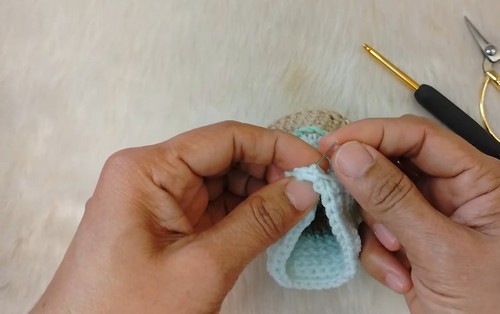
Change to light green yarn
- Round 5: Ch 1, sc around. Join. (36 sts)
Set the pot aside.
Pot Decoration (Dark Green Yarn)
Sl st around any stitch on the 4th round to add detail. Cut yarn and tie off.
Finishing the Pot
- Fold the top round downward on the back loop round.
- (Optional) Glue the galloon bottle cap inside the pot base for support.
- Stuff the pot with fiberfill.
- Place the soil circle on top and sew it securely to Round 8 of the pot.
Cactus
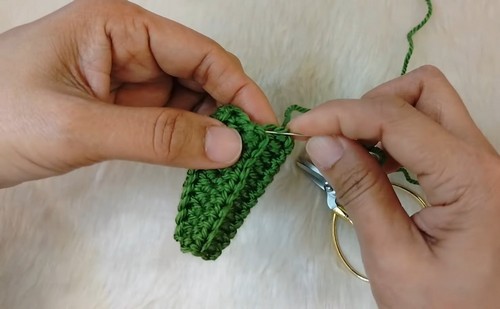
Body (Green Yarn)
- For shorter cactus: chain 12
- For taller cactus: chain 15
Body Rows:
- Row 1: Hdc in 2nd chain from hook and across.
- Rows 2–8: Ch 1, turn, work sc in back loops only.
- Row 9: Ch 1, turn, sl st both ends together to form a tube.
Fasten off and leave a long tail.
Assembly
- Sew and close one end of the cactus.
- Insert the yarn needle through to the open end.
- Stuff the cactus with fiberfill.
- Sew the lower sides halfway up to give the cactus shape.
Mini Hat (Brown Yarn)
Hat Pattern
- Round 1: 6 sc in a magic ring, join. (6 sts)
- Round 2: Ch 1, 2 sc in each st around, join. (12 sts)
- Round 3: Ch 2, work dc in back loops only around, join. (12 sts)
- Round 4: Ch 1, hdc, 2 hdc in back loops only, repeat around, join. (18 sts)
Fasten off and weave in ends.
Other Decorative Details
Veil (Tulle Fabric)
Lightly sew one end of tulle to shape and set aside.
Bow Tie (Ribbon)
- Cut 1 inch of ribbon.
- Seal ribbon edges with a lighter.
- Tie a green yarn around the center of the ribbon.
- Secure the knot with fabric glue.
Assembly of Parts
Final Construction
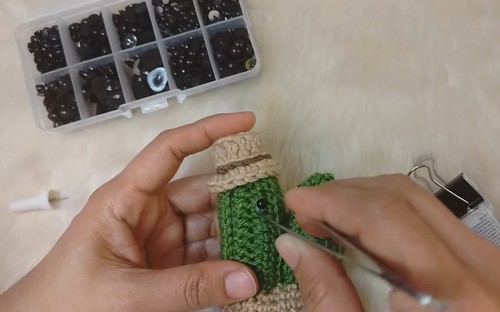
- Sew the cactus onto the soil circle.
- Attach safety eyes to the cactus.
- Embroider the mouth using red yarn.
- Attach the bow tie to the male cactus.
- Place the mini hat on the male cactus’s head.
- Add the lace and veil to the female cactus.
- Secure the veil with fabric glue and let dry.
- Optionally decorate with small plastic birds, gold rings, or other details.
- Trim any excess tulle fabric for neatness.