Craft Stylish Crochet Purse Using Granny Squares

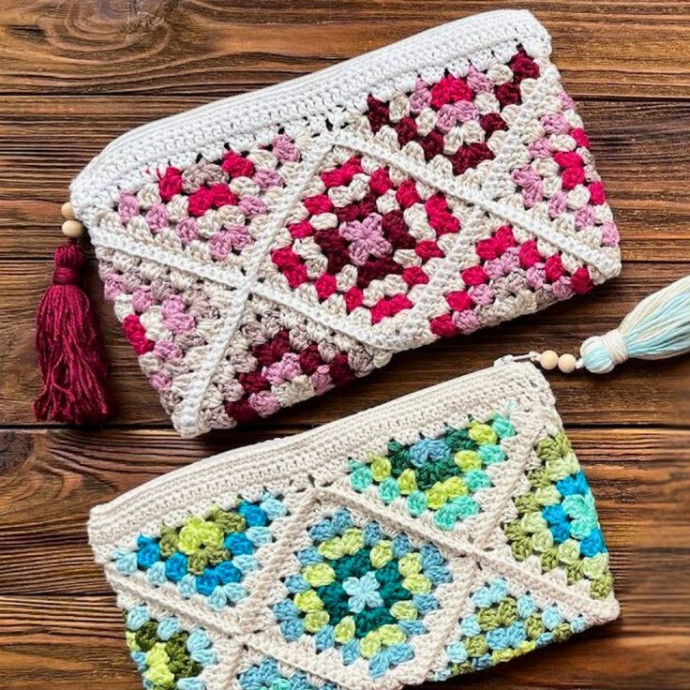
Crocheting a purse with granny squares is such a fun and creative project! The process of making each colorful square and then piecing them together to form a stylish and unique bag is truly satisfying. With the endless color combinations and design possibilities, you can let your creativity run wild with this project. Plus, the end result is not only a practical accessory but also a statement piece that is sure to impress everyone around you. So grab your yarn and hook, and let's get crocheting!
Materials and Preparation
- Yarn: Medium weight (worsted) yarn in your choice of colors
- Crochet hook: Size H/8 (5.0 mm)
- Additional tools: Yarn needle, scissors, and a button for closure (optional)
- Yarn weight: 4 – medium
Abbreviations and Notes
- CH: Chain
- SC: Single Crochet
- DC: Double Crochet
- SL ST: Slip Stitch
- SP: Space
- ST(S): Stitch(es)
Important Notes
This pattern is written in US crochet terms.
Consistency in tension is important to ensure uniformity in the squares.
Gauge, Approximate Size, and Pattern Notes
- Gauge: Not critical for this project, but typically, 4 DCs and 2 rows equal about 1 inch.
- Finished Dimensions: Approximately 10 inches by 12 inches (size may vary based on tension and yarn used).
Special Techniques
- Granny Squares: Basic granny squares will be the main building blocks for this purse.
Gauge Swatch: Not necessary for this project.
Step-by-Step Pattern
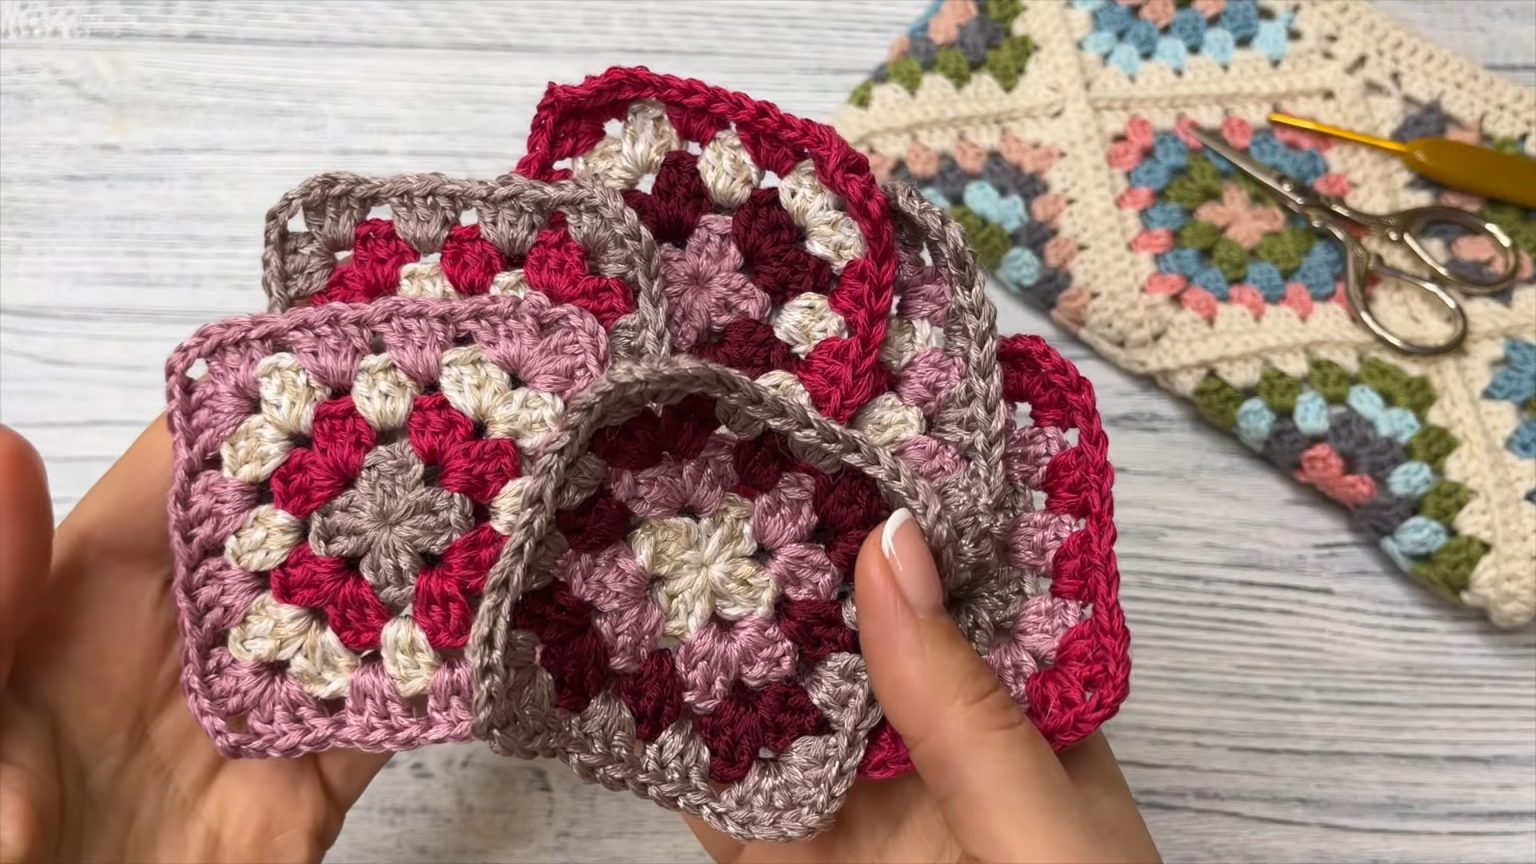
Creating the Granny Squares
Foundation Ring
CH 4, SL ST into the first CH to form a ring.
Round 1
CH 3 (counts as 1 DC here and throughout), 2 DC into the ring, CH 2, 3 DC into the ring; repeat from * to * 3 more times, CH 1, SL ST to top of beginning CH 3. (You should have 4 clusters of 3 DC and 4 CH-2 spaces.)
Round 2
SL ST into the next 2 DC and into the CH-2 space, CH 3, 2 DC into the CH-2 space, CH 2, 3 DC into the same CH-2 space, [3 DC, CH 2, 3 DC] into the next CH-2 space; repeat from * to * 3 more times, SL ST to top of beginning CH 3.
Round 3
SL ST into the next 2 DC and into the CH-2 space, CH 3, 2 DC into the CH-2 space, CH 2, 3 DC into the same CH-2 space, [3 DC into the next space between DC clusters, [3 DC, CH 2, 3 DC] into the next CH-2 space]; repeat from * to * 3 more times, 3 DC into the next space between DC clusters, SL ST to top of beginning CH 3.
Repeat Round 3
Repeat Round 3 until your granny square is the desired size. For this pattern, approximately 6 rounds should create a good-sized square.
Make 6 granny squares in total.
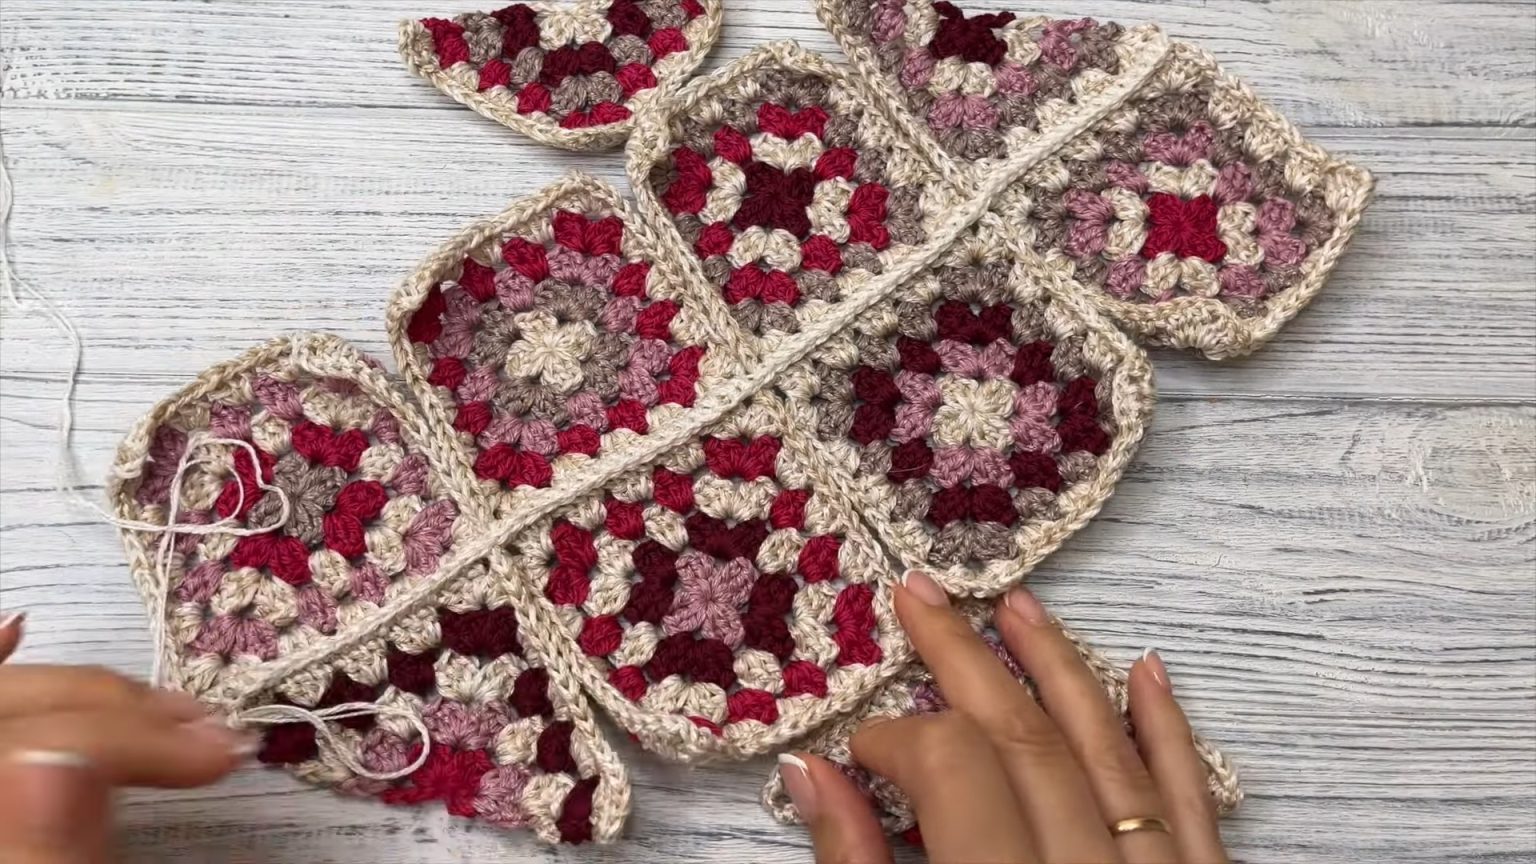
Assembling the Purse:
Join Squares
Lay out your granny squares in two rows of three.
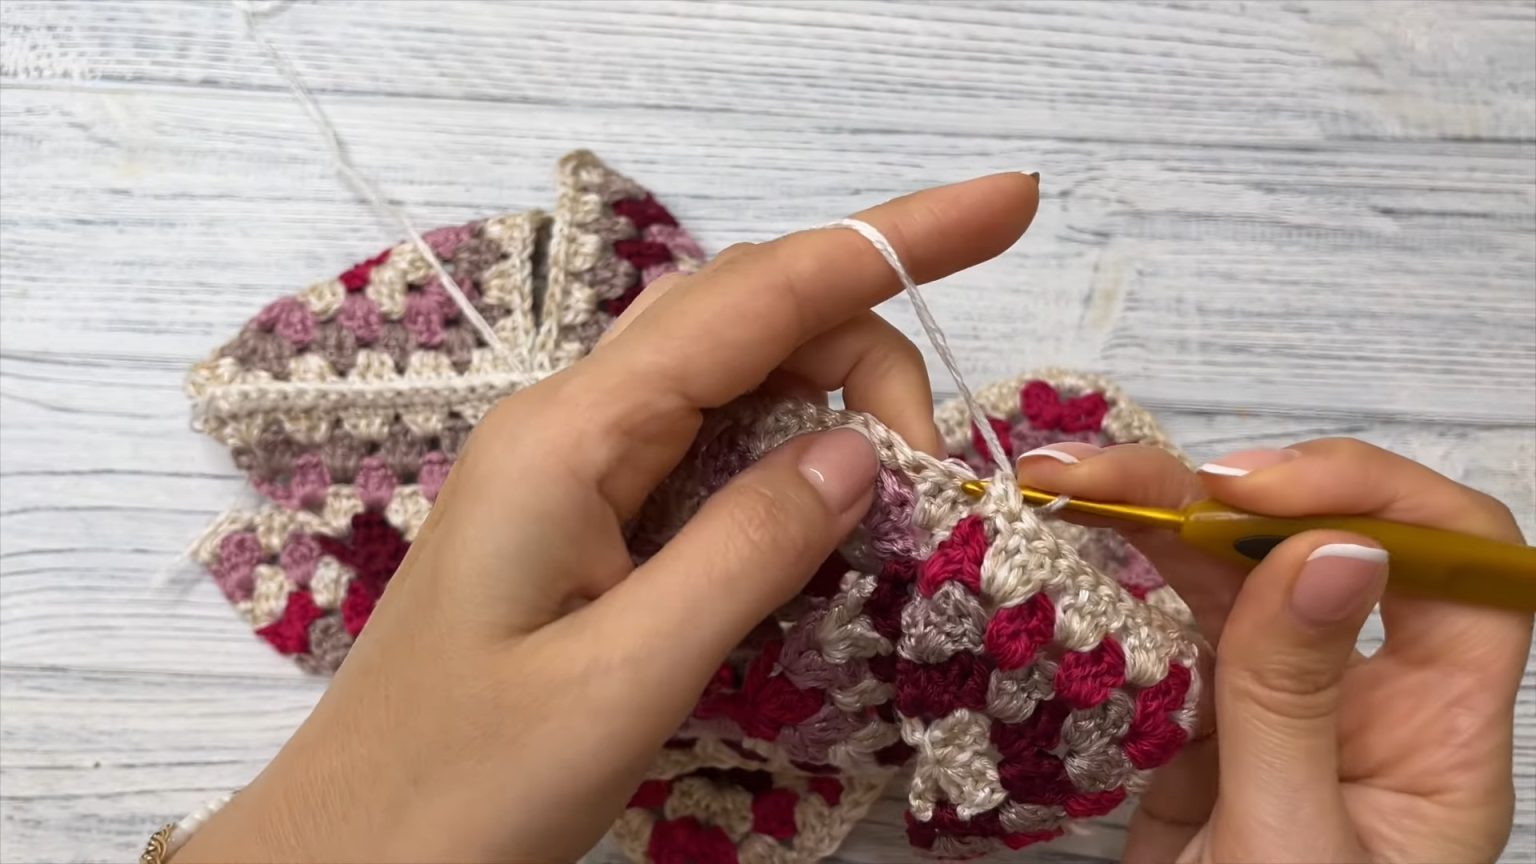
Using SC or SL ST, join the squares along their sides. You can use the same yarn or a contrasting color for a decorative effect.
Creating the Side Panels:
- You can crochet two long rectangular panels or sew the extra squares on the side.
- CH the necessary length to match the height of your joined granny squares and crochet rows of SC or DC to create a rectangular panel. Repeat for the second panel.
Joining the Side Panels
Attach the side panels to the main granny square base using SL ST or SC, working along each edge carefully.
Straps:
For the straps, CH the desired length, and work SC in each ST across the rows until the strap has the desired width. Attach the straps by sewing firmly to the inside top edges of the purse.
Finishing Touches
- Weave in all ends using the yarn needle.
- Attach a button or a magnetic clasp for closure, if desired.