Crochet Stylish Vest


If you're looking to add a touch of flair to your outfit, consider giving the crochet stylish vest a try! With its intricate design and trendy appeal, this vest is the perfect way to elevate your look effortlessly. Whether you want to layer it over a basic tee or style it with a cute dress, the crochet stylish vest is a versatile piece that will suit any occasion. Embrace your unique style and stay cozy in this fashionable garment that will have heads turning wherever you go!
Materials and Preparation
Required Materials:
- Yarn: Alice Baby Best Yarn (or similar soft, lightweight yarn)
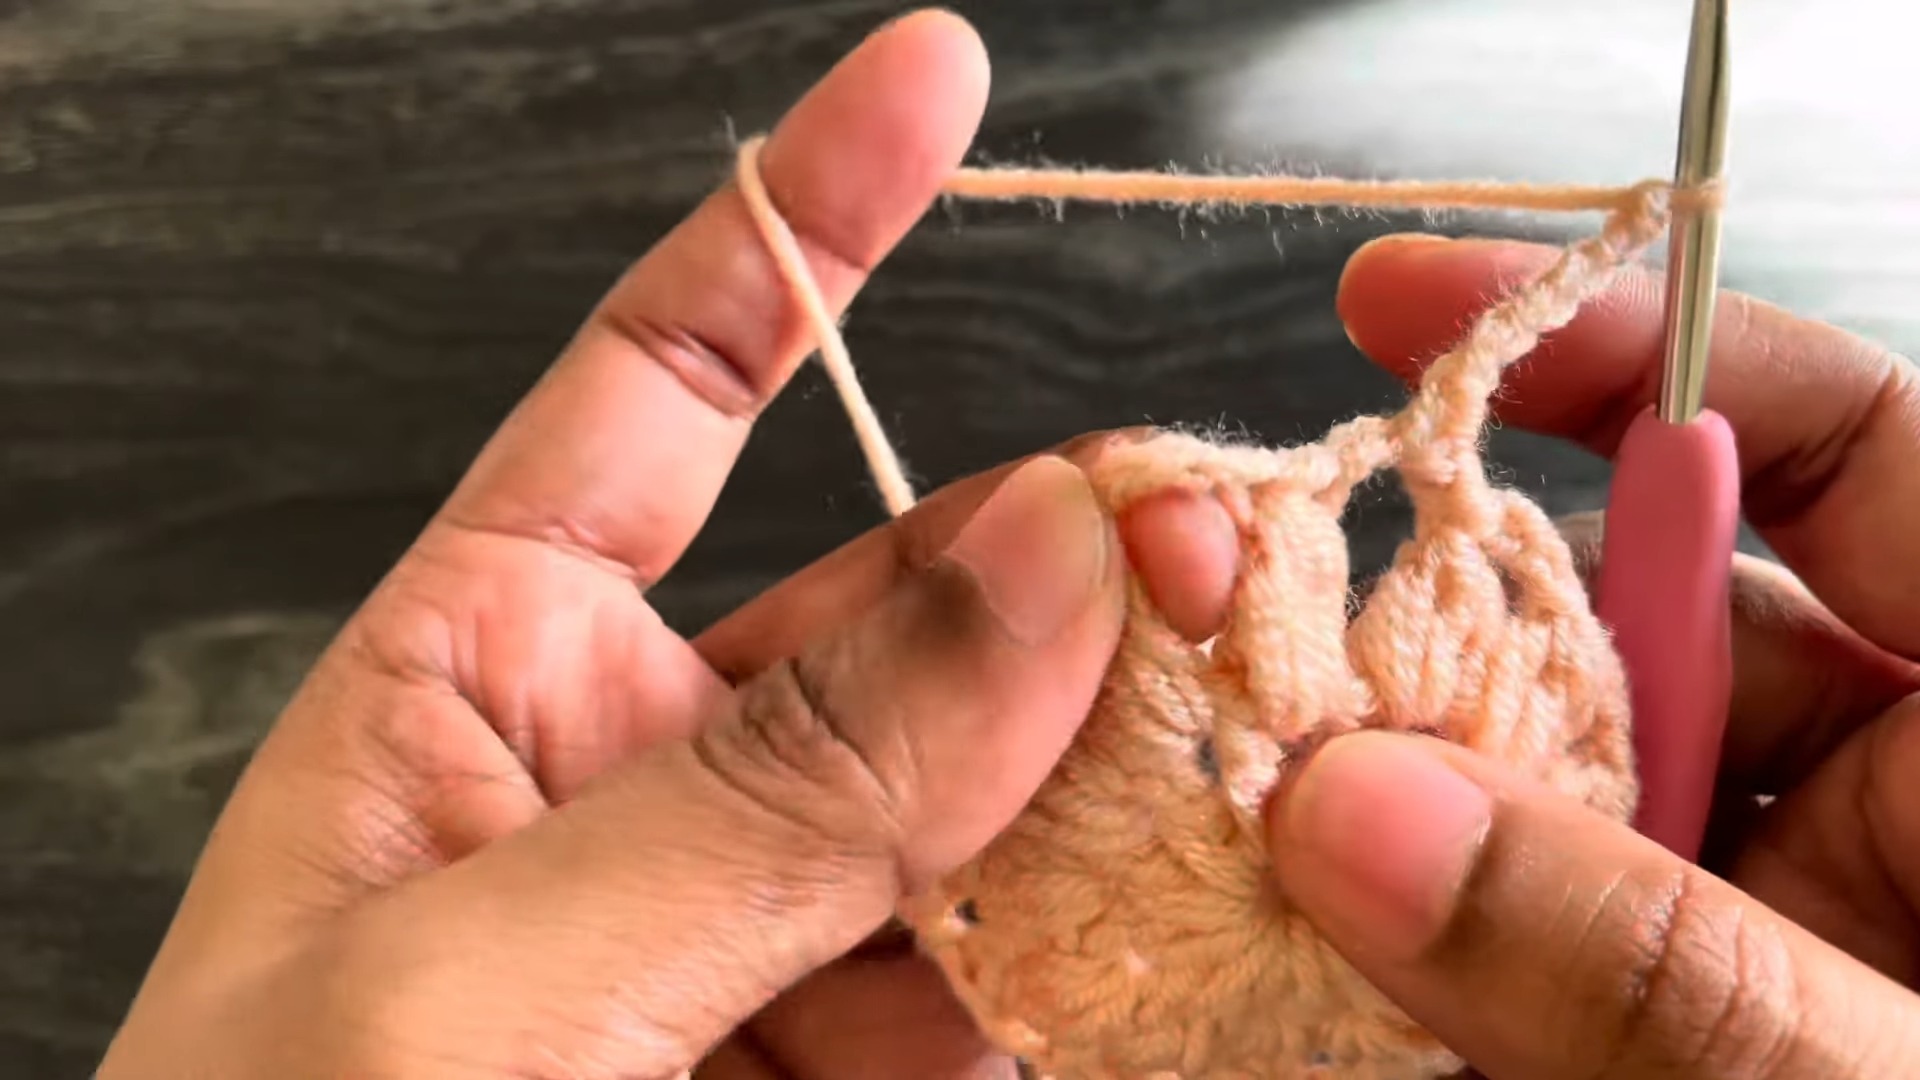
- Crochet Hook: 3.5 mm crochet hook
Additional Tools:
- Scissors
- Tapestry needle (for weaving in ends)
- Measuring tape (for checking measurements)
Abbreviations and Notes
Abbreviations:
- CH: Chain
- SC: Single Crochet
- DC: Double Crochet
- SL ST: Slip Stitch
- Cluster: A group of multiple DC stitches worked together in one space
Pattern Notes:
The pattern involves creating individual squares, joining them together, and finishing with small details like straps and borders.
For clean edges and uniform stitches, maintain consistent tension throughout.
Follow the step-by-step joining instructions carefully when constructing the vest panels.
Remember to block the finished vest for a polished look.
Gauge, Approximate Size, and Pattern Notes
Gauge:
Post-blocking: Measure one crocheted square. It should fulfill the size requirements based on your measurements.
Approximate Size:
The vest's size varies depending on the number of squares used. Each square should be measured before assembly.
Step-by-Step Pattern
Part 1: Crocheting a Square
Foundation Ring:
Make a slip knot and crochet CH 5. Join with a SL ST into the first chain to form a ring.
Round 1:
CH 4 (counts as 1 DC + CH 1). Work (1 DC + CH 1) into the ring a total of 11 times. You should now have 12 DC separated by CH 1 spaces. SL ST into the 3rd chain of the starting chain to close the round.
Round 2:
Move to the first CH 1 space with a SL ST, then CH 3 (counts as the beginning of a 3-DC cluster). Work a 3-DC Cluster into the same CH 1 space and follow with CH 3. Work a 3-DC Cluster into each CH 1 space from the previous row, separating clusters with CH 3 spaces. You should have a total of 12 clusters.
Close the round with a SL ST on top of the first cluster of the round.
Round 3:
Slip stitch to the nearest chain space and work: SC, CH 5, SC into the next CH-3 space. Repeat: In each CH-3 space across the round, work (SC, CH 5, SC). For the final chain space, CH 2 and make 1 DC stitch into the first SC (this ensures the next round starts in the center of the chain loop).
Round 4 (Final Round):
Into each CH-5 loop, work: (1 SC, CH 1, 5 DC, CH 3, 5 DC, CH 1, 1 SC) to create a decorative edge. Repeat this for all loops, working corners in the same manner as described.
Part 2: Joining Squares
For a finished square, pause before the final round. Align a completed square with the unfinished square you are working with.
While working the CH sequences at the corners of the final round, insert your hook into the corresponding chain space of the finished square. Secure by pulling the yarn through both loops, joining the two corners with CH 2.
Continue joining along edges by working into corresponding chain spaces. Repeat until all squares for one panel are joined.

Part 3: Constructing Panels
Front Panels:
Make 2 front panels, each consisting of squares joined in 3 rows. Use pre-measured dimensions to determine the number of squares per row and the total number of rows.
Attach half-squares to the sides to shape the armhole edges.
Back Panel:
Join 16 squares in total to create a rectangular back panel.
Part 4: Assembly
Lay the back panel flat with the right sides facing up. Position the front panels on top, aligning the edges. Join the front and back panels at the shoulders and sides using SC stitches or your preferred joining method. Leave armhole openings unstitched.
Part 5: Adding Straps and Borders
Ties:
Pick up your yarn at the bottom corner edge. Work CH 70 for the tie strap. Then, SC into every chain back toward the starting point.
Borders:
Work a border of SC stitches along the raw edges, including the armholes and neckline. For clean corners, work multiple SC stitches into turning chain spaces.
Final Touches
Weave in all loose ends with a tapestry needle. Block the finished vest to shape it and enhance the stitch definition.