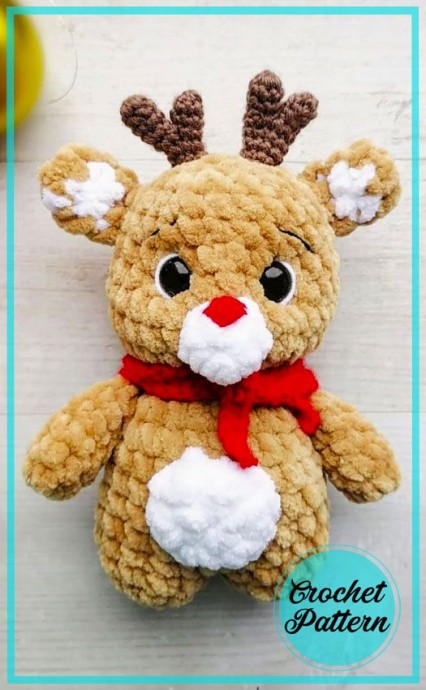
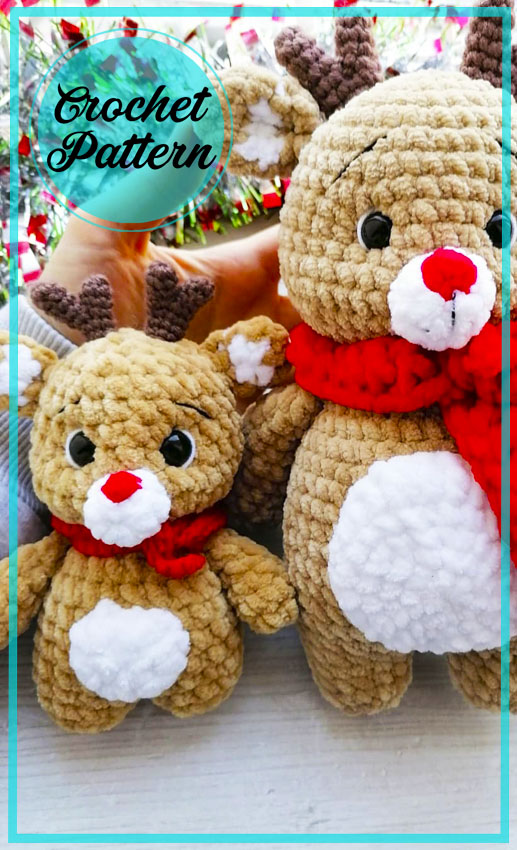
Adorable Crochet Baby Fawn Amigurumi Pattern

Create your very own adorable crochet baby fawn amigurumi with this easy-to-follow pattern! This delightful project is perfect for both beginners and experienced crocheters alike. With just a few basic stitches and some soft yarn, you'll be able to bring this sweet little fawn to life. This crochet baby fawn amigurumi is the perfect gift for any little one or animal lover in your life. The pattern includes step-by-step instructions and helpful photos to guide you through the process. You'll start by crocheting the body and head, then move on to the legs, ears, and tail. Once all the pieces are complete, you'll sew them together and add the finishing touches, like the adorable button eyes and a tiny embroidered nose.
Materials
● Yarn
● For knitting the fawn, you need a hook number 4; No. 4.5. (I’m using # 4.5.)
● Mouline thread black for eyebrows and a strong thread for decorating the face and fastening parts.
● Safety eyes 12 mm.
● Filler – holofiber/synthetic fluff.
● Needle with a large stitching eye.
● Scissors
● Marker
Abbreviations
AR – Amigurumi Magic ring
MR – Amigurumi Magic ring
App – Application
ll – Lift loop
sc - Single Crochet
inc - Increase
dec - Decrease
tr - Triple Crochet/Treble Crochet
st - Stitch
dc - Double Crochet
hdc - Half Double Crochet
sl-st - Slip Stitch
ch - Chain
..in - Make an increase into the same stitch as many as the number indicated in front of “inc” abbreviation (exp; 3inc, 4inc..).
FLO - Crochet into front loops only
BLO - Crochet into back loops only
Special Stitches
BL – Bobble Stitch – Do 5dc all in the same stitch and then yarn over and pull through all the loops on your hook (the original loop + 1 loop for each partially completed dc).

Body Construction
We knit the fawn from the legs with the transition to the body.
First leg:
1) 6 sc in MR
2) 6 inc (12)
3) Without changes, 12 sc.
We knit the second leg in the same way, connecting it with the first leg with a single crochet. Here we put a marker and begin to knit the first row of the body.
1) 12 sc for the first leg, 12 sc for the second leg. (24)
2-6) 24 sc (5 rows)
7) (2 sc, dec) * 6 (18)
Do not forget to fill the product as tightly as possible.
8) (1 sc, dec) * 6 (12)
Here we turn to the head.
9) (1 sc, inc) * 6 (18)
10) (2 sc, inc) * 6 (24)
11) (3 sc, inc) * 6 (30)
12-13) 30 sc without changes (2 rows)
14) (3 sc, dec) * 6 (24)
15-16) 24 sc (2 rows)
17) (2 sc, dec) * 6 (18)
We fasten the eyes between the 14th and 15th row
18) (1 sc, dec) * 6 (12)
19) Decrease to the end.
Hands
1) 6 sc in MR
2-5) Without changes, 6 sc (4 rows)
6) 1 dec, 4 sc.
7) For both loops, decrease.
Ears
1) 6 sc in MR
2-3) 1 sc, change thread, 2 sc, change thread, 3 sc.
4) 1 sc, for both walls, decrease, slst.
Belly
1) 6 sc in MR
2) 6 inc (12)
Leave the thread for sewing.
Face
1) 6 sc in MR
2) Without changes, 6 sc, slst.
Leave the thread for sewing.
Spout
We knit 6 sc in MR and slst.
Leave the thread to be sewn to the muzzle.
Horns
1) 6 sc in MR
2-4) 6 sc (3 rows)
So knit 2 details.
We will connect the following details.
1) 6 sc in MR
2-4) 6 sc (3 rows)
We connect with a small piece, so that we get 9 sc in a row.
4-7) 9 sc (4 rows)
Leave the thread for sewing.
We sew on all the details and make a tightening in those places where the needles are inserted in the photo. First, one eye, tighten at the bottom, then the second. So then we tighten it down below. We hide the thread.
Scarf
Cast on 90 air loops. From the second loop from the hook in the opposite direction, we knit single crochet. At the end of ss, cut the thread and hide it.
