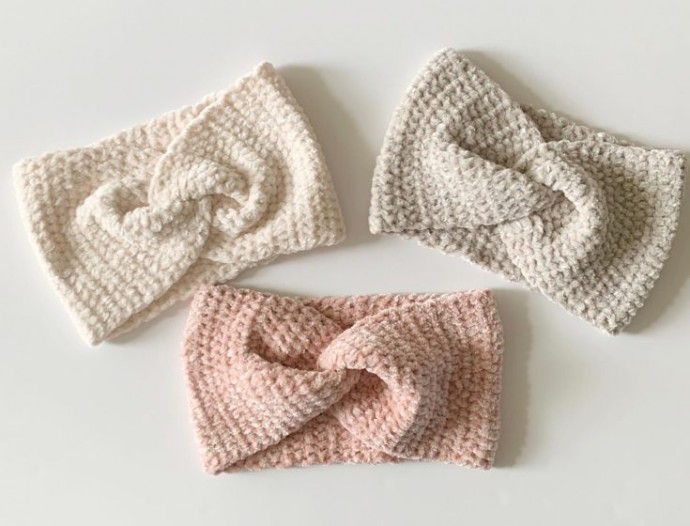
Crochet Headband: Step-by-Step Instructions for a Stylish Accessory


You’ll Need:
1 (3.5oz) skein Bernat Baby Velvet
Size H, 5.00mm crochet hook
Scissors
Tapestry needle
Size:
5 inches wide by 19.5 inches long (or to the length you need to fit snugly around your head. Can be made in any size – see head size chart below. Make the length of the headband 3 inches less than head circumference.)
Instructions:
Chain 20. (Chain 16 for children under the age of 5) (My niece is 6 and she is wearing the 5-inch wide headband, just made it 18 inches long.)
Row 1:
In the third chain from the hook, work 1 HDC. Work 1 HDC into each of the remaining chains. Chain 2 and turn. (18)
Row 2:
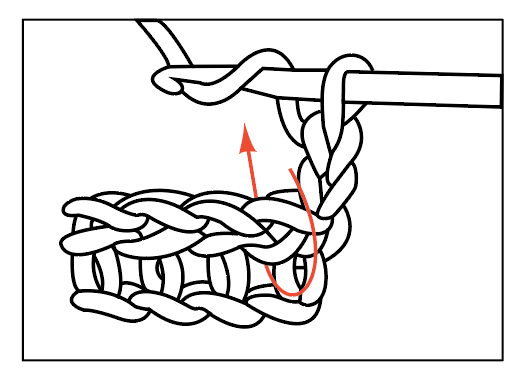
In the first space to the left of the post, and under all three loops the HDC makes, work HDC. Work HDC into each space between each post across the row, your last HDC will be worked in between the post and the turning chain. Chain 2 and turn.
Repeat row 2 until your headband measures 19.5 inches for an average woman’s size head or to the size you need.
Twist:
Lay the band out and fold in half and slide one side of the band across so one end is matched up to the middle of the other.
Fold the right-hand side around the back.
Fold the left-hand side around the front, giving you four layers.
Sew with the tapestry needle through all four layers.
