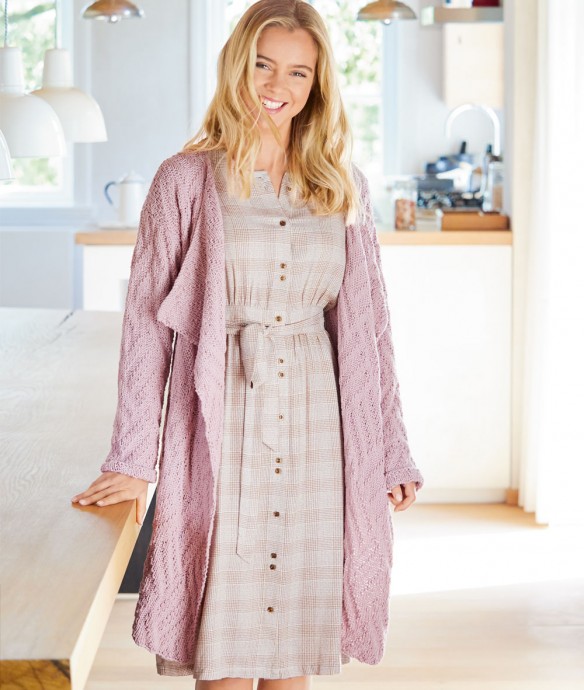
Knitting Instructions for Stylish Light-Pink Yarn Garments


You’ll Need:
800 (900-1000)g of light-pink yarn (100% bio-cotton; 90m/50g);
Knitting needles 5.
Size:
S (M/L).Note:
Knit back and front as one detail.Stitches Control:
16 sts x 23 rows = 10 x 10 cm.Instructions
Back and Front
Cast on 224 (236-248) sts and work with relief pattern in the following way: 1 selvage st, start with 3 (0-6) sts between arrow a (left double arrow-arrow b) and left double arrow, repeat the pattern of 18 sts x 12 (13-13) times, finish with 3 (0-6) sts between right double arrow, repeat the pattern of 18 sts x 12 (13-13) times, finish with 3 (0-6) sts between right double arrow and arrow c (right double arrow – arrow d), 1 selvage st.
In 50 cm = 116 rows from the set-up row, divide your work for arm-holes and at first, finish the right front on the first 72 (75-78) sts. In 25 cm = 58 rows from the division of details, bind off the sts. Then, finish back on the central 80 (86-92) sts. In 25 cm = 58 rows from the division of details, bind off the sts. Finish the left front on the last 72 (75-78) sts, in the same way as right front.Sleeves
Cast on 36 (38-42) sts. Work with relief pattern in the following way: 1 selvage st, start with 8 (0-2) sts between arrow e (left double arrow – arrow f) and left double arrow, repeat the pattern of 18 sts x 1 (2) 2 times between double arrows, finish with 8 (0-2) sts between right double arrow and arrow g (right double arrow – arrow h), 1 selvage st. For chamfers, increase 1 x 1 st in the 5th row from the set-up row, then, 12 (8-2) x 1 st in every 6th row and 9 (15-24) x 1 st in every 4th row = 80 (86-96) sts. Include the increased sts in the relief pattern. In 50 cm = 116 rows from the set-up row, bind off the sts.
Assembly
Make shoulder seams. Make sleeve seams. Then sew up the sleeves, with the middle of the sleeve cap coinciding with the shoulder seam.
